Today we drilled the sound port, cut the recess in the neck for the soundboard, made wedges to fix the ribs to the neck and constructed the lattice for the soundboard.
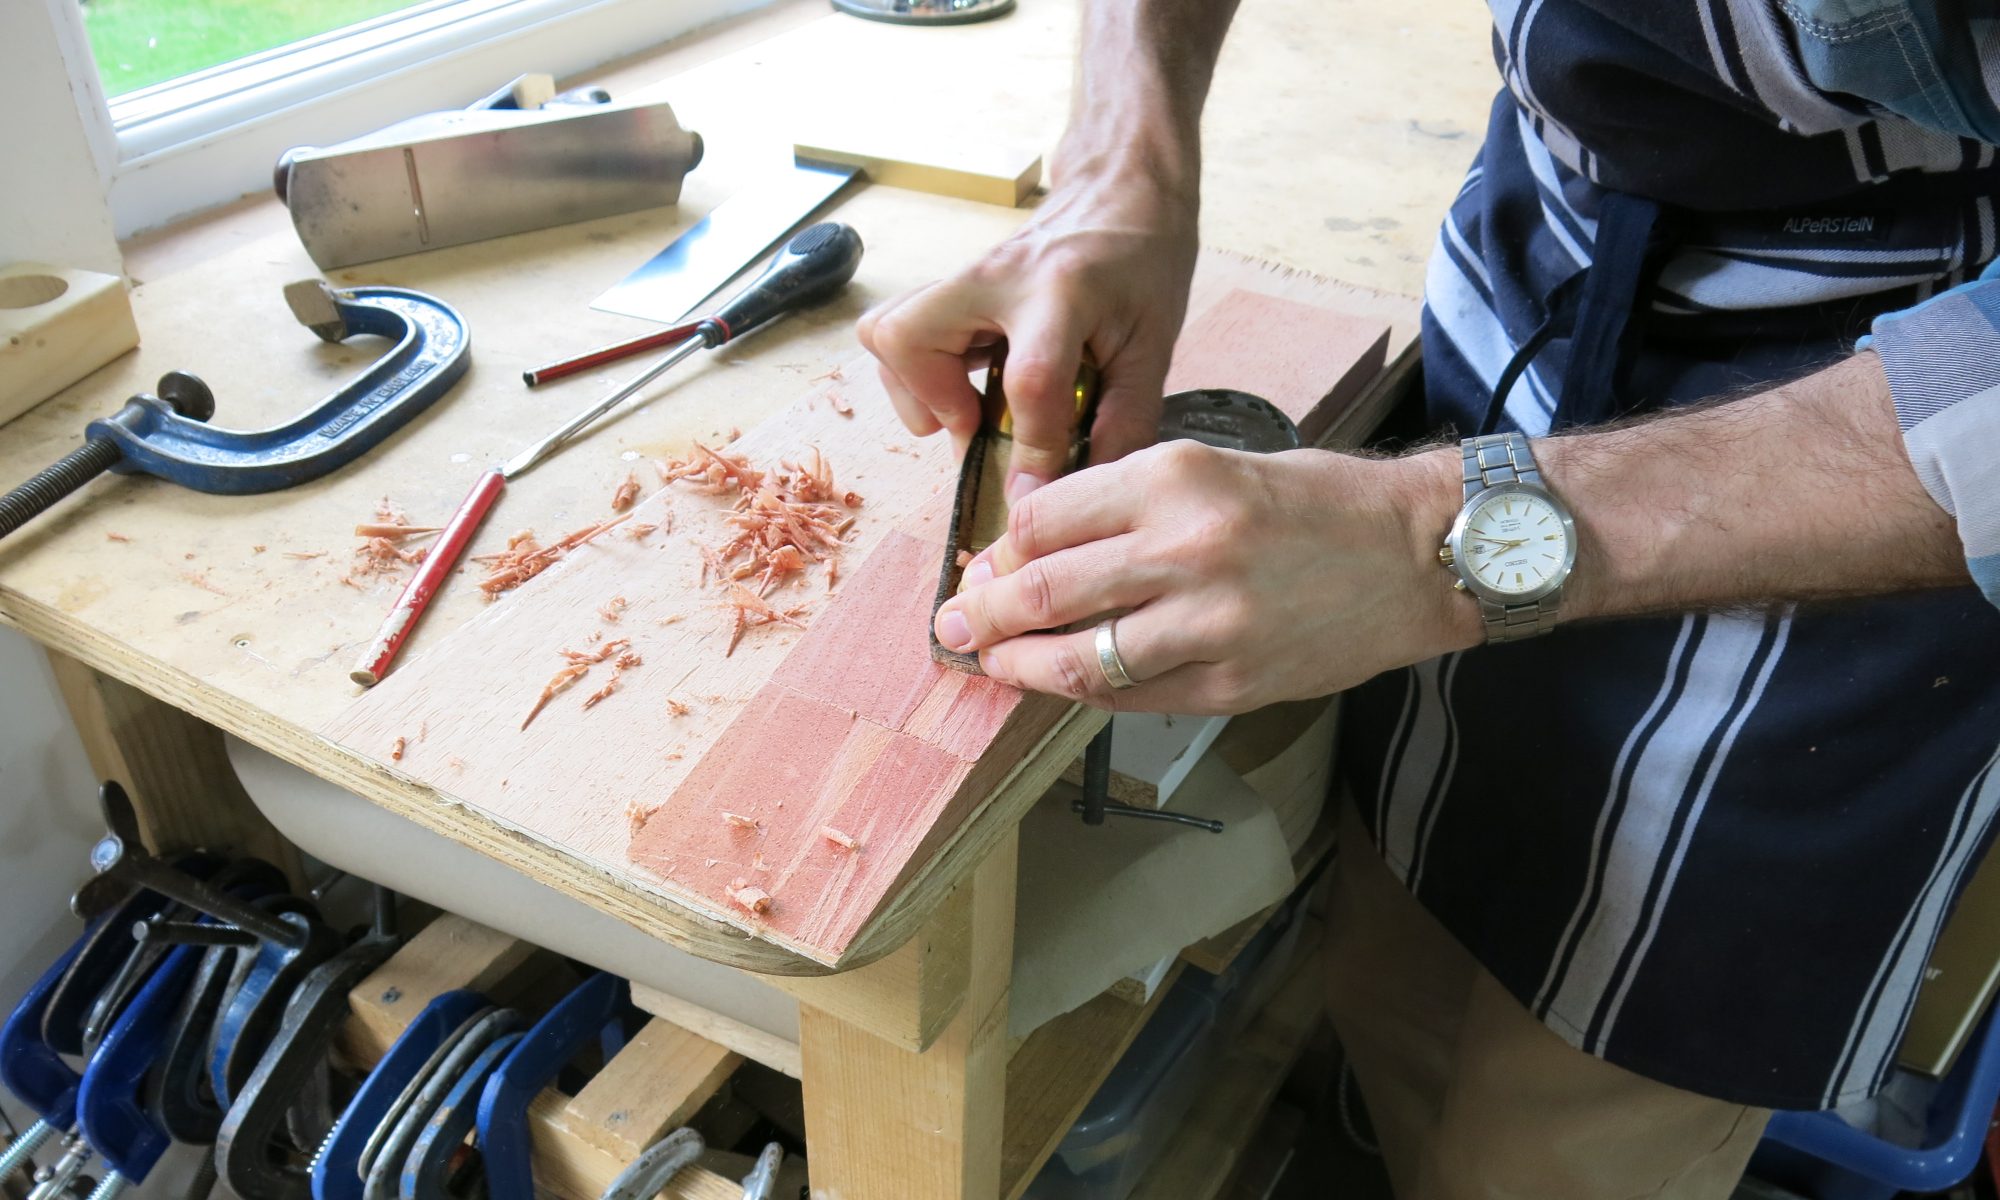
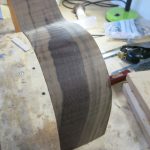
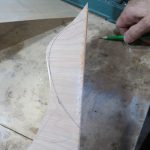
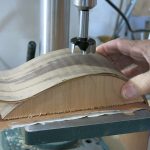
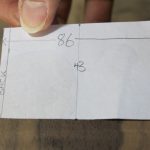
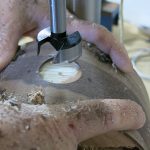
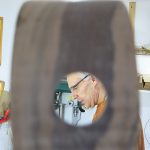
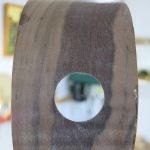
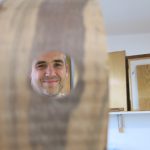
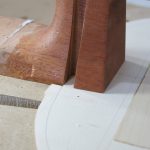
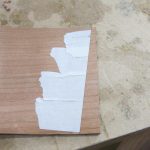
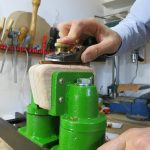
I’d read discussions on the Delcamp forum and elsewhere (here and here) about sound ports and wanted to include one on this guitar more for the experience of creating one than any possible benefits to the sound. (Likewise, I will be making an arm rest because I want to use my time with Roy to learn how to make one). For the sound port, we calculated the eventual centre of the rib, taking account of the 86mm final width, which includes the depth of the back, ribs and soundboard. I then cut a block of wood to the shape of the area of rib I would be cutting so that I had something to drill into and stop the drill bit from splintering the rib. The underside of the wood block sat flat on the drill press stand and Roy held it all tight while I cut through the beautiful piece of walnut(!).
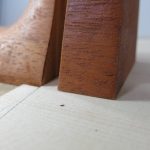
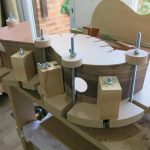
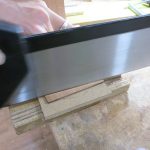
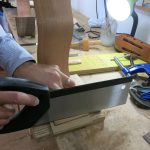
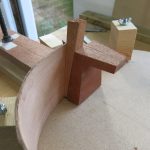
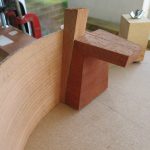
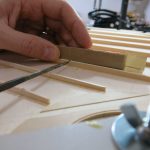
Next, having previously marked the heel of the neck where the soundboard would be glued, I removed the wood with a chisel and rasp to form the recess. Roy explained how the depth of the dome, the height of the saddle, the angle of the neck, and the depth of the fretboard all interact when setting the action of the strings. I am following Roy’s current practice of a 2mm dome and 7mm fretboard, with hardly any angling of the neck where it meets the soundboard. Today, I cut it flat and can add a 0.5mm angle later if necessary.
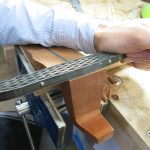
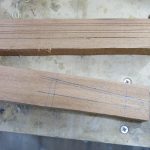
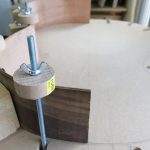
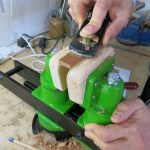
The reason for cutting the recess today was so I could cut the ribs to the right length and shape the wedges that will hold the ribs in place. This was a case of cutting two wedges out of a Cedrella offcut and then carefully reducing them with a plane, rasp and sandpaper so that each fitted nicely and pressed the rib against the face of the slot.
The ribs and wedges still need to be cut down to their final width/length, but that’s for another day.
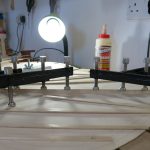
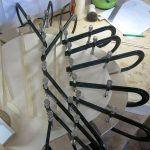
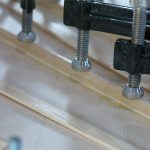
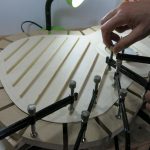
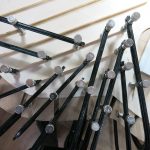
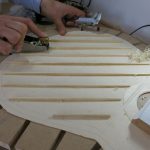
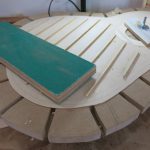
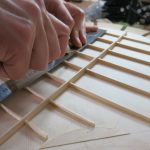
Throughout the morning, I was gluing the struts I had prepared earlier to the soundboard. I glued three at a time, which involved some careful clamping.
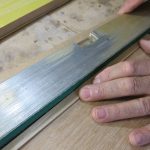
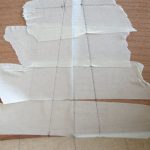
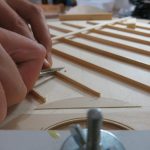
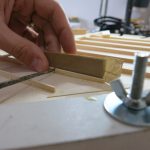
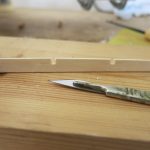
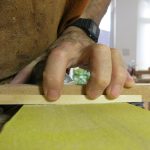
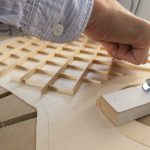
Once all of the struts in one direction of the lattice were glued, I planed them down to a height of 6mm, measuring the high point with a vernier caliper and tapering them off a little at each end. I then took a sanding board and went across the width of the lattice to finish them off before adding the cross-struts. This involved using a scalpel and 1mm chisel to mark and cut slots halfway through the depth of each strut where they crossed.
Today corresponded to Roy’s book pp. 124 & 184. The sound port and lattice struts were not part of Roy’s original book.
Dear Sir
I’ve carefully read this part of the process, and it’s called my attention that the struts are flat sanded before being glued to the soundboard. I wonder whether it’d make sense to sand the struts with the same curvature of the dome instead of flat. Would it have an undesirable effect? Or it’s just unnecessary since the glue and the shape of the dome will “force” the struts to the correct curved shape?
Yes, the struts could be shaped to the curvature of the dome rather than flat. Different people approach it in different ways. For the larger braces on the back and top, I shape them before gluing, but not for the thin lattice or fan struts because they can be forced into shape during the gluing process. I’ve seen pictures of some luthiers making up the entire lattice and shaping it to the dome before gluing it to the soundboard.