In Making Master Guitars, I tapered the fretboard and glued it to the neck before marking and cutting the fretwire slots. An easier way to prepare the fretboard is to mark out and cut the fretwire slots before gluing the fretboard to the neck, and to cut the slots from a square edge – the tapering of the fretboard can then be done afterwards.
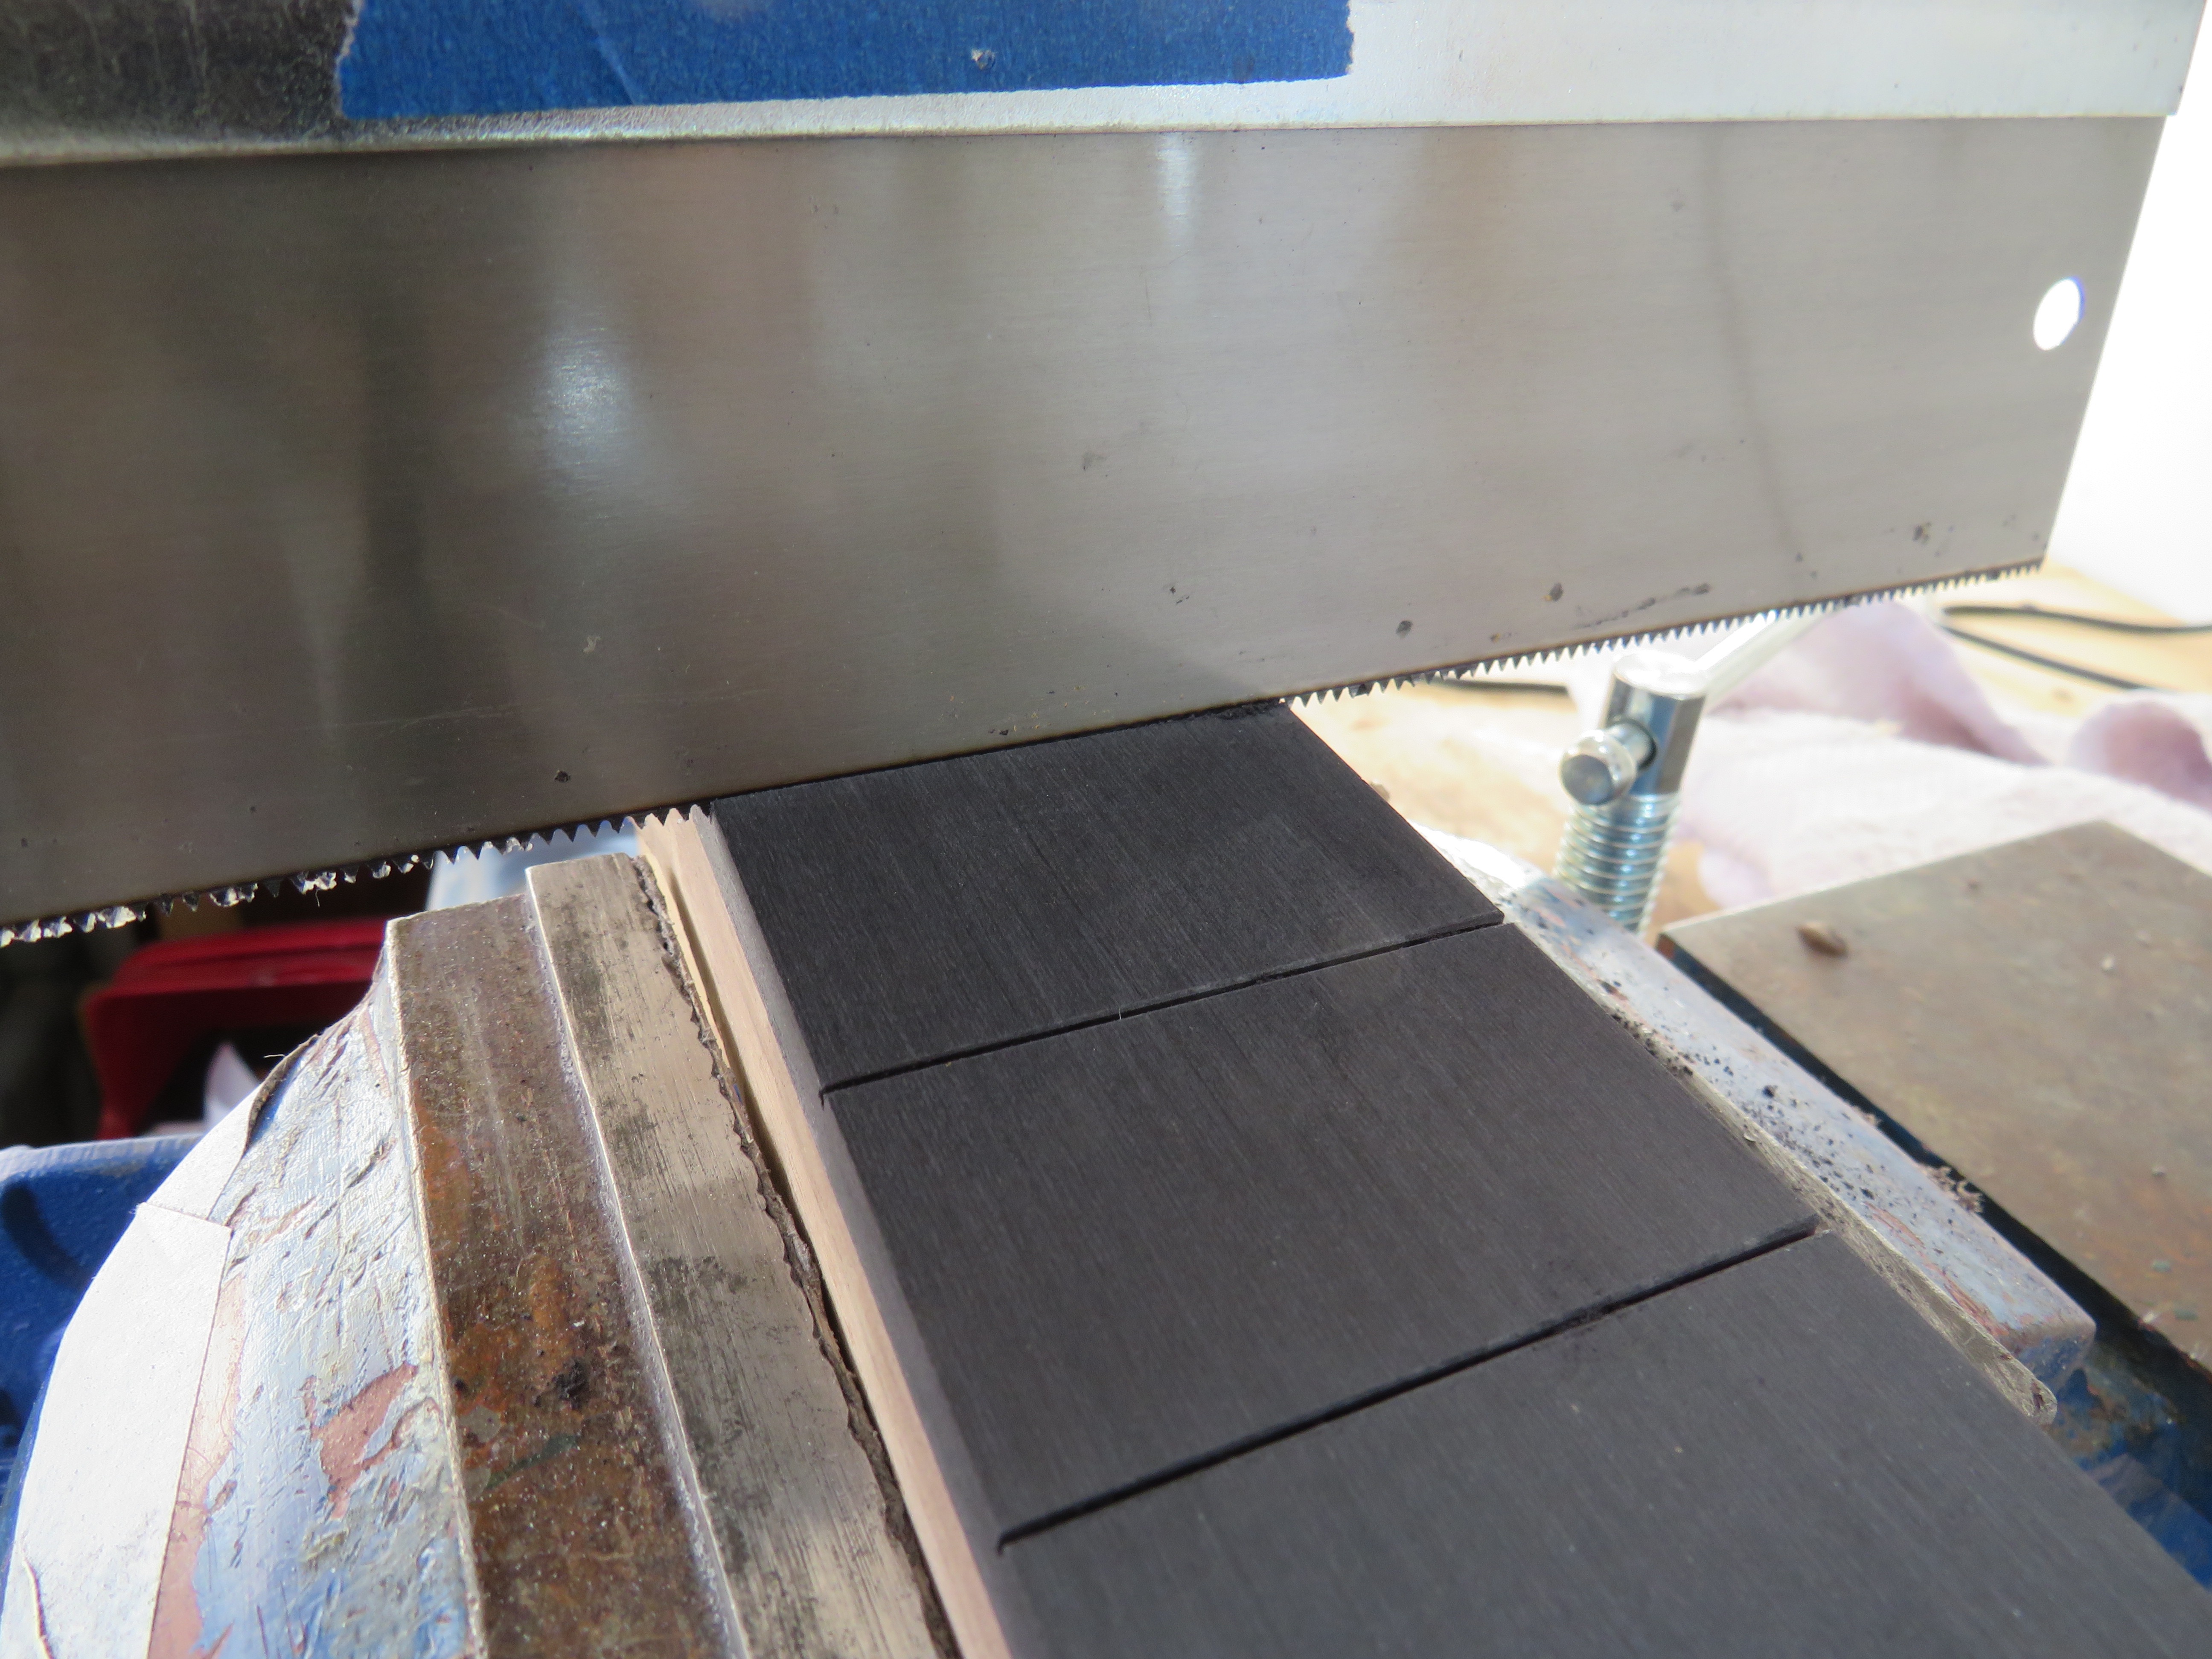
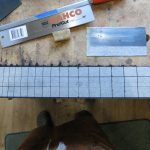
Masking tape on the fretboard makes it easier to see marking lines. Some beeswax rubbed on the saw teeth makes for easier fret slot cutting. And a depth gauge ensures the slots are cut to the correct depth.
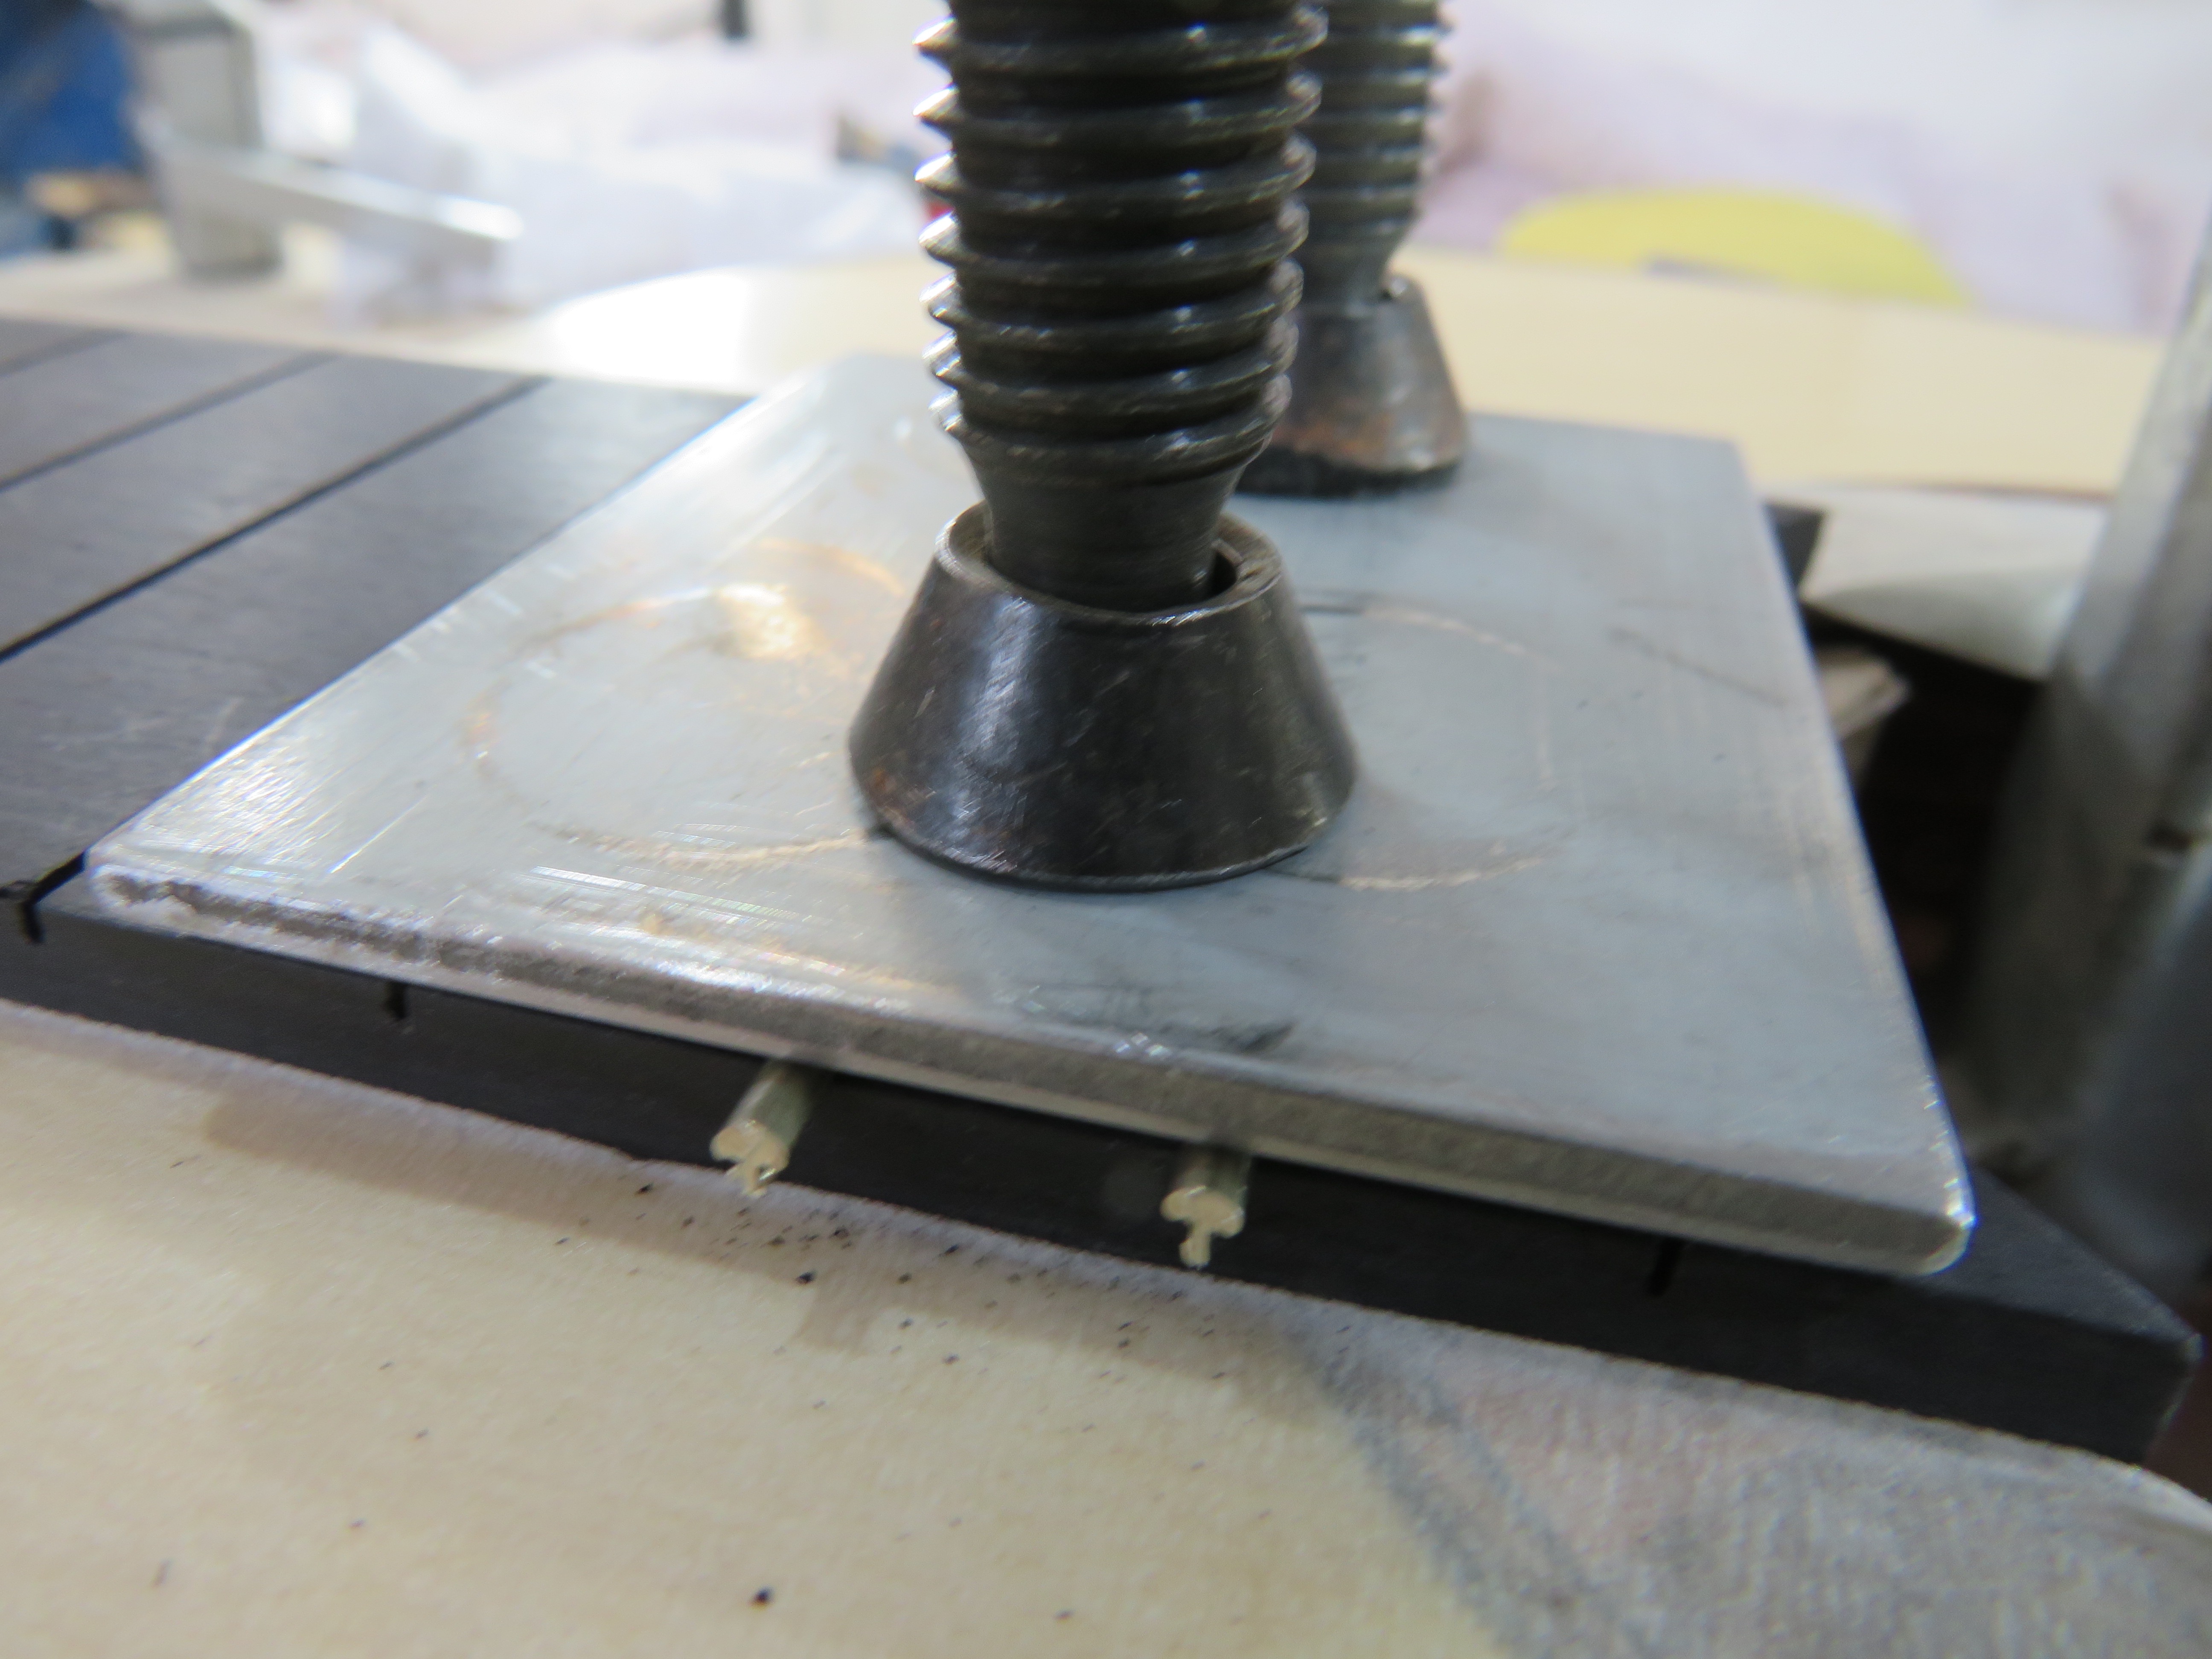
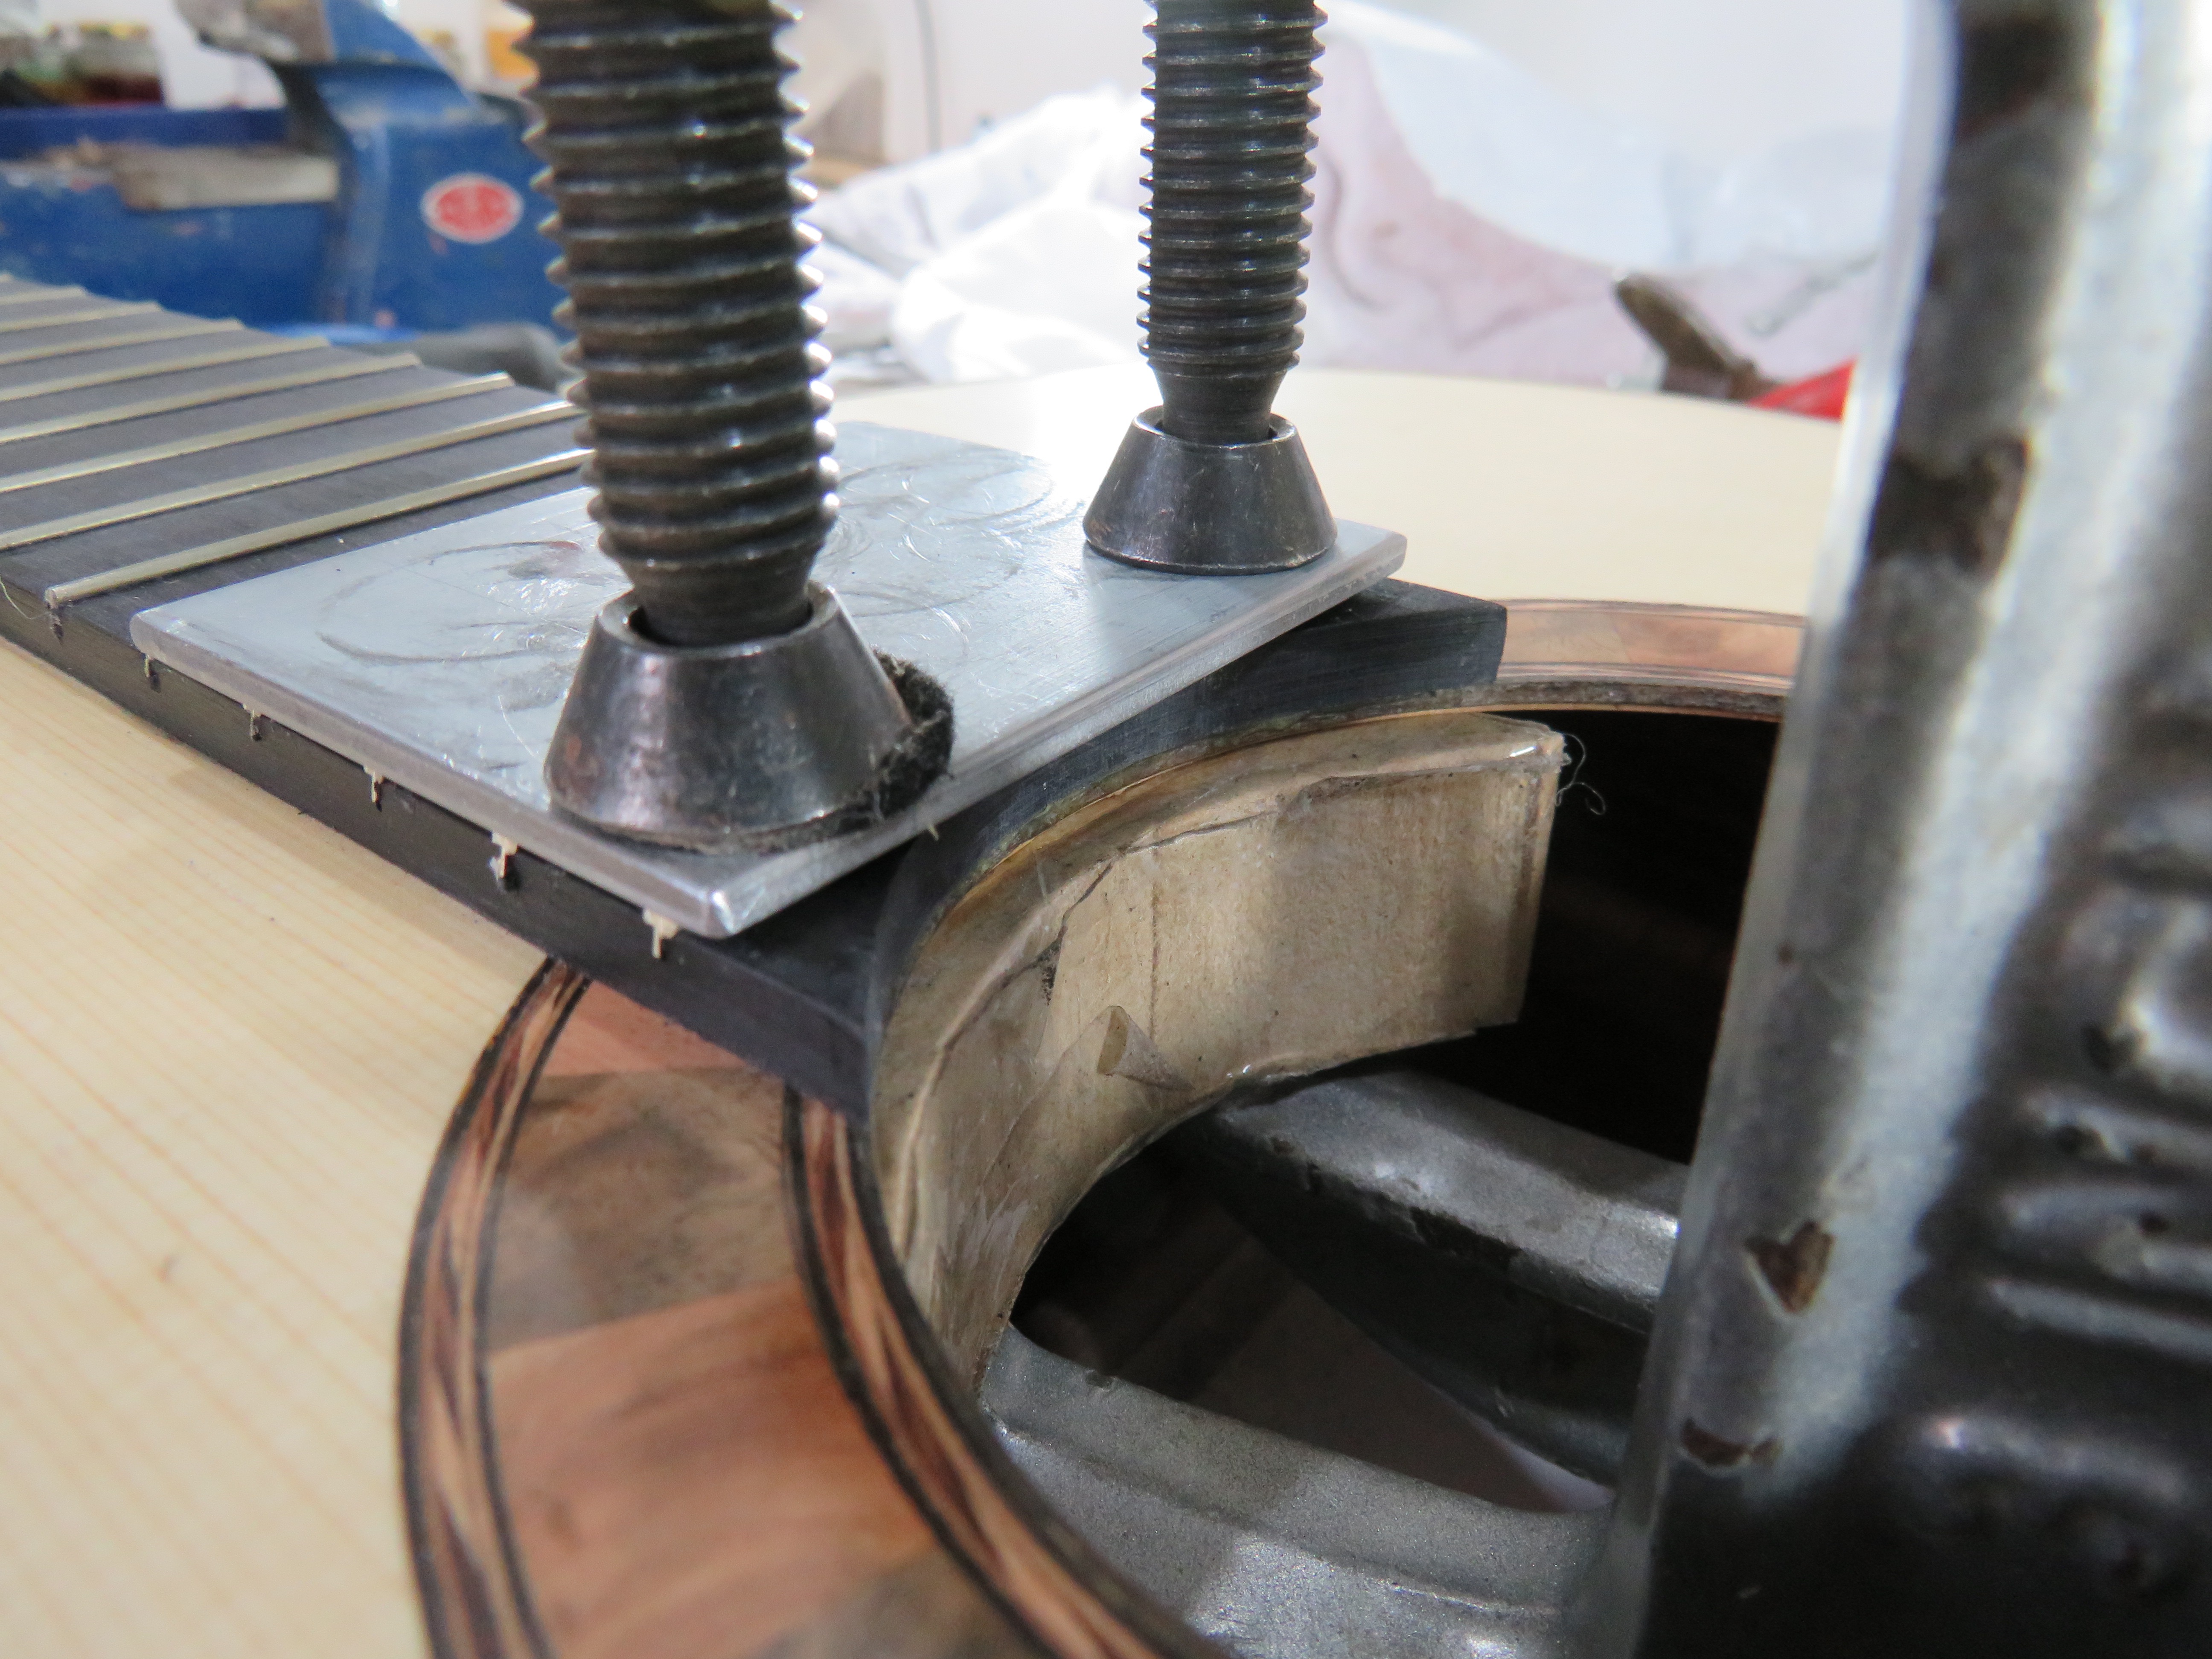
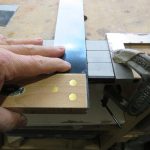
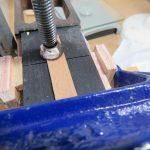
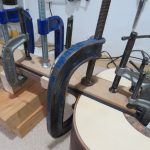
Small blocks of wood glued to the edge of the neck in four places, keep the fretboard in place while gluing.


Installing the fretwire
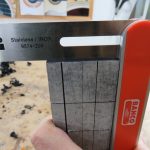
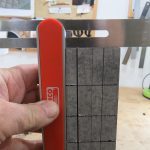
I think the fretboard should be perfectly flat; I no longer find fretboard relief necessary. (Any relief should be very small and there are various theories about the best part of the fretboard to be treated – search on Delcamp if this interests you.) Many of the saws sold by luthiers suppliers for cutting fret slots, seem too narrow for the fretwire they sell. I use the saws shown below, in one of which I have reduced the kerf width slightly. I use the narrower one first, and then re-cut only the slots that require it with the wider saw (frets 13 to 19), where I don’t want to hammer excessively.
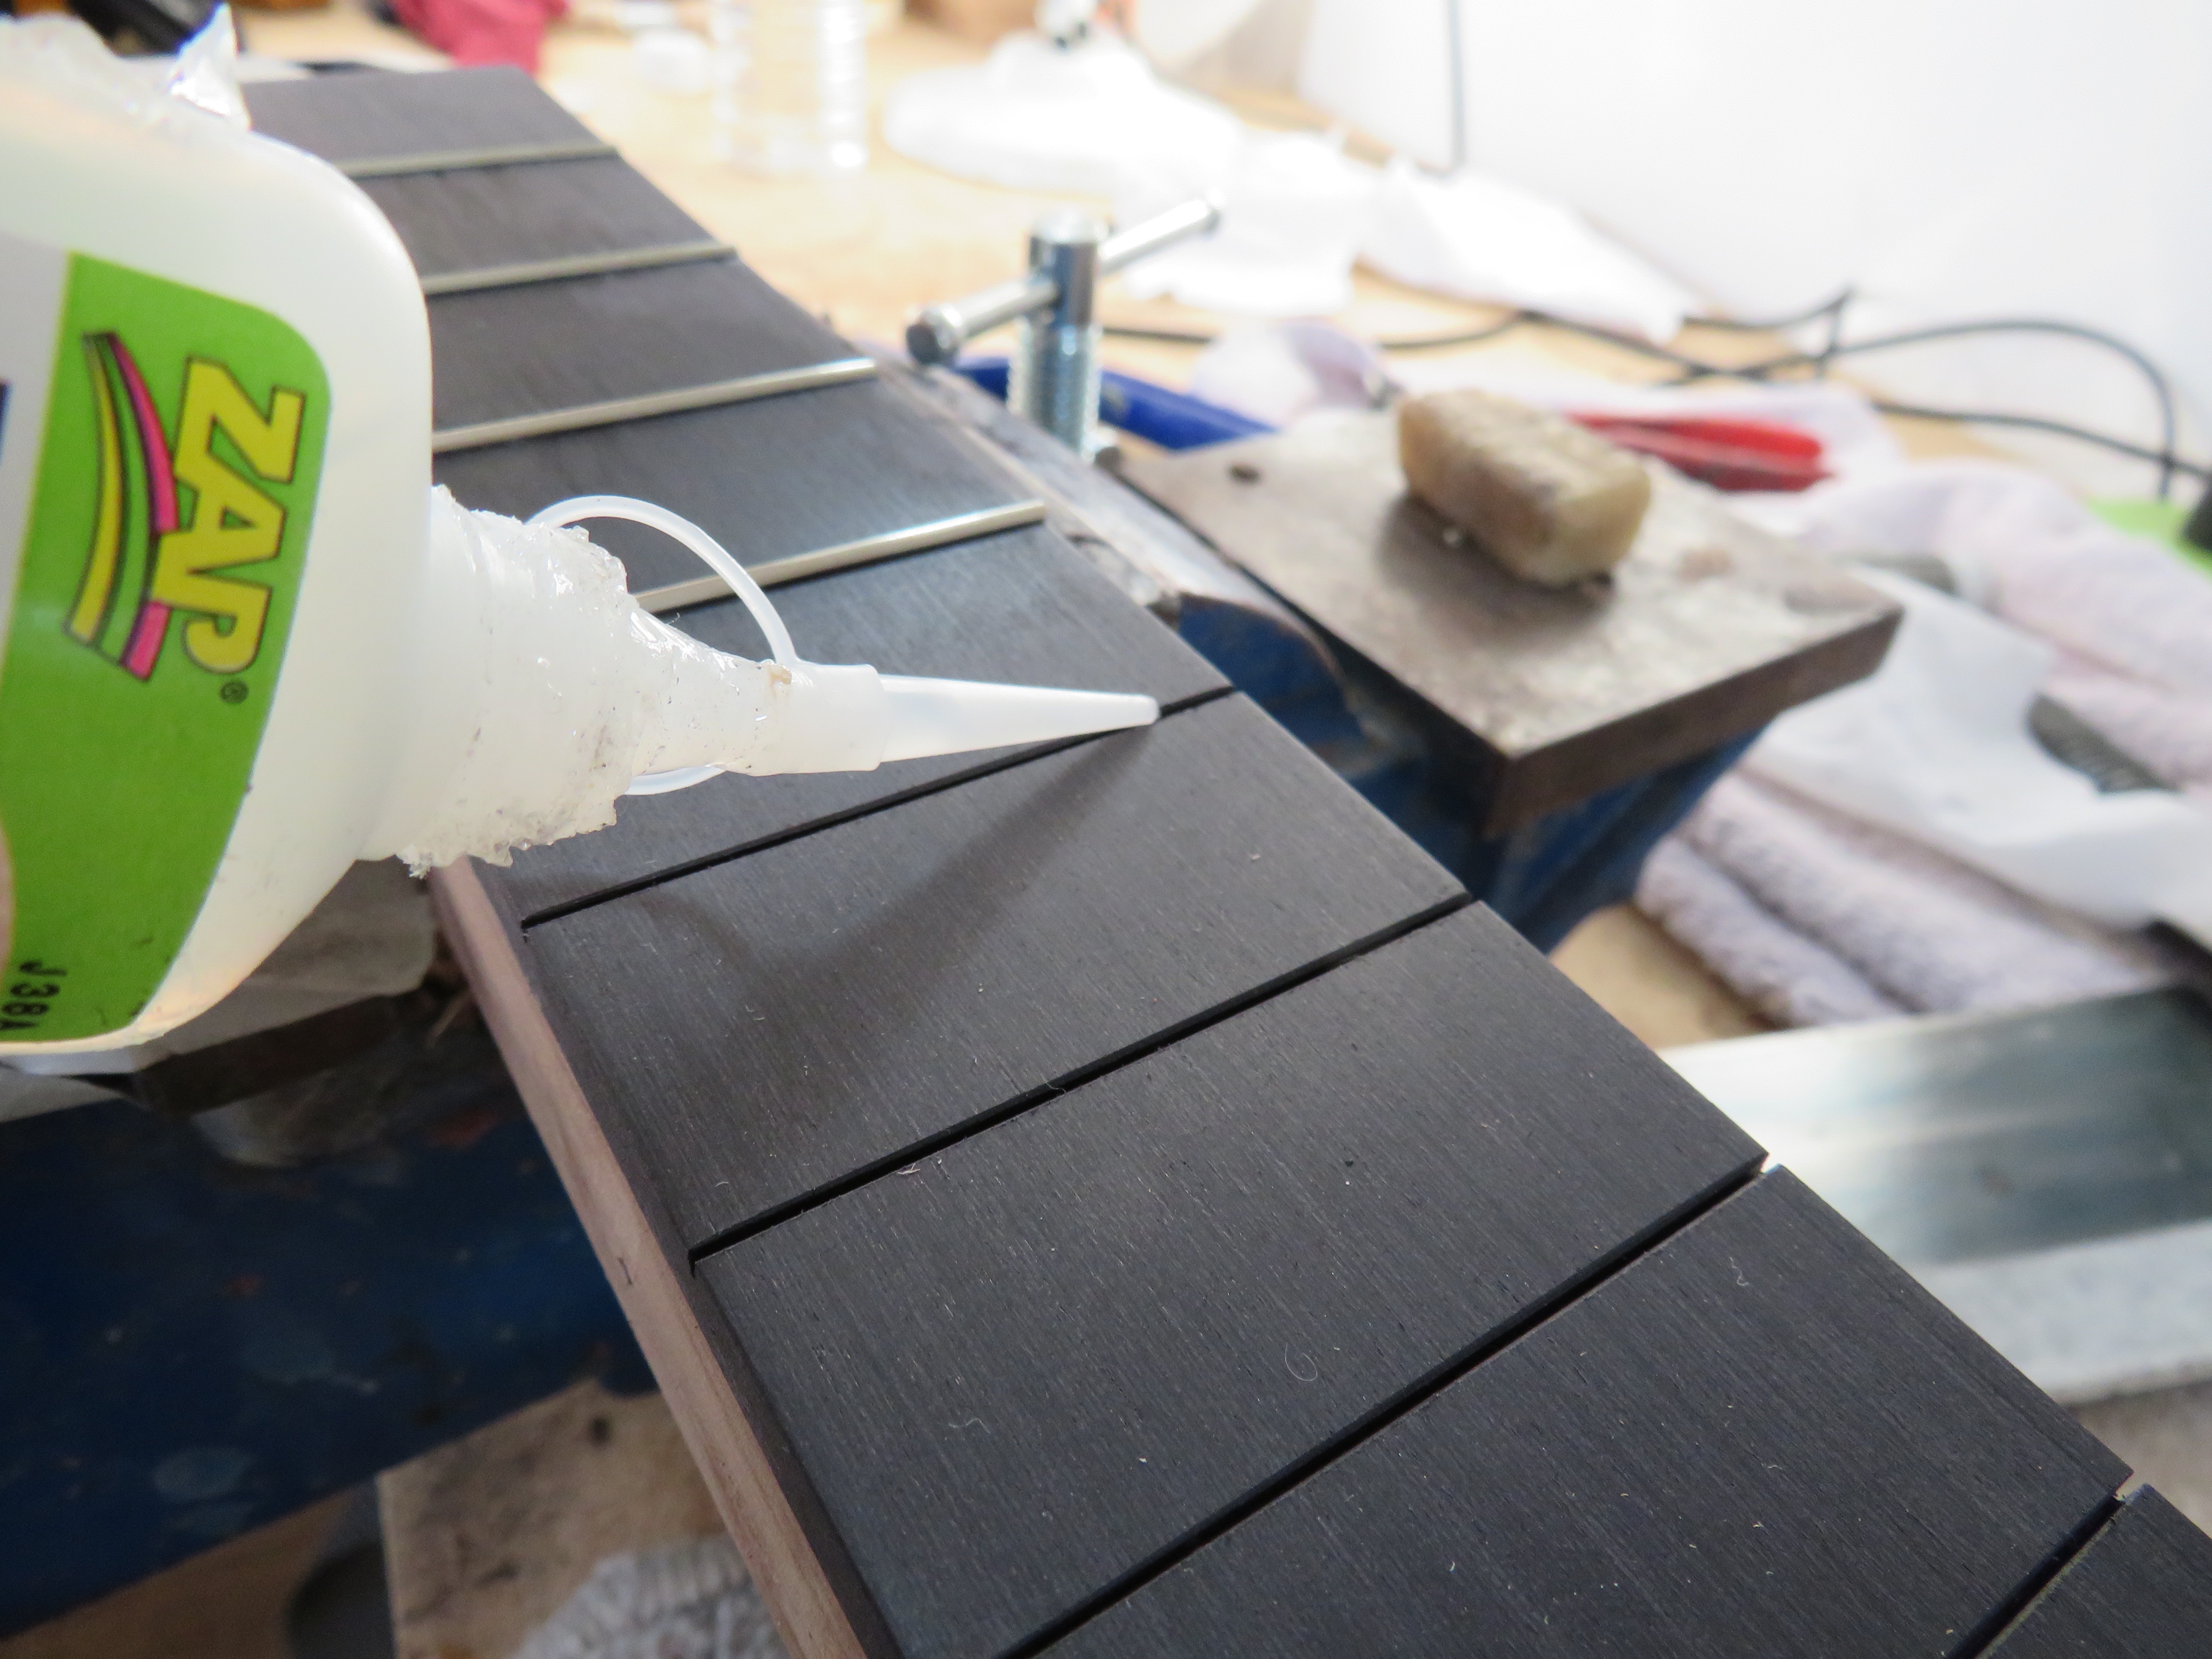
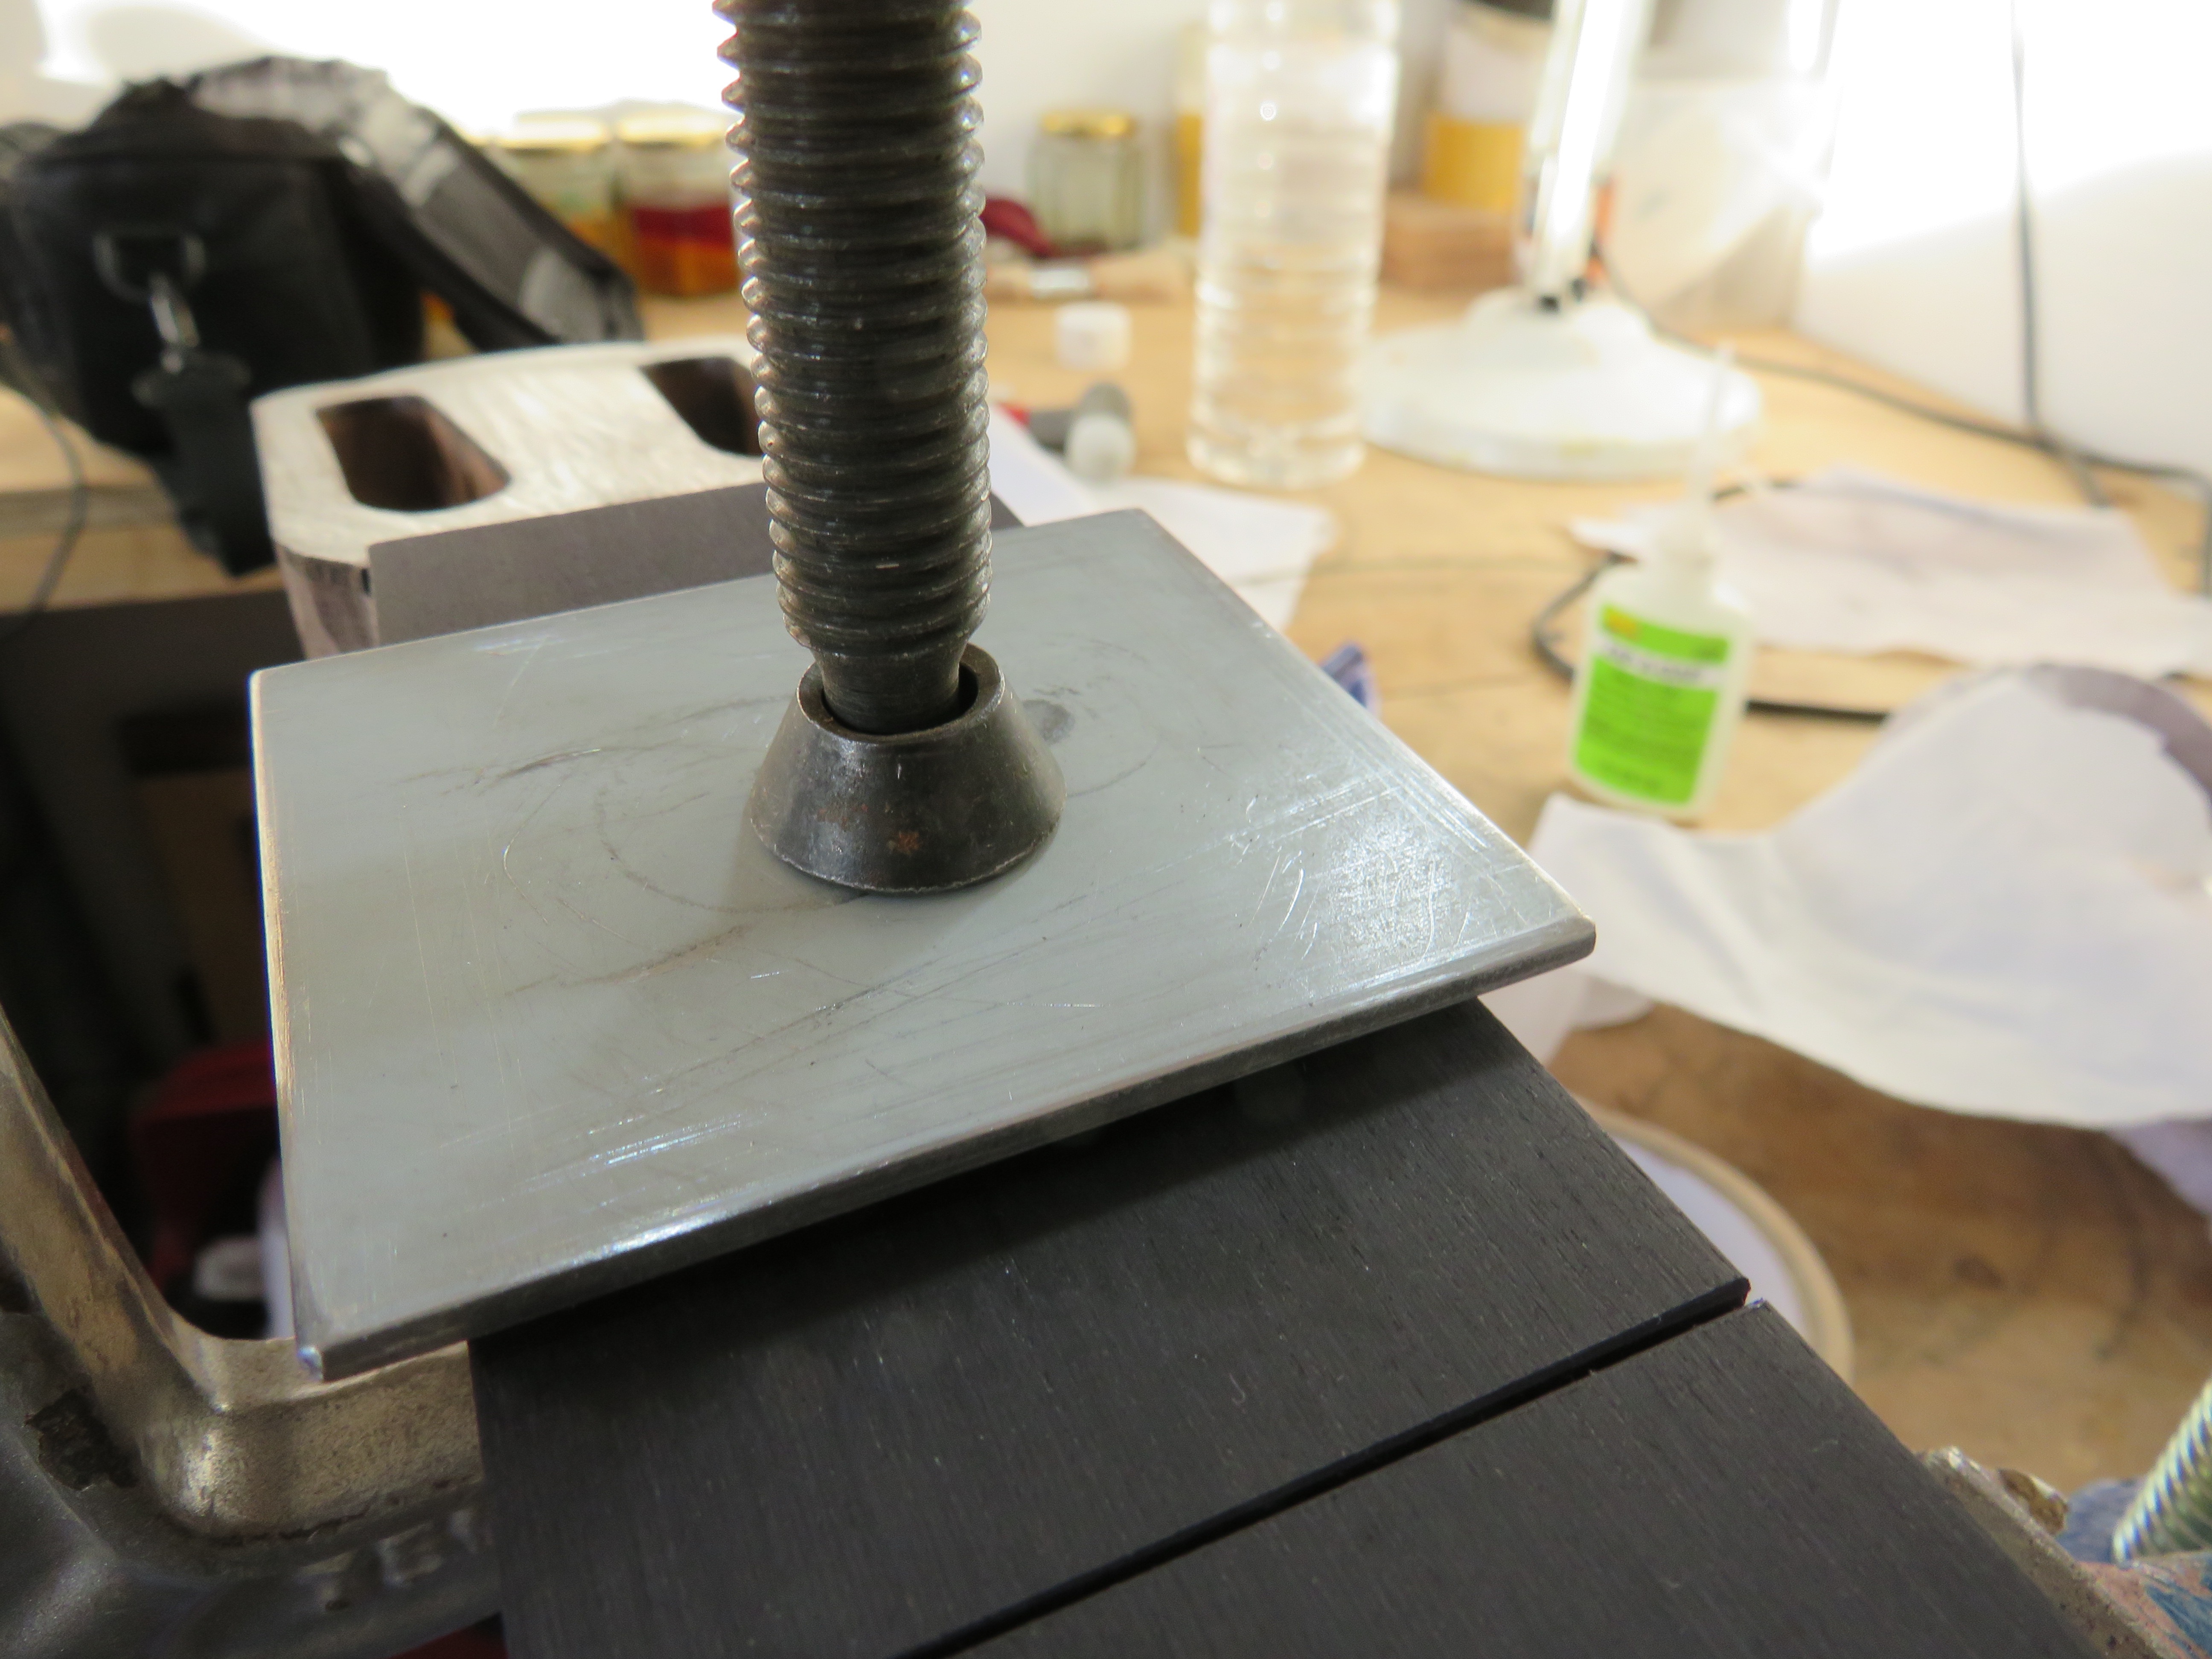
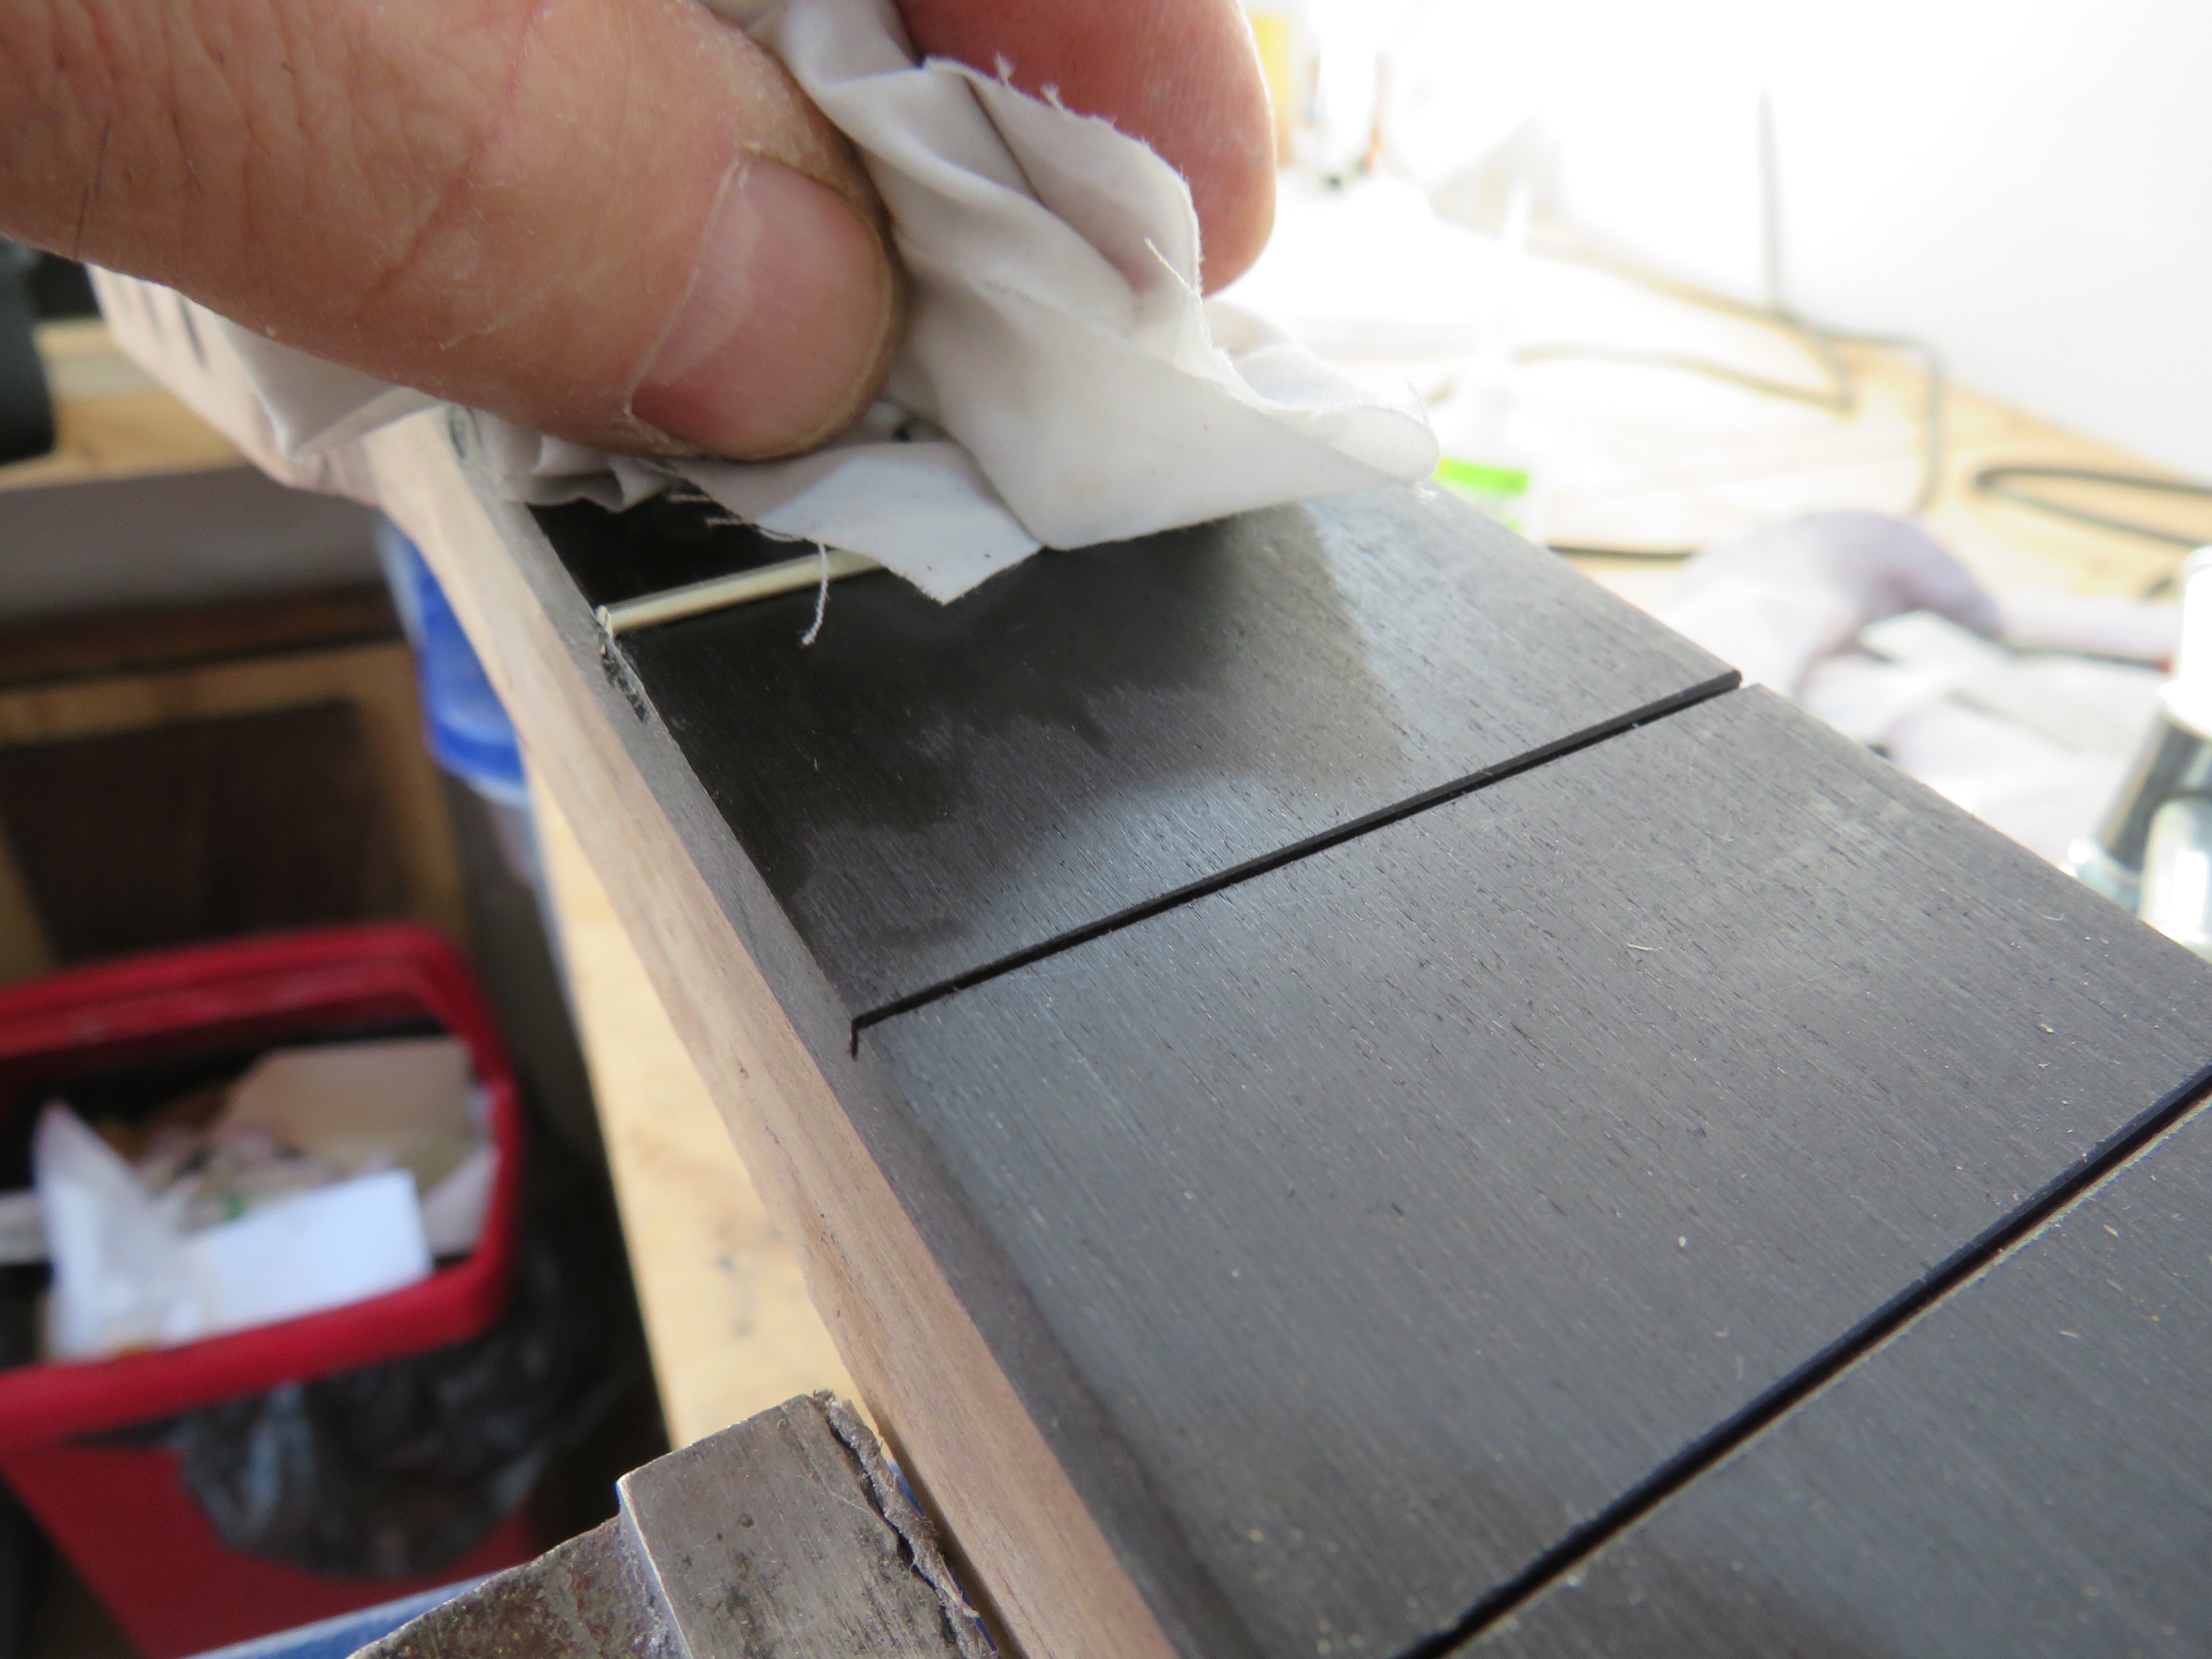
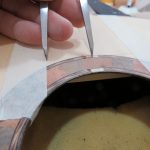
Superglue applied with a small nozzle gets the glue into the slot without much going on the surface. A little white spirit on a cloth will clean off any excess if done quickly. I prefer to hammer as little as possible, using a dead weight plastic head hammer, and then clamping the wire fully down with a flat piece of steel plate. This ensures the wire is fully down and undamaged.