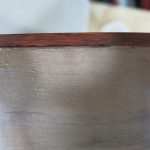
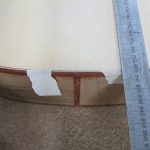
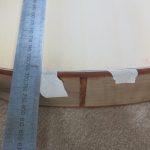
At home, over the Christmas break, I bent and glued the top binding, repeating the process Roy showed me for the back of the guitar. I removed all the pins that were clamping the purfling and finished off chiselling the 2x7mm rebate for the binding. It was the first time I’d used my own bending iron and I set it at 175c and took it carefully. I used blue (strong) masking tape to clamp it into place and when dry, I scraped and sanded it flush with the ribs and soundboard.
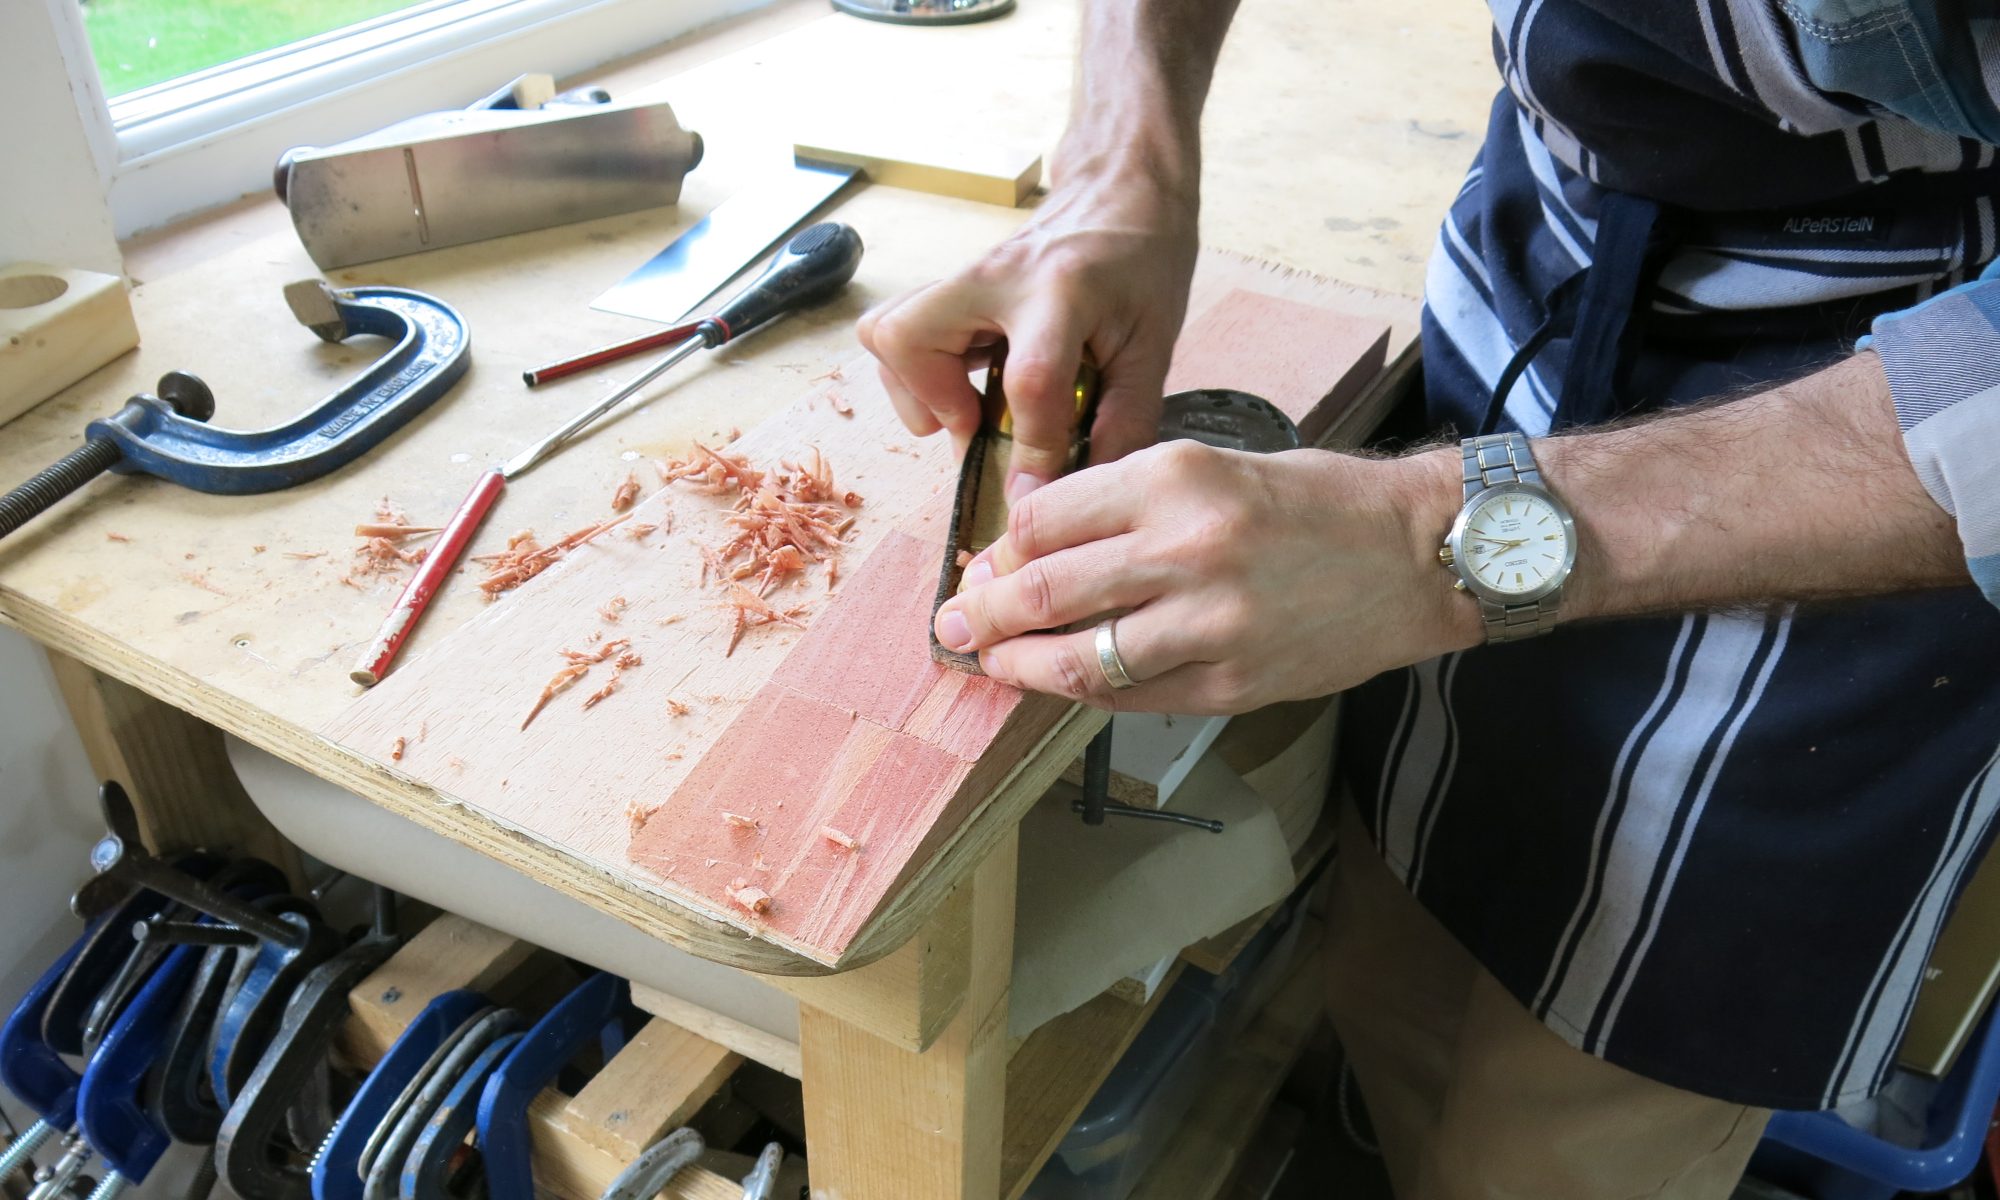
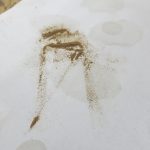
Although it had been coated with protective shellac, the padauk easily stained the soundboard and so I left it until seeing Roy today. He suggested I seal the padauk with shellac and then carefully sand in one direction towards the edge of the soundboard. This seemed to work well.
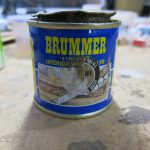
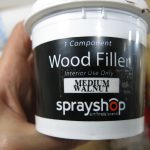
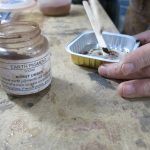
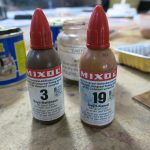
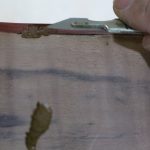
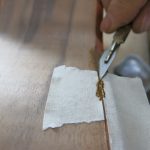
Despite being careful with the purfling and binding process, there are a few spots which I need to fill. Today, Roy showed me three methods of creating filler: 1) out of a tin, 2) epoxy (Araldite) mixed with wood dust, or 3) liquid dyes mixed with epoxy.
Once dry, sanded and given a coat of shellac, the wood dust and epoxy was the best match and so over the next few days I will fill and sand the whole body of the guitar and give it a couple of coats of shellac.
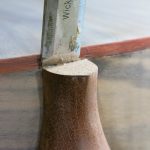
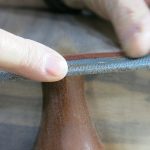
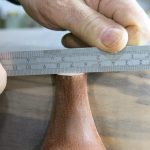
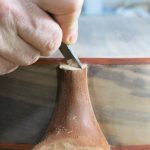
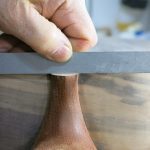
Next, we worked on the heel cap, laminating walnut-padauk-walnut and ensuring the heel was flat for gluing.
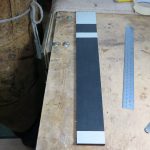
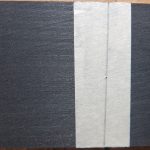
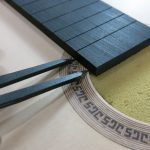
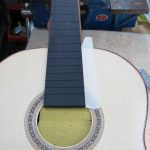
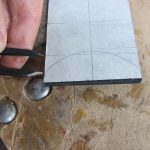
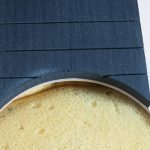
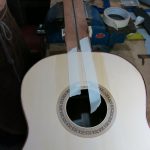
I had prepared the fretboard a few weeks ago, cutting it to shape and sawing the slots for the frets. Today the fretboard needed to be accurately positioned for gluing and the end of the fretboard needed to be cut to the shape of the sound hole.
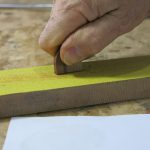
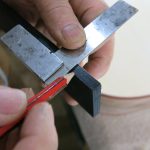
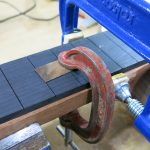
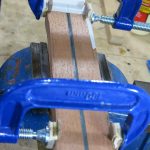
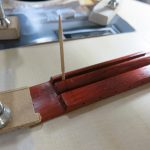
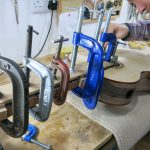
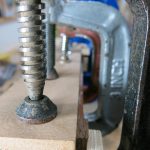
We also made up four guides for the fretboard and glued them to the side of the neck. With the fretboard correctly centred, the guides are sized to accurately hold the fretboard in position and allow it to be slid easily on and off the neck. In an image below, two guides have been glued to the bottom of the neck and are clamped while drying.
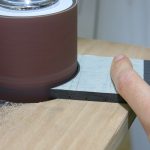
I then cut the fretboard on the band saw and used a sanding drum on the drill press to finish off.
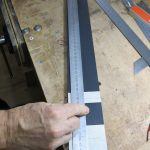
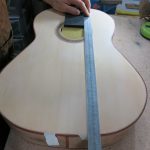
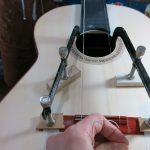
Next, we set the position of the bridge, first marking the front of the saddle at 652mm from the nut (650+2mm for compensation). Then, using two strings, we positioned it on the centre of the body.
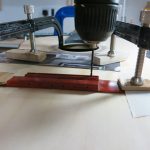
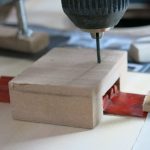
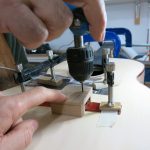
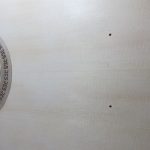
Using a hand drill and 2mm bit, we carefully drilled the holes through the bridge and soundboard. Cut-down cocktail sticks will be used as dowels when the bridge is glued.
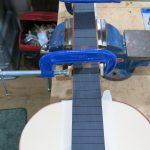
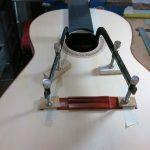
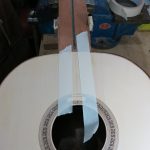
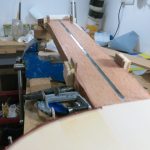
The fretboard and neck were then sanded, glued and clamped, ensuring it was pushed up to the nut and held tightly by the guides we had made earlier.
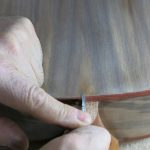
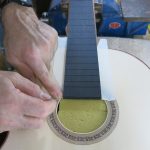
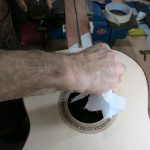
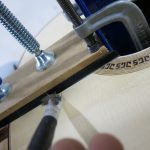
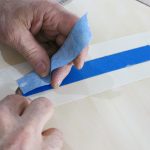
In an image below, the fingerboard is clamped, the nut has been removed and I’m cleaning up the glue that has squeezed out onto the soundboard. We had anticipated this and prior to gluing the fretboard had marked out the gluing area and put a coat of shellac on the soundboard either side of the fretboard to protect it from the glue.
Today corresponded to Roy’s book pp. 269-281.
You must be logged in to post a comment.