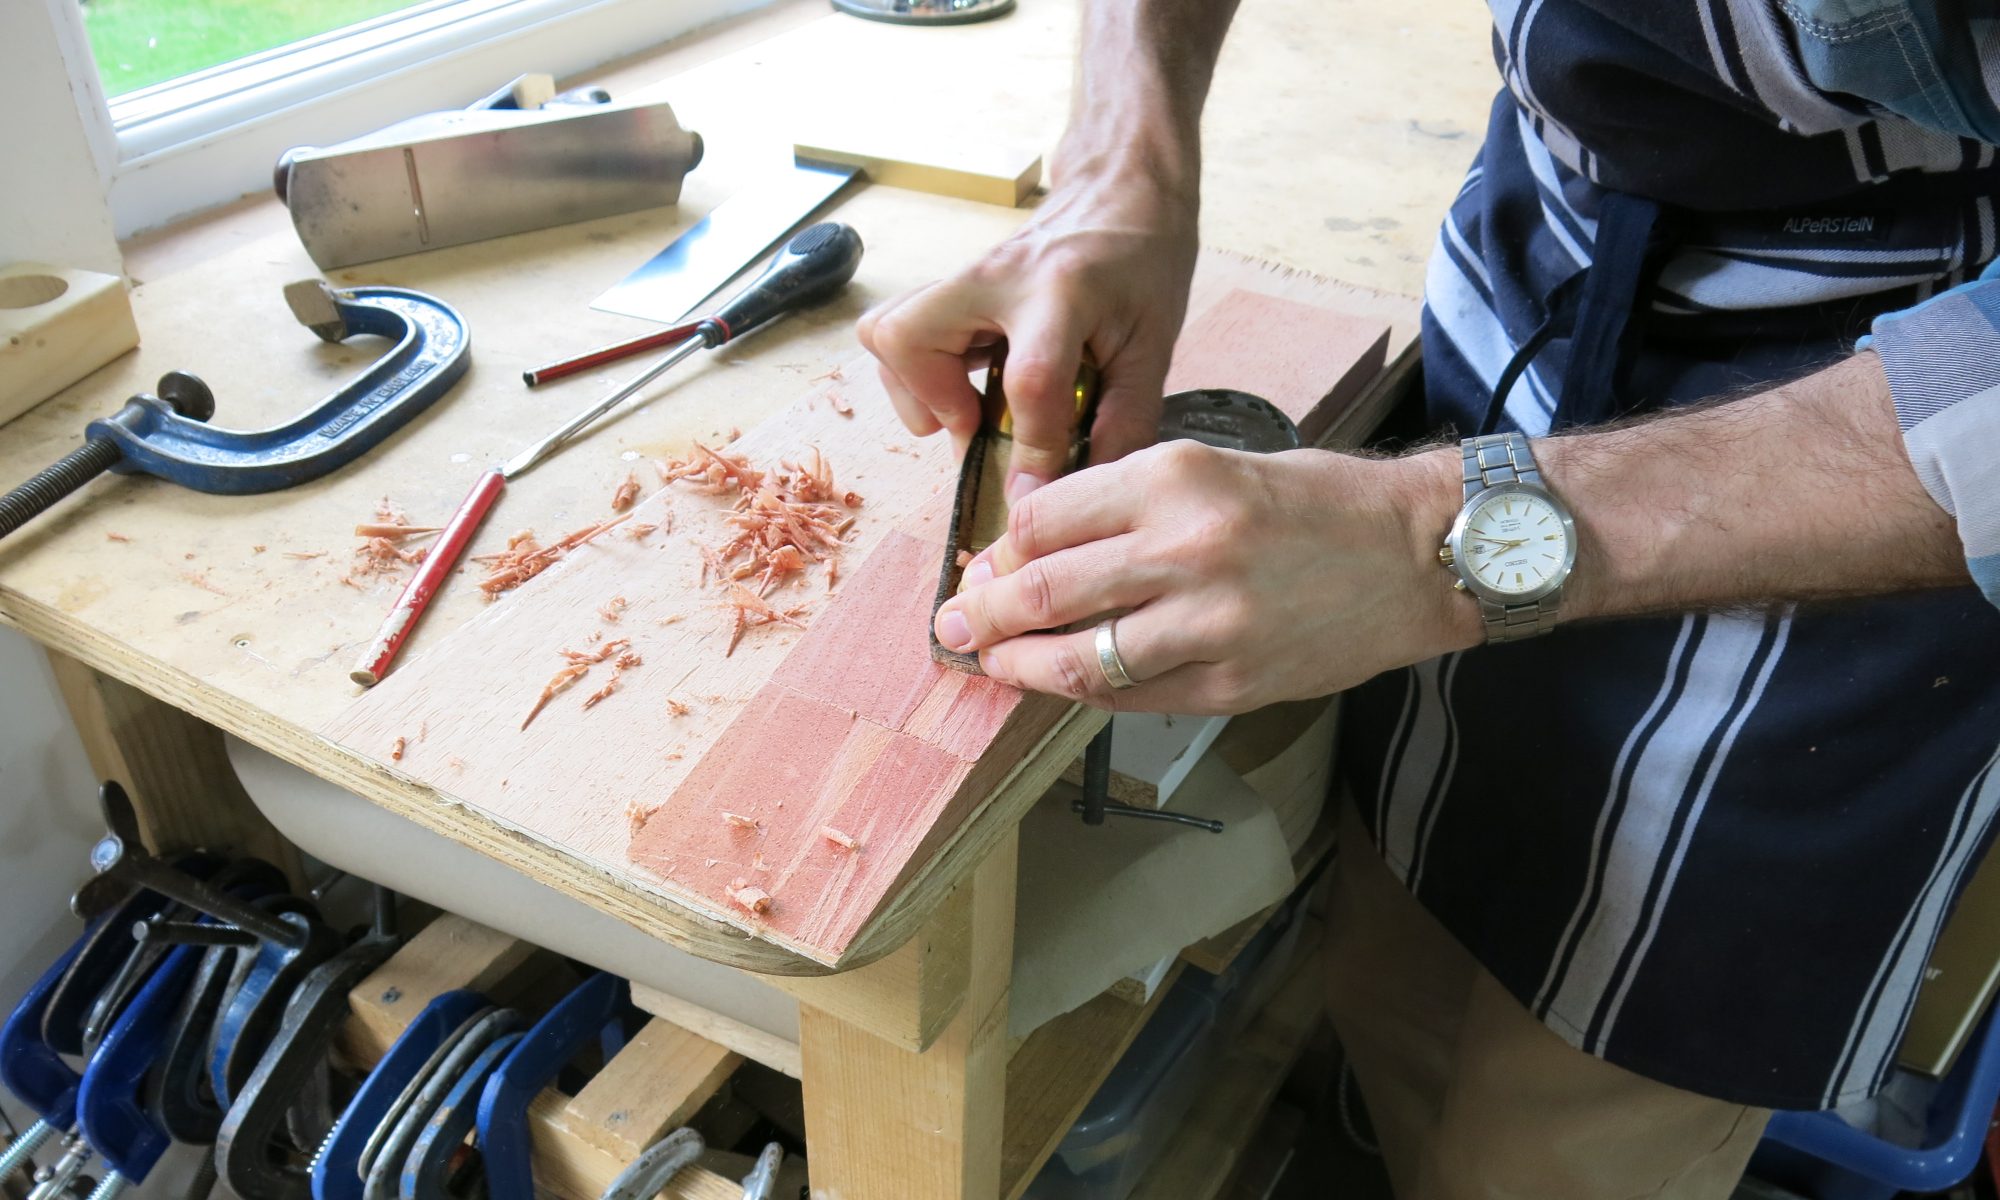
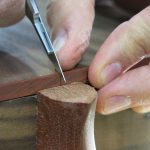
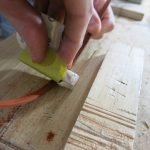
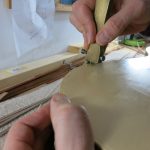
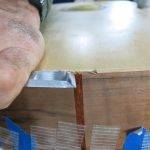
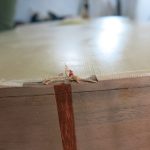
Today we continued to work on the purfling and binding. During the week, at home, I chiselled the rebate down to the 7mm height of the binding, resulting in a 2mmx7mm rebate. One thing I hadn’t done by the time I arrived at Roy’s today was make room for the binding to pass across the heel of the neck, so that’s the first thing I did, first scribing a line with a scalpel and then using a 2mm chisel.
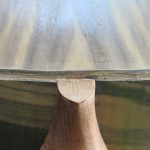
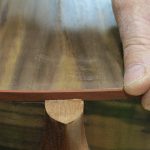
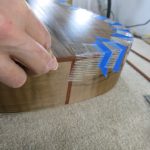
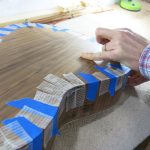
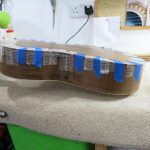
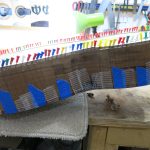
Next, I made sure the rebate was clean and square and that the binding fitted correctly. After bending the padauk binding on the iron I rubbed the inside down to provide a key for the glue as the iron tends to leave a hard, polished finish. I then glued and taped it into place, one side at a time.
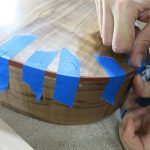
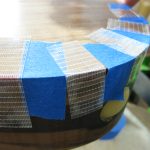
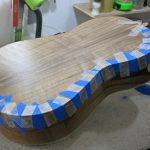
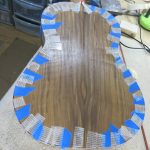
In the images you can see that we used two types of tape. The blue tape is pretty strong, but the transparent mesh tape is very strong and allowed me to exert quite a bit of clamping pressure on the binding. I won’t use it on the soundboard side because of the danger of tearing the wood when trying to remove it.
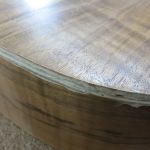
Once that was done, I then repeated the whole purfling and binding process on the soundboard side, taking extra care not to slip with the scalpel or chisel. All went well. The lattice-braced soundboard varies in thickness from upper to lower bout which meant that especially around the lower bout, I had to remove some of the laminated walnut rib in order to get the depth I needed for the purfling.
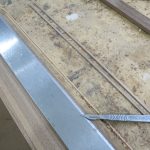
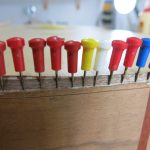
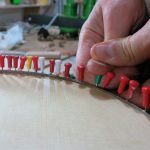
I finished the day much like last time, by gluing and pinning in the purfling; the only difference is that I’m using three veneer strips (walnut/sycamore/walnut) for the purfling on the soundboard side, making it a bit trickier to install. First I cut the purfling strips from the veneers, then glued all three into a single strip, before gluing and pinning them to the body.
At home over the Christmas holiday, I’ll install the soundboard side binding, cap the heel, and sand the body of the guitar ready for eventual French polishing.
Today corresponded to Roy’s book pp. 264-274.


You must be logged in to post a comment.