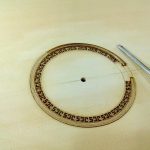
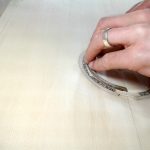
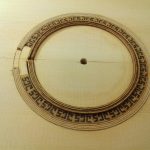
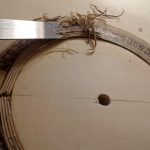
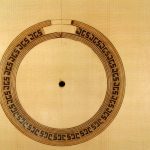
I began the day by completing the rosette from last week. The inner circle needed to be cut and the veneer lines glued in place. Once it had dried, I chiselled and sanded the lines flat to the soundboard. One of them ripped slightly so I had to repair it, which wasn’t difficult. A scalpel to clean the 2cm long slot, a small piece of replacement walnut veneer and a little glue was all it took. As it happened, it overlapped with the fretboard area, so is hidden for the most part.
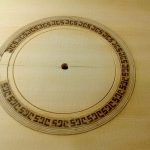
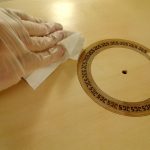
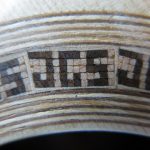
I sanded the rosette and soundboard and then gave it a protective layer of shellac. I’m quite pleased with the finished rosette. I wanted to learn the traditional techniques, which I think this enabled me to do; I wanted muted, natural colours, hence the simple combination of walnut and sycamore; and I wanted to involve my daughter in some way, hence her motif design.
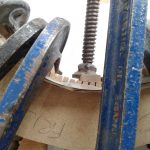
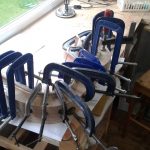
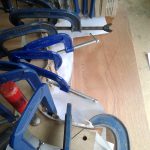
Inbetween the rosette veneers drying, we laminated a side with two strips of cherry using lots of grease proof paper and clamping from the centre outwards.
I also planed some struts to 2.5mm thickness and took the rest home to finish.
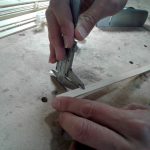
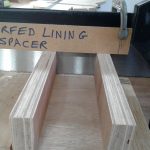
The linings were planed and kerfed. The two next to the soundboard will be laminated with veneer to make them more rigid. Roy rigged up a box and spacer for the saw for me to kerf the linings. The spacer stops the saw cutting right through. Easy!
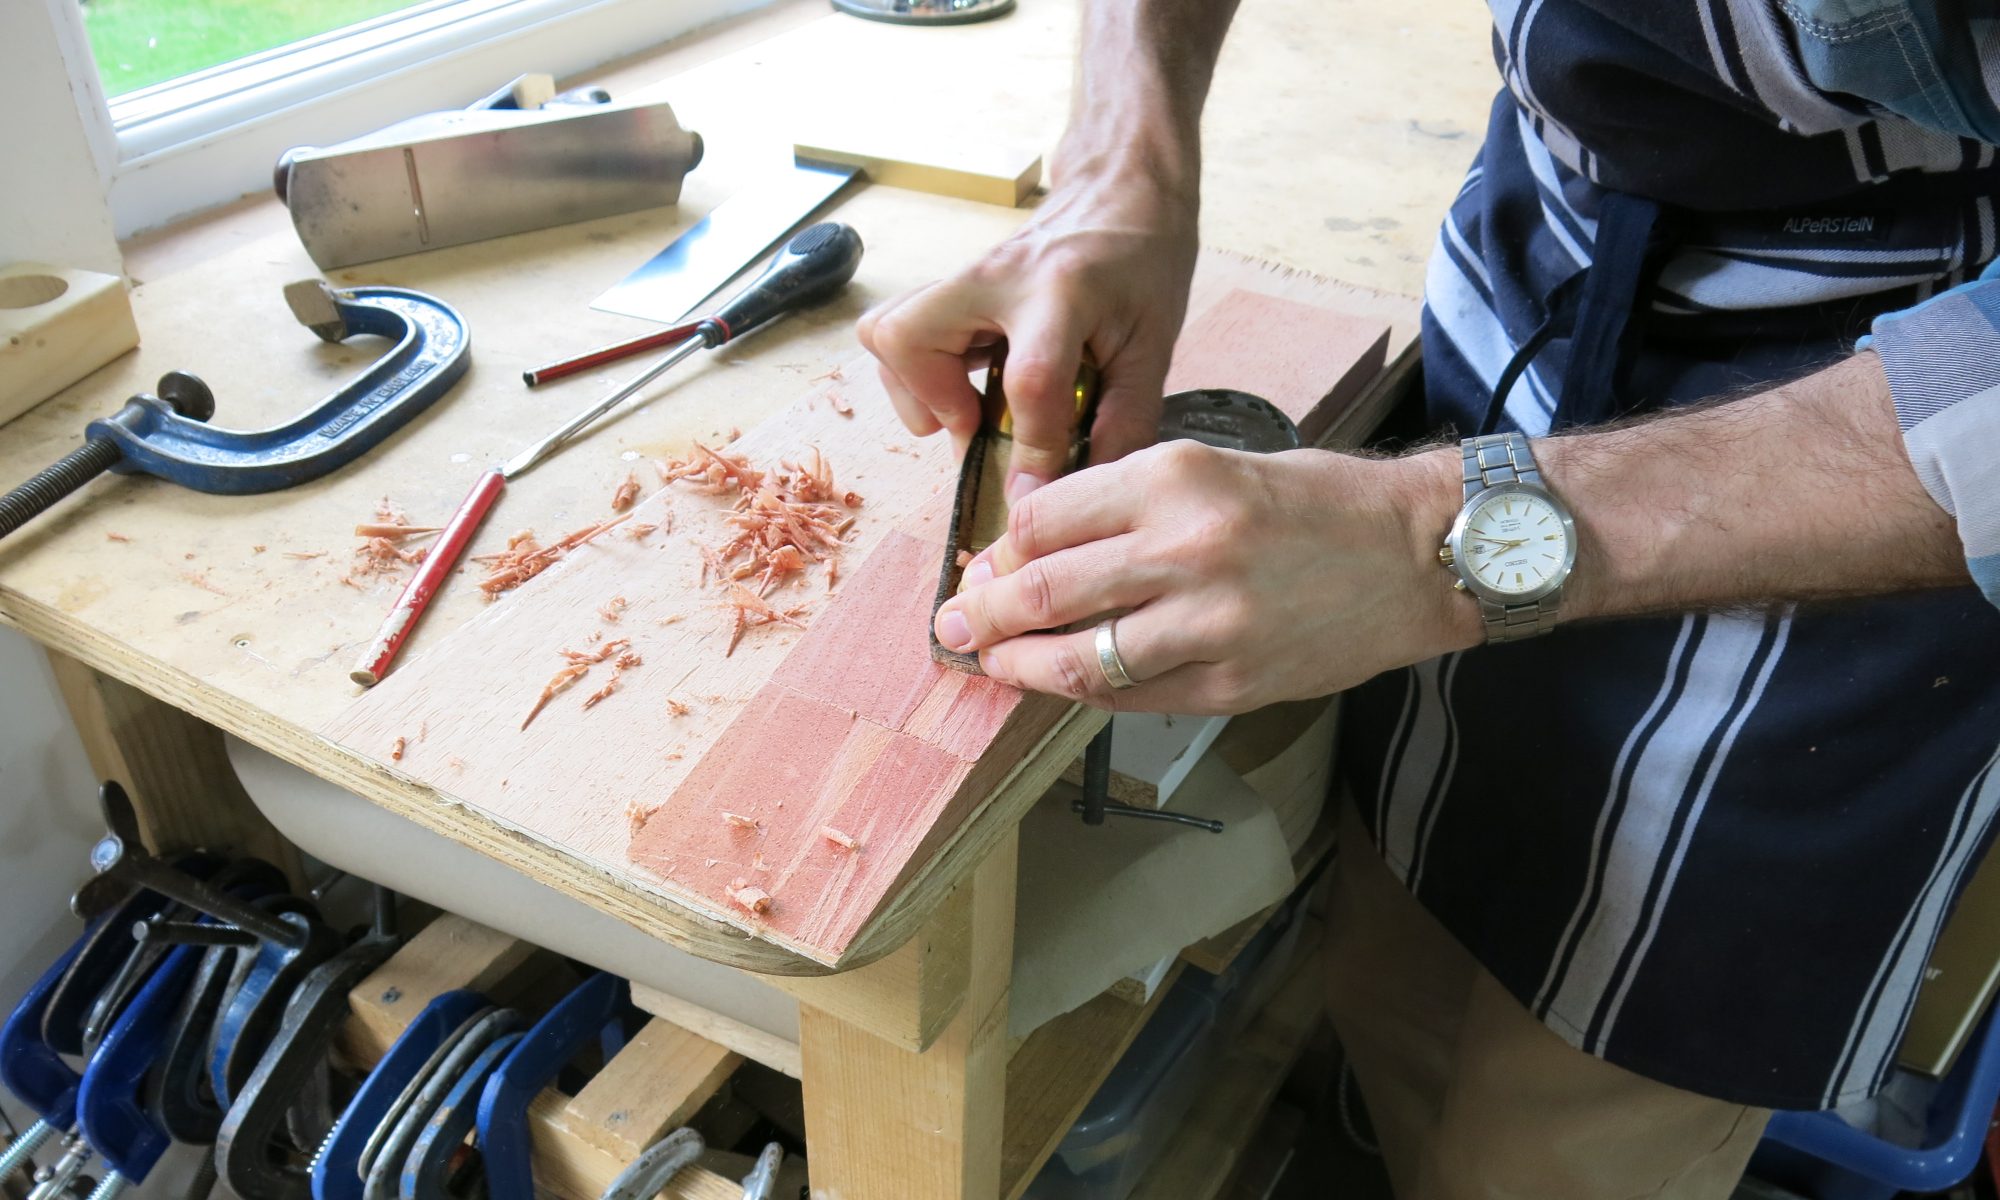
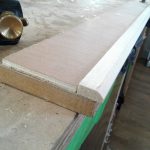
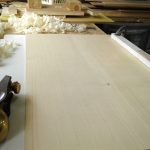
Very carefully, I turned the soundboard over onto a spotless, smooth surface and started to thin the back. The lower bout will eventually be thinned to about 1.3mm but today I took the whole board to 2.5mm.
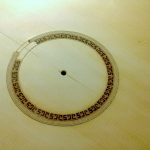
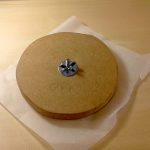
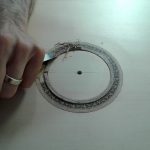
The last photo from the day shows the rosette illuminated through the back of the soundboard. There’s probably less than 1mm of soundboard under the rosette, but this will be reinforced with a circular piece of wood.
Today corresponds to Roy’s book pp. 201-207; 237-239.

You must be logged in to post a comment.