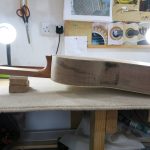
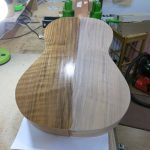
Today, I began by trimming the back flush with the ribs. I then finely sanded the body of the guitar and coated the front, back and sides with shellac to protect it before starting to work on the purfling and binding. It’s amazing what one coat of shellac can do to the wood.
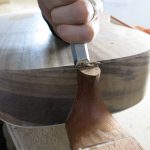
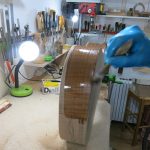
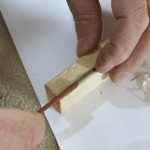
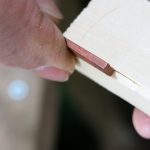
Next, Roy rigged up some clamps to hold the guitar while I worked on the end inlay. It was simple and effective. I then carefully marked out and chiselled a slot for the inlay to be glued and later sanded.
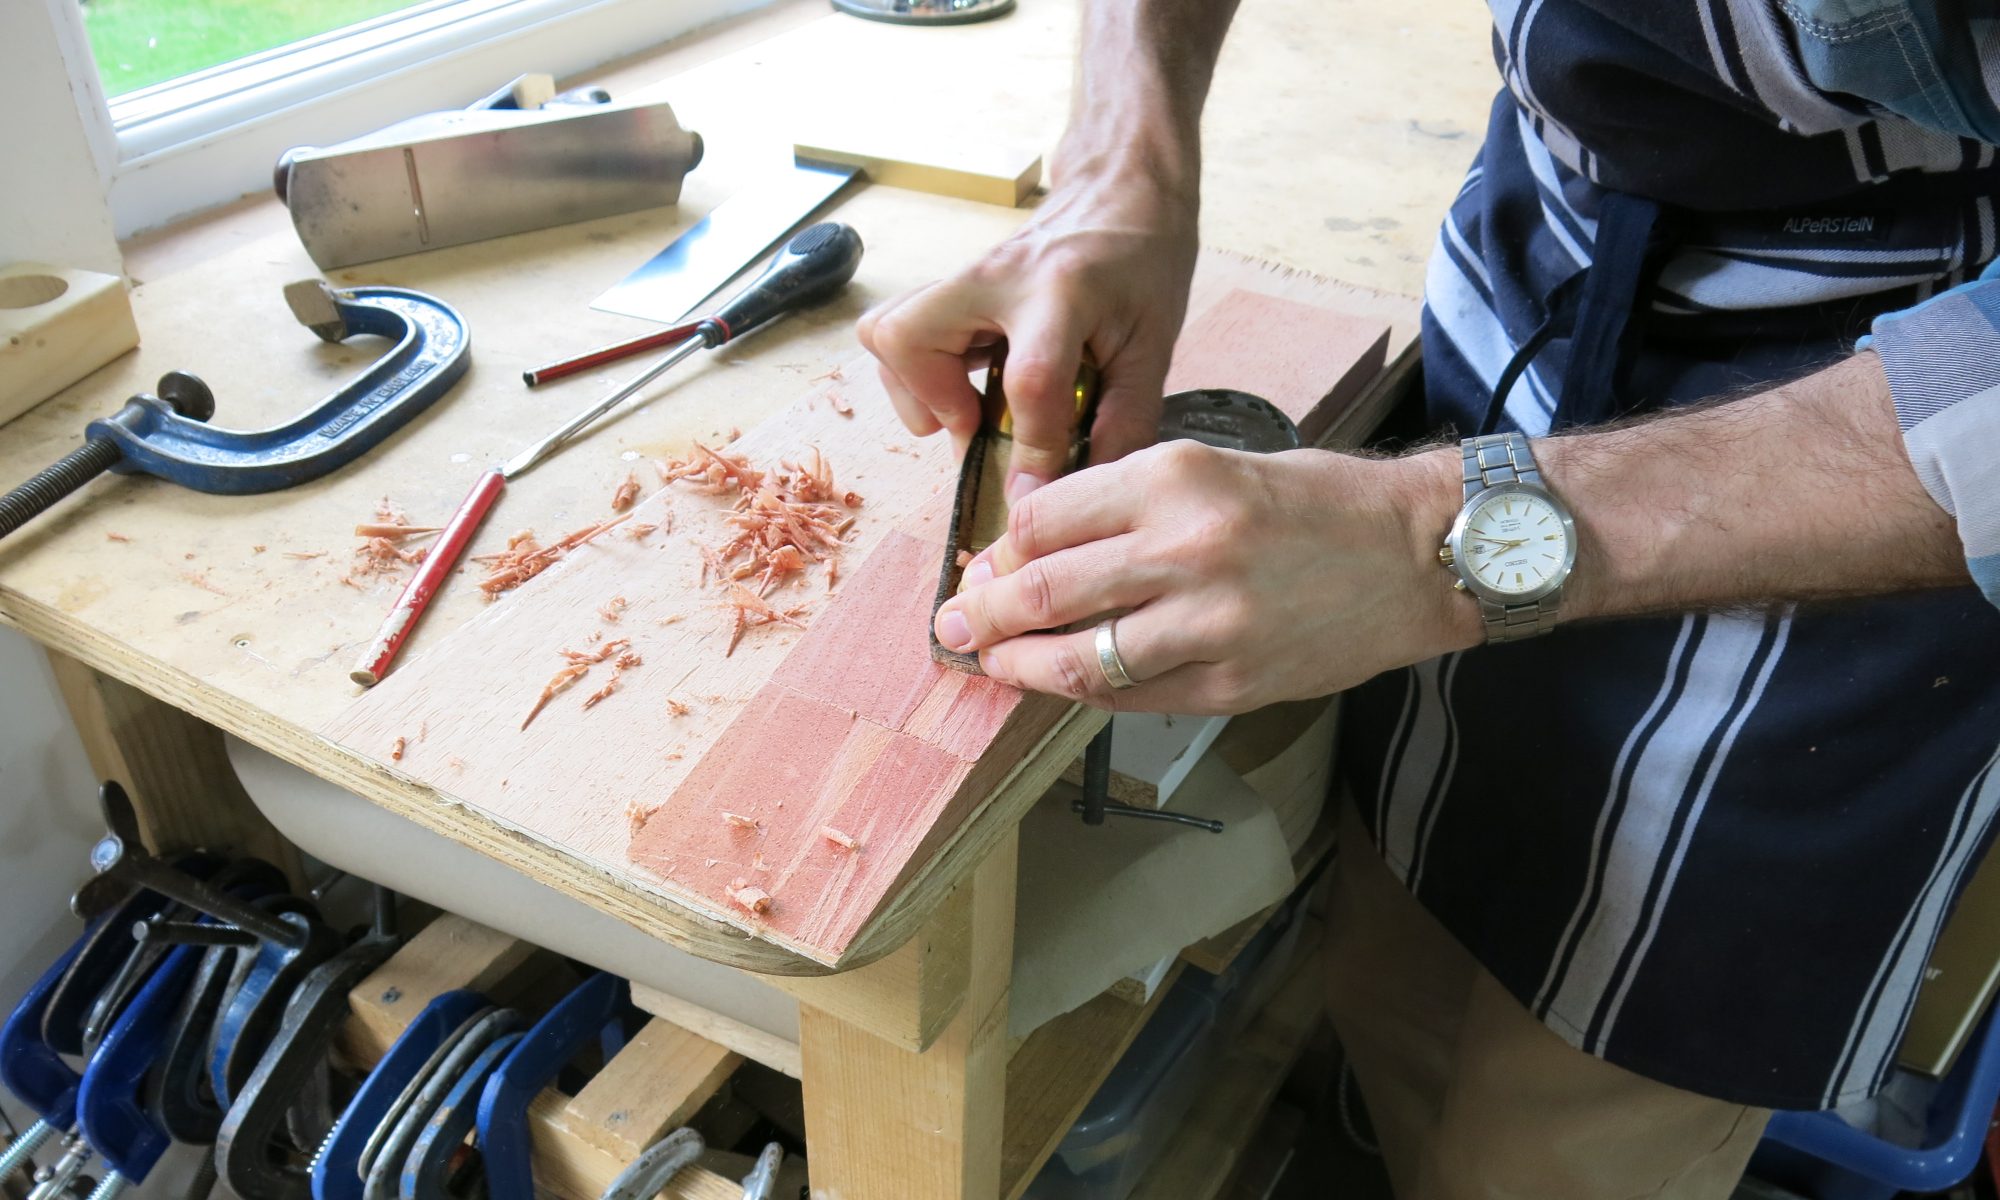
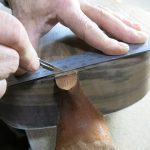
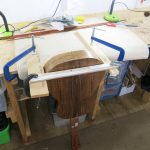
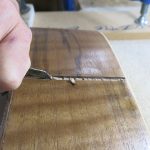
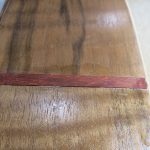
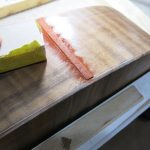
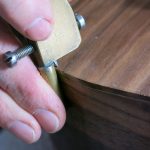
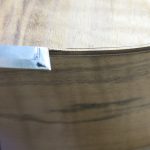
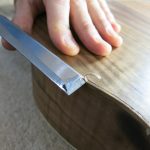
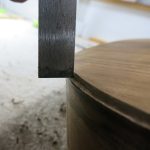
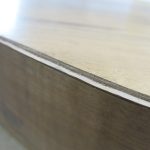
Once that was glued in place, we turned to cutting out the rebate for the purfling and binding. I am using a single veneer of walnut for the purfling and then a 2x7mm binding of Padauk. Roy showed me how he always sets up the depth of the purfling cutter using a piece of wood to ensure that the depth he has set it to is actually accurate when the purfling and binding are glued into place. You can see in an image below that the test rebate has been cut and the purfling and binding fits flush.
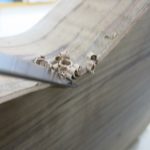
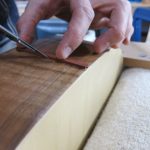
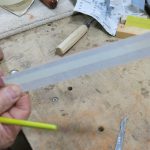
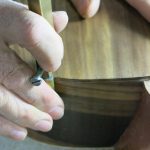
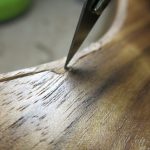
Actually, the purfling cutter only really marks out the line, which is then made deeper with a scalpel.
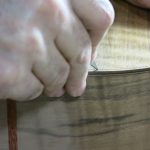
Once I’d cut the line with the scalpel, I then went around the body of the guitar with a chisel, using the scalpel cut as a guide for the edge of my chisel.
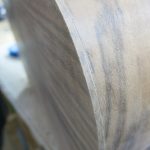
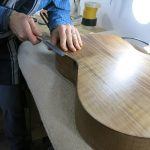
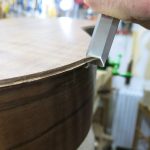
I repeated this process a couple of times all the way around the body until I’d reached the required depth for the purfling to be glued in place. I cleaned up the rebate with a chisel to ensure that it was square.
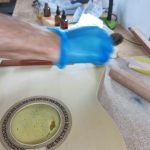
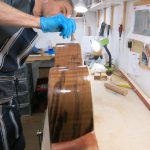
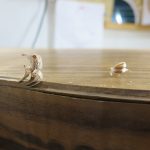
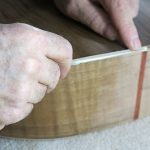
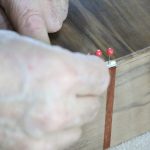
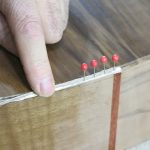
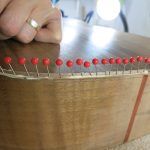
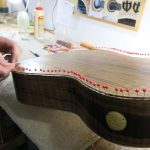
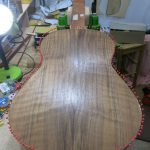
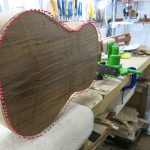
The last thing I did today was glue and pin the purfling. Lots of little map pins pushing the purfling into the rebate. Painful on the fingers after pushing a few of them in.
Today corresponds to Roy’s book pp. 264-7.
The back is made flush with the ribs using a chisel.
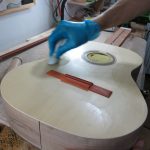
The body of the guitar is sanded with a fine paper 200+ in preparation for a protective coat of shellac.
The wood behind the heel of the neck is carefully trimmed.
An eraser is wrapped in fine paper to sand the area next to the heel.
Shellac is rubbed around the edges of the soundboard, except for the fretboard area.
The bridge in this image is placed on the soundboard to remind me where not to rub the shellac.
Roy shows me how the purfling cutter is set to the depth of the binding and purfling and tested on a scrap piece of wood.
Clamping the guitar for working on the end inlay.
The inlay is marked out where the ribs meet. Care is taken not to mark wider than necessary. The inlay can always be sanded narrower.
Once a good fit is achieved, it is glued in place and sanded when dry.
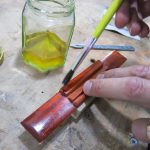
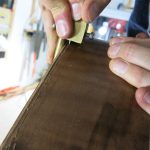
Having sanded the bridge with papers 300+ and 1800 micromesh, it is ready to be given a coat of shellac. Once dry, it can be sanded with micromesh and shellac applied again (and again).
The end inlay is sanded
Again, the purfling cutter is set to the depth of the binding and purfling and tested on a scrap piece of wood.
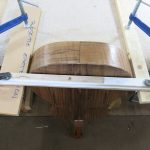
A line is marked on the back for the purfling and binding
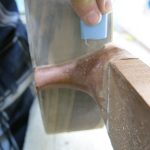
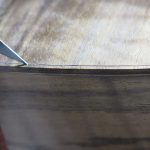
The cutter should be held vertically against the ribs of the guitar.
The line is then scribed deeper with a scalpel.
The scalpel cut is used as a guide for the edge of the chisel.
An invisible (really!) repair is made after the chisel slipped.
The depth of the scalpel cut determines the depth of the chisel cut. Too deep and the wood can tear.
The rebate is cleaned out and made square with an upright chisel.
Checking the rebate is square.
A line is marked on the soundboard side of the rib. Due to the softness of the soundboard wood, I later found that the cutter’s brass guide had marked the spruce. The indentation sanded out but it demonstrated how carefully I need to use the tool.
The purfling is glued…
…and pinned.
The pins are pushed against the purfling to secure it against the edge of the back.


You must be logged in to post a comment.