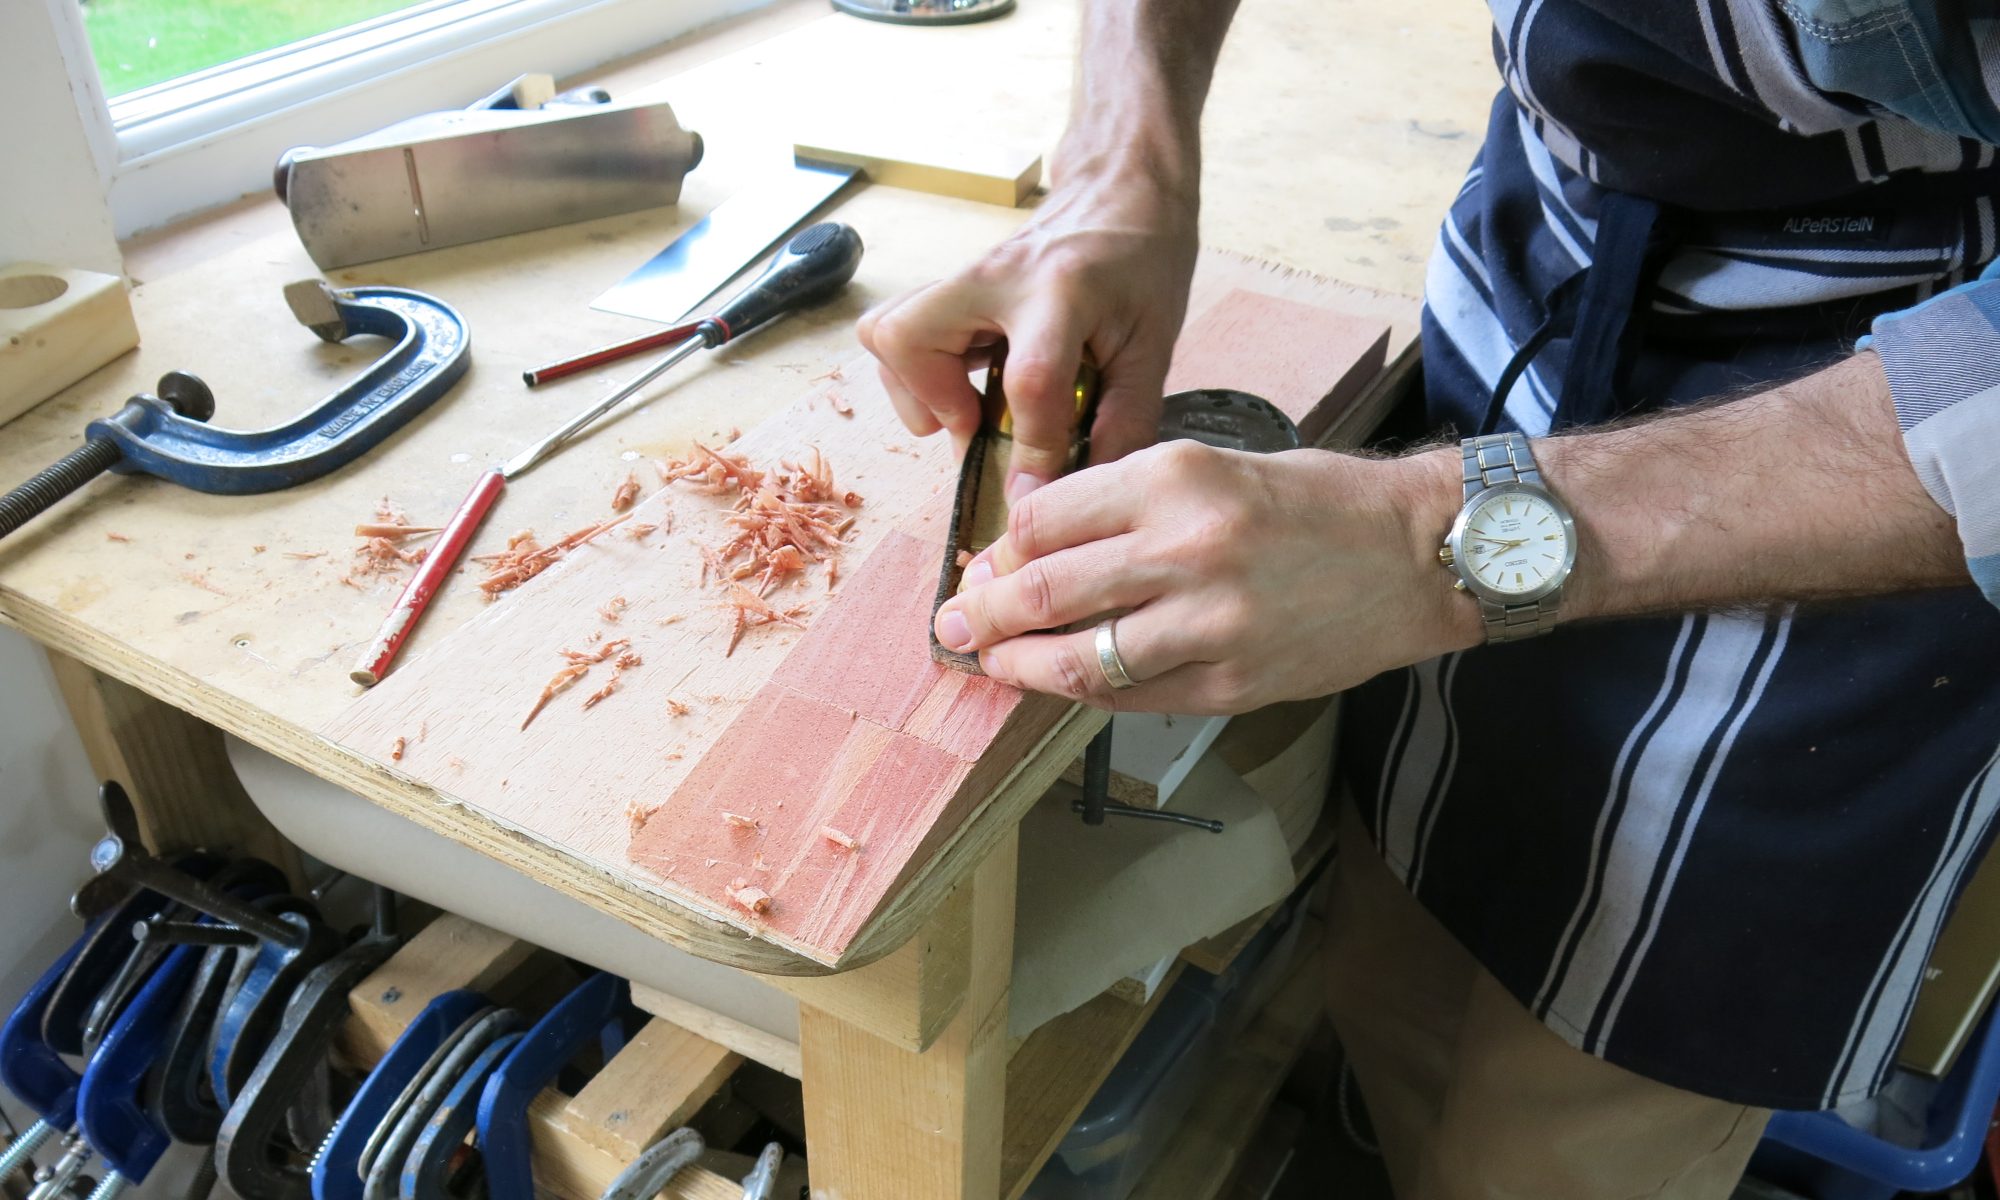
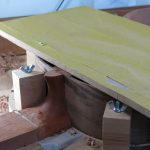
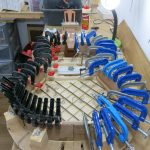
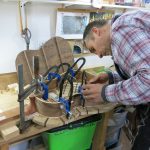
Today, I started by reducing the height (depth?) of the ribs so that the back could eventually be glued on. During the week, I had already reduced the height of the ribs at the end block and the foot of the neck. I then went around the ribs with a block plane, regularly checking the overall height with a flat board that extended across the end block, neck heel and the ribs. Finally, I lightly sanded them with a board.
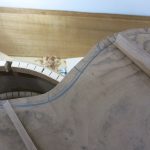
I then aligned the centre of the back with the centre line on the heel and end-block and carefully marked the position of the back bars on masking tape I’d stuck on the ribs and also marked where the bars needed cutting down to.
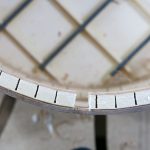
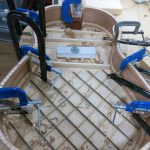
Next, having marked where the bars would sit once the back was glued on, I glued the kerfed lining inbetween each of the bar positions, cutting the length of the lining to fit nicely.
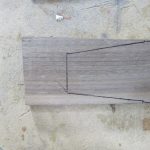
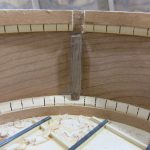
Once the lining was cut and glued to the ribs, I trimmed the back bars, reinforced the linings with 1mm veneer (as before) and marked, cut and glued a piece of walnut which was used to build up the foot of the neck for gluing to the domed back.
After lunch, we started to work on the fretboard (it’s useful to have a couple of things on the go at the same time to turn to while glue is drying). I am using Rocklite which is purchased already pretty flat and square. We discussed various ways of preparing the fretboard. Roy’s book shows first planing the tapered shape before cutting fret slots, and gluing it to the neck before cutting slots. However, he told me that it’s easier (and less worrying) to cut the slots before gluing to the neck and also cutting them on a square edge fretboard rather than a tapered one, with the tapered edges being made afterwards.
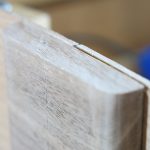
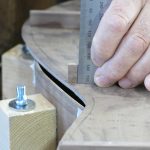
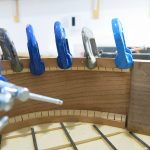
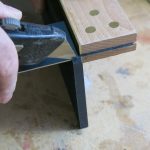
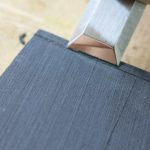
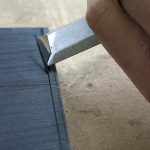
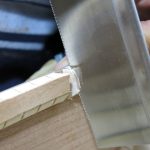
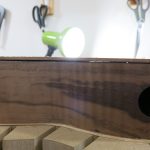
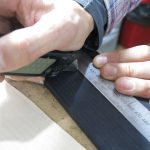
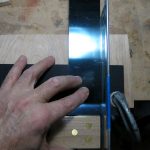
So, we found the best edge and face and using a square, I marked the nut end on all four faces. I then chiselled a groove from the waste side of the line to help position the saw when starting to make the cut. In one of the images below, you can also see a centre line marked with a knife.
Earlier in the week, at home, I thought I’d have a go at marking up the fretboard and foolishly used a knife rather than a pencil to mark the centre line. I realised my mistake and left it until today to see if it could be salvaged. Roy said it was a light cut and can be sanded out. On this first guitar, small mistakes like this are really instructive and keep me grounded.
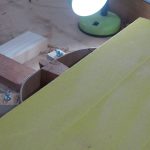
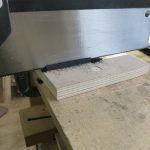
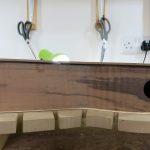
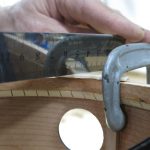
Turning to the guitar body, the back could now be positioned more or less flat on the ribs. It required a little more work chiseling out the slots in the lining and trimming the length of the bars, eventually achieving a very good fit. With a soft pencil, I drew around the outline of the body on the underside of the shape and cut the back more accurately on the bandsaw.
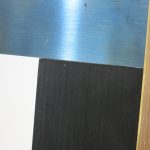
With the back accurately sawn to shape, I then planed the height of the ribs and lining to fit the dome of the back. This required taking a little more off around the curves of the upper and lower bouts.
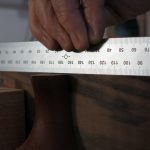
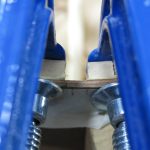
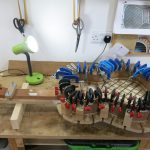
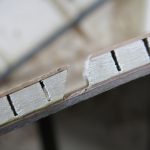
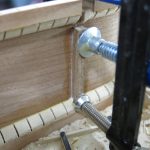
I then measured (using the bottom of a vernier caliper), cut and glued six reinforcing struts to the ribs under each of the slots where the back bars fitted. With these struts, the reinforced lining, the laminated ribs, and the three flat bars across the domed, laminated back, a strong and rigid body has been created.
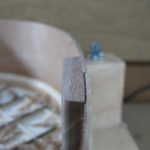
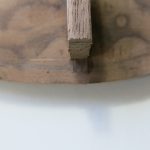
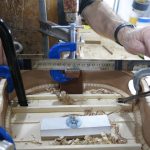
Towards the end of the day, I started to plane, chisel and sand the walnut I had glued to the heel of the neck in preparation for gluing to the back.
To get the correct level across the dome of the back, I taped off-cuts of thin strips of wood to each upper bout that compensated for the depth of the dome of the back and allowed me to reduce the walnut until it was level with the compensated ribs. The purpose of this was so that with the strips removed, the perimeter of the back lies flat on the ribs and the dome of the back lies flat on the built up neck heel. By this point, it was late in the day so we decided to wait until next week to glue the back on.
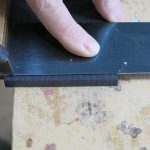
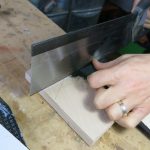
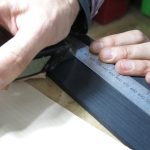
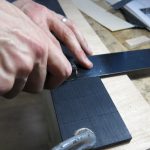
The last thing I did was begin to mark the frets out with a sharp blade. Using the measurements from Roy’s book, I first made small notches in the fretboard and then double checked them for accuracy. Happy with that, I placed the blade in the notch and pushed a square up to the side of the blade. I then marked the line of the fret along the squared edge.
My homework is to finish marking the frets and finish shaping the foot of the neck for gluing the back to.
Today corresponded to Roy’s book pp. 253-260; 275-276; 283.


You must be logged in to post a comment.