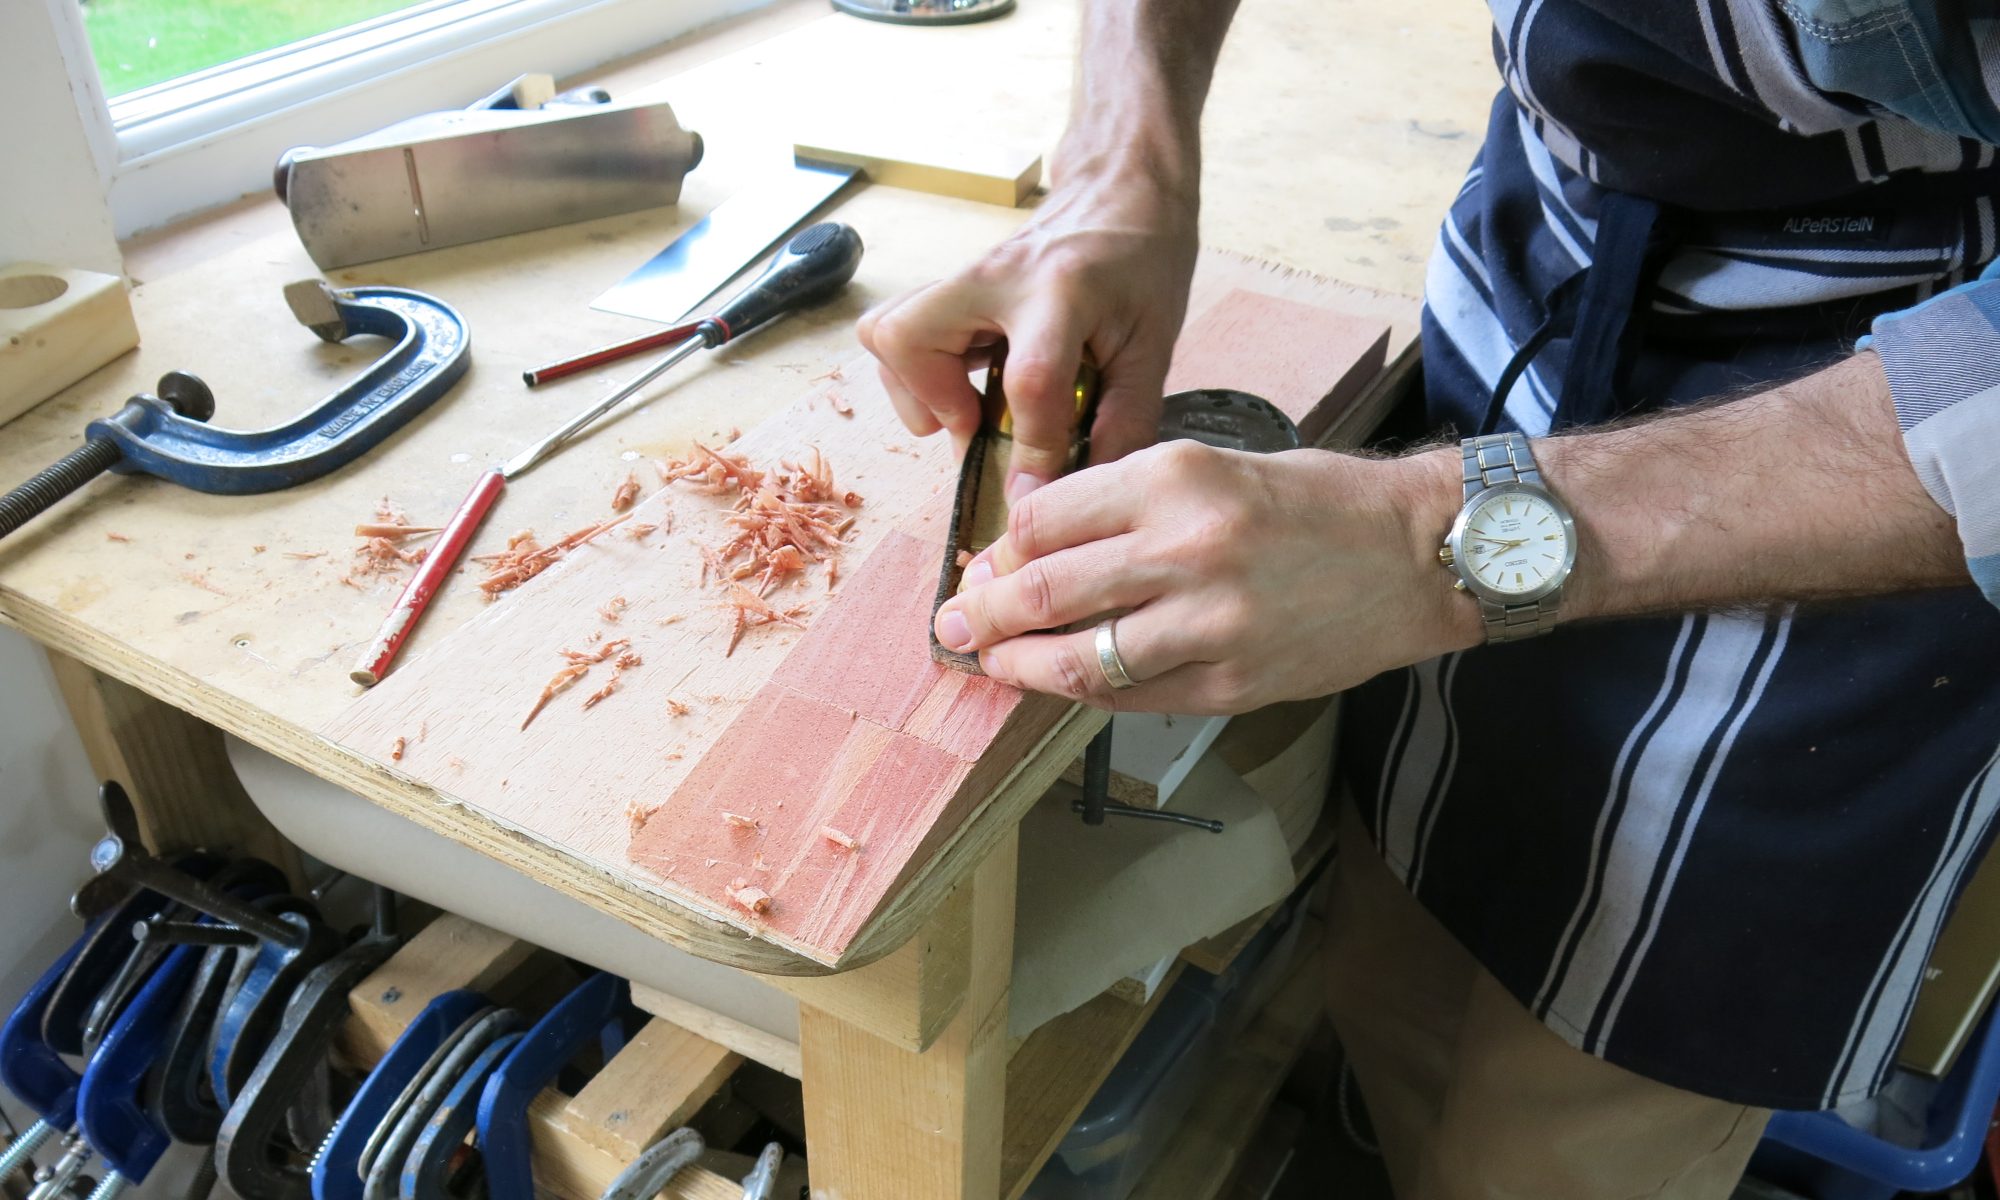
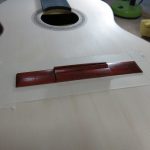
Over the last few days I had filled any gaps/holes in the body of the guitar around the binding and glued and shaped the heel cap. Today, I spent the first hour sanding the sound board with 150/180/240/320 papers and sealing it with shellac, in preparation to start work on the fretboard.
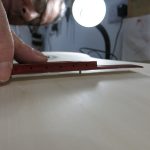
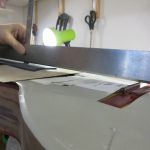
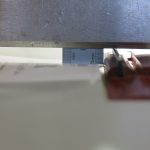
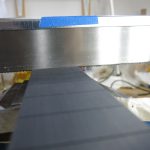
We then checked the height of the fretboard with a straight edge extending from the top of the saddle to a 2mm high spacer at the position of the 1st fret which imitated the string height. The fretboard needed lowering by 1/2mm (to reach 3.5mm at 1st string and 4.5mm at 6th string), so I scraped and sanded it level.
I repeated the eight-step process shown below for the first 10 frets with the neck of the guitar held in a vice at the fret being installed.
Installation of the first 10 frets went well. Frets 11-19 were installed in much the same way, but hammering and clamping had to be done more carefully. For frets 16-19, I used a caul and clamp through the sound hole.
For frets 11-15, I used a couple of large clamps and some wood to protect the heel cap and back of the guitar.
I then started to dress the frets and will finish them off over the next few days. Nearly finished!
Today corresponded to Roy’s book pp. 284-288.
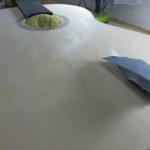
Sanding before sealing the soundboard in preparation for working on the fretboard.
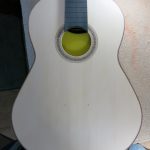
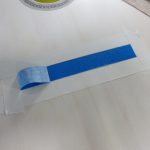
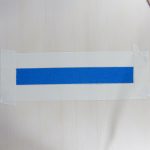
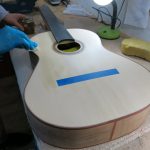
Masking off the bridge area before applying shellac.
Protecting the soundboard with shellac after sanding with 150/180/240/320 papers.
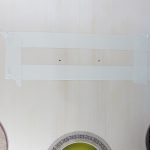
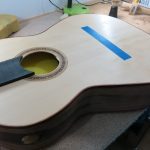
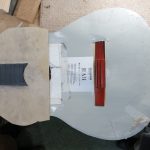
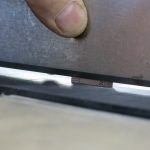
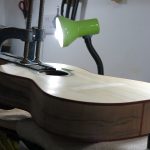
Protecting the body while working on the fretboard.
We checked the height of the fretboard with a straight edge extending from the top of the saddle to a 2mm high spacer at the position of the 1st fret which imitated the string height. This is similar to illustration 23-16 in the book.
We’re aiming for 3.5mm height for the 1st string and 4.5mm for the 6th string at the 12th fret. This is measured from the fretboard surface to the underside of the string. This results in heights of 2.5 and 3.5 when measured from the top of the 1mm high fretwork.
We’re assuming an 11m string height at the saddle.
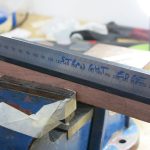
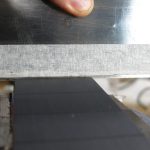
I checked the fretboard with a straight edge and scraped it level.
The fretboard needed lowering by 1/2mm (to reach 3.5mm at 1st string and 4.5mm at 6th string), so I scraped and sanded it level.
Scraping (and sanding) the fretboard level and to the correct thickness.
We tested the fret installation process on some waste fretboard first.
I had cut the fret slots a few weeks ago and checked the depth again.
1. Cut to depth.
2. File top of slot with triangular file.
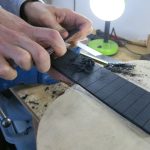
3. Take some of the curve out of the fret wire, which arrived in a coil. Cut it slightly long.
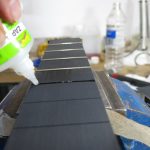
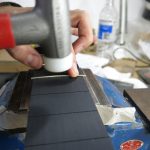
4. Add a little super glue to the slot.
5. Hammer in the fret, ends first.
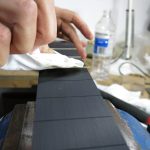
6. Clean up the glue with white spirit.
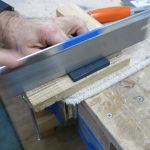
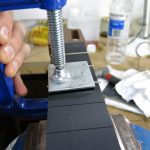
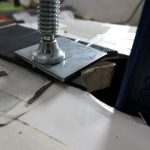
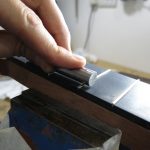
7. Use a clamp and steel plate to apply momentary pressure across three points on the fret.
8. Trim the fret.
Frets 11-19 were installed in much the same way, but hammering and clamping had to be done more carefully.
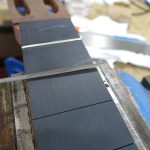
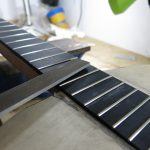
Clamping the 12th and 13th frets.
Note the protection of the soundboard when working past the 11th fret.
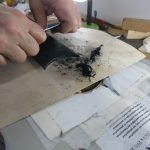
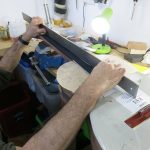
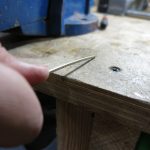
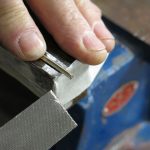
Filing the 19th fret halves.
For frets 16-19, I used a caul and clamp through the sound hole.
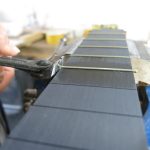
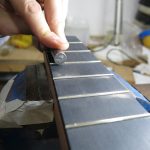
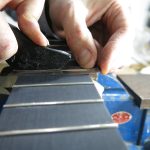
I checked the level of the frets with a cylindrical steel bars of two different lengths. Three frets at a time.
If there is any rocking across the frets, I file it down.


You must be logged in to post a comment.