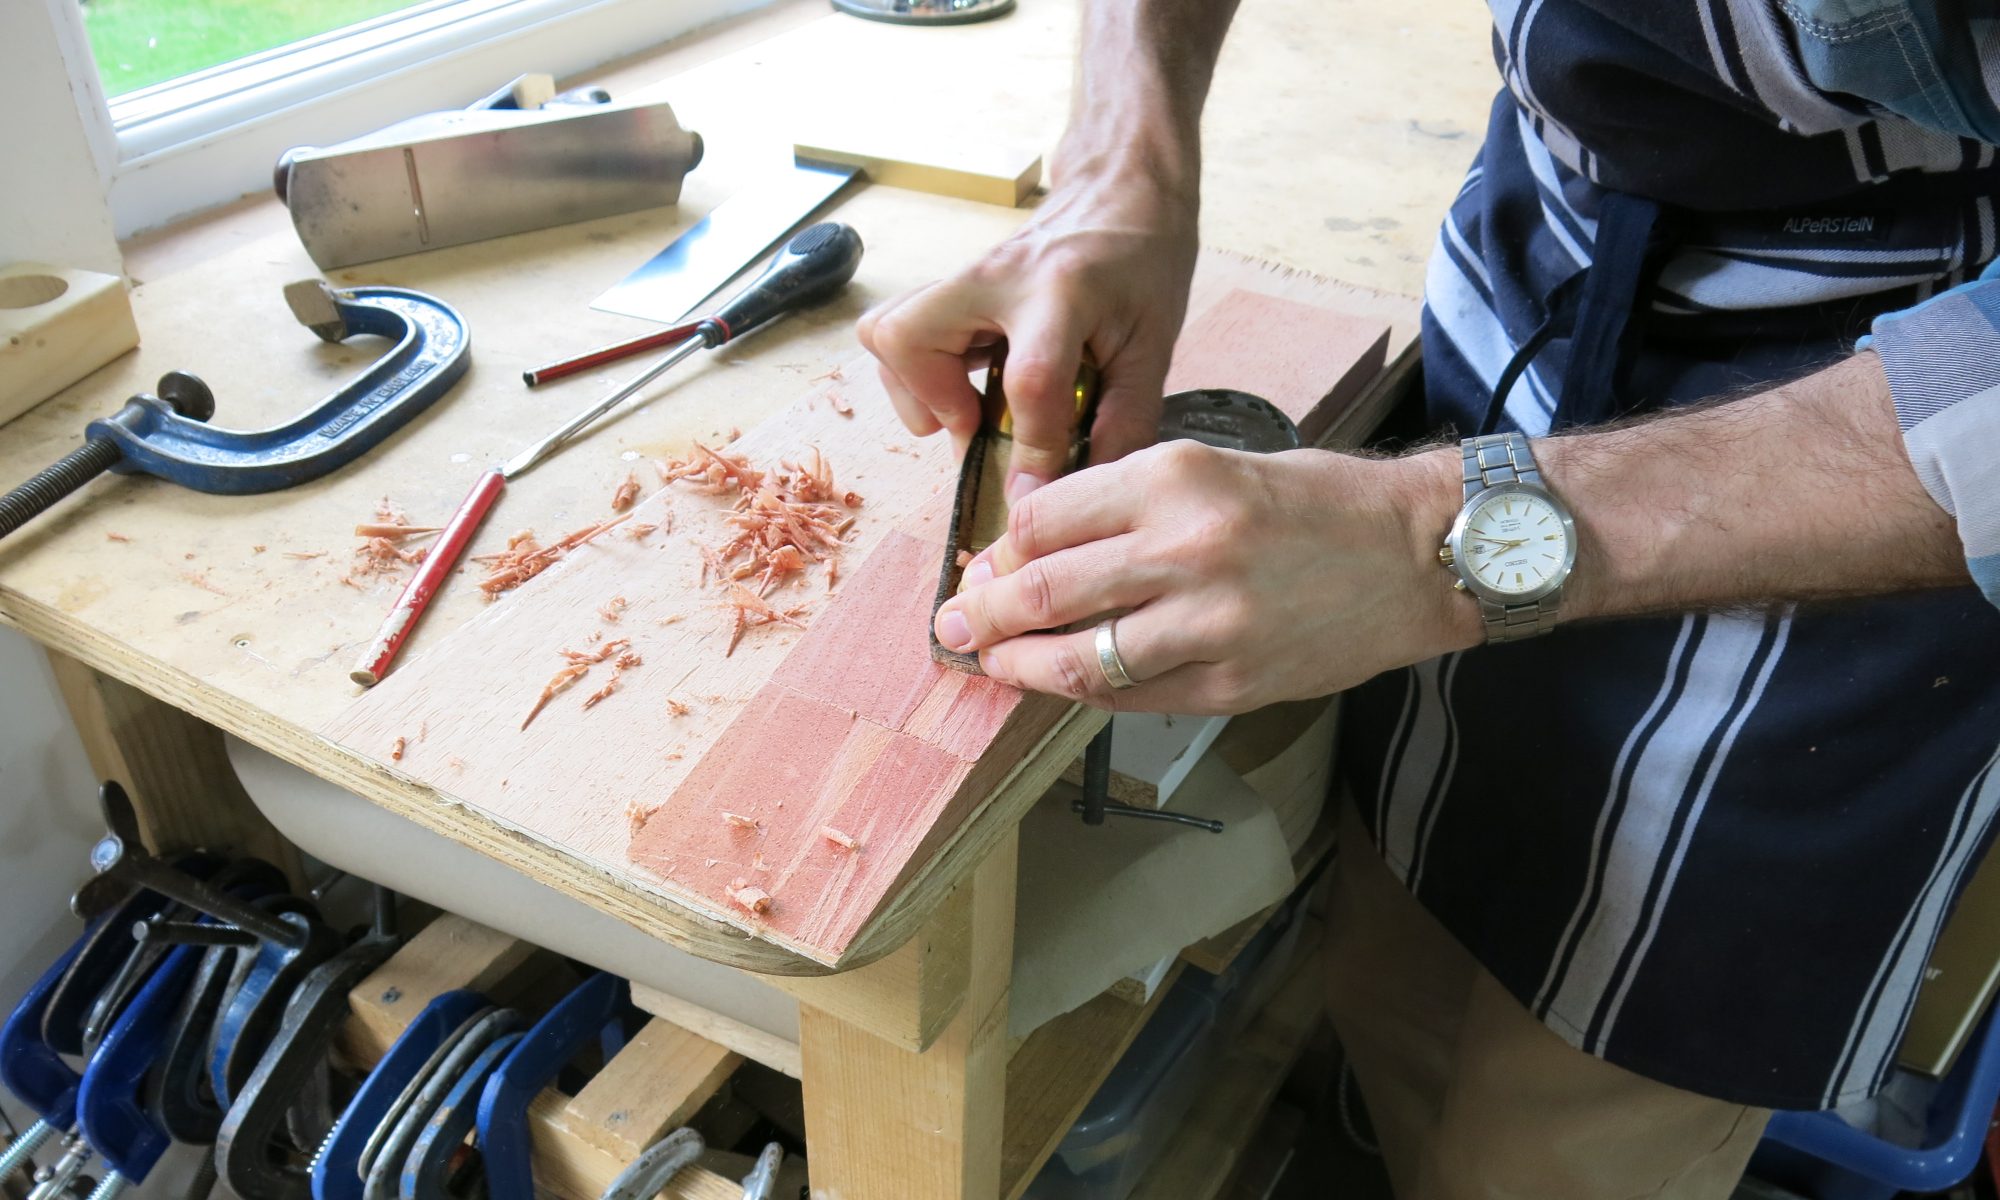
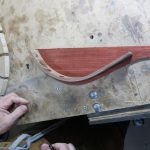
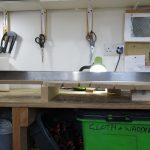
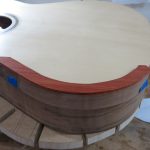
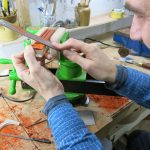
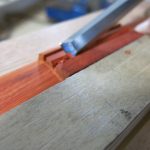
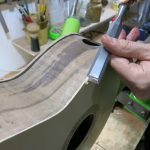
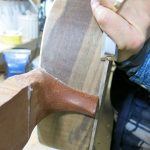
The end of the build is now in sight. Today, we started with the arm rest and despite what I said in my last post, I opted for four pairs of 15x3mm magnets in the end. After gluing on the Padauk to the Walnut and roughly cutting the Padauk to shape, I could put the arm rest in place and feel how effective the magnets would be. I still have to shape it and reduce the overhang of the Padauk but you’ll get the idea from the images. I will glue three pieces of felt to the arm rest that sit on the soundboard above the lining.
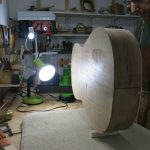
Next, I cleaned up the inside of the guitar and sealed the foot with a coat of shellac. I also gave the inside of the back a coat of shellac to bring out the burr of the walnut veneer, which can be seen through the soundhole and soundport. I took care not to apply shellac where I will be gluing. I wonder what effect this might have on the sound since it produced a more reflective surface.
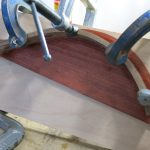
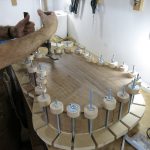
Prior to gluing the back on, we checked the neck angle of the solera, which had been made to be flat (i.e. zero degree angle). Had the solera bent or twisted in any way since it was made, we’d have to reshape it prior to gluing the back on. Fortunately, it hadn’t moved and the back was glued on with no angle to the neck using the spool clamps I made from rolling pins, except the clamp for the foot.
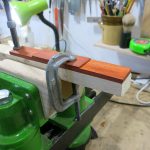
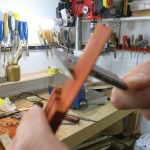
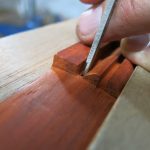
While that was drying, I turned to the bridge. As I said previously, I’ve been making two bridges: one out of Madagascan Rosewood and another out of Padauk. I settled on using the Padauk for this guitar and so started to do the final shaping. After chiselling, filing, scraping and sanding (with different grades up to 1800 micromesh), I applied a coat of shellac. The final dimensions of the bridge are 27×79.3 with wings 2.5mm high and tie block 7.2 high. It weights 15g. This is slightly smaller and lighter than Roy’s standard bridge but I have been reading about the benefits of a light, stiff bridge and thought I would try to achieve one.
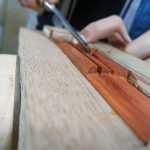
I finished the day trimming the back and soundboard flush with the ribs so that the purfling cutter could be taken around it effectively.
Today corresponded to Roy’s book pp. 255-263.
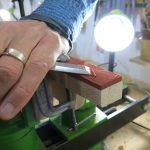
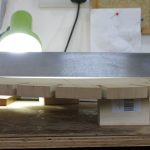
The side of the arm rest is positioned on the padauk which will form the top.
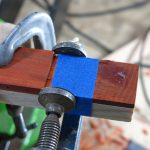
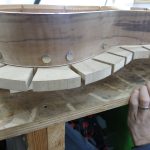
Arm rest glued and clamped.
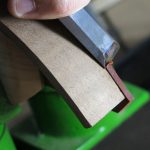
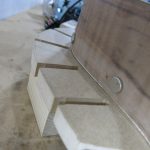
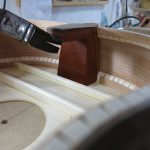
Support for working on the bridge.
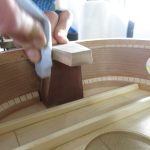
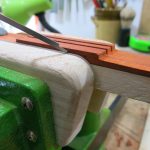
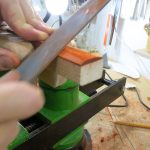
The wings are cut roughly on the bandsaw and then reduced to the required level with a chisel.
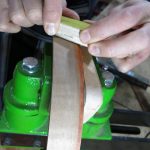
Shaping the wings with a rasp.
The padauk splintered easily and a repair was necessary.
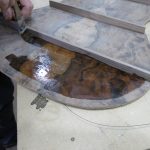
Before gluing on the back, the solera is checked to determine the angle of the neck. No angle was designed into the solera nor has it been introduced through warping of the board.
Zero degree neck angle.
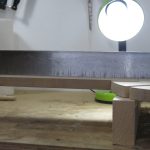
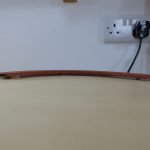
The straight edge shows the 2mm soundboard dome.
Shaping the back of the arm rest.
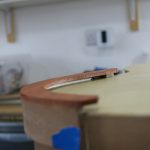
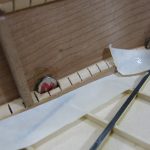
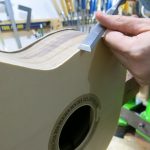
Checking the arm rest position. The magnets pull it into place.
The arm rest hovers above the soundboard. Three felt pads will be glued to the underside, keeping it raised. The felt only touches the soundboard above the lining.
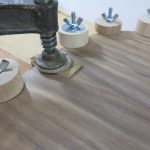
Happy with the position of the arm rest, the magnets are glued into the lining and ‘clamped’ by pairing them with magnets on the outside of the rib.
Tape is used to keep the soundboard clean of epoxy glue.
Cleaning up the inside of the body with fine paper before the back is glued on.
A coat of shellac is applied to the foot, but not on the top where the back will be glued.
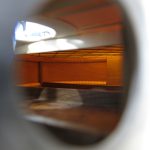
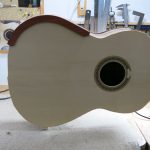
The view through the soundport of the back’s contact with the foot of the neck.
The inside of the back is sanded and a coat of shellac is applied to show off the burred walnut.
Shellac is kept away from areas that will be glued.
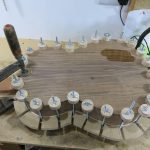
Glue is applied around the lining, end block and foot of the neck, then clamped.
A spot of shellac to see what the walnut looks like.
A view of inside the guitar through the sound port.
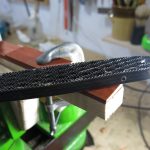
A fine metal file is used on the bridge.
Checking the depth of the wings with a vernier. The domes shape of the wing needs to be consistent if the bevel is to look symmetrical.
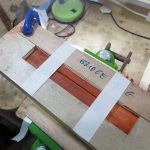
Shaping the bridge to ensure the strings run clear of wood as they enter the tie block. This bridge will use ‘beads’, hence six holes.
The slot for the saddle is not touched. It was routed at 3mm to ensure a good fit.
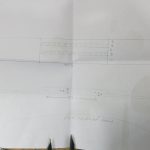
The bridge dimensions.
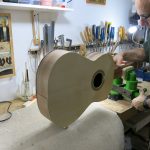
With the back on, the solera is no longer needed and we work on carpet to protect the guitar.
The soundboard is trimmed (chiselled, scraped, sanded) to its exact shape.

You must be logged in to post a comment.