Day 14: Reinforcing the linings, starting the arm rest, assembling the neck, ribs and soundboard
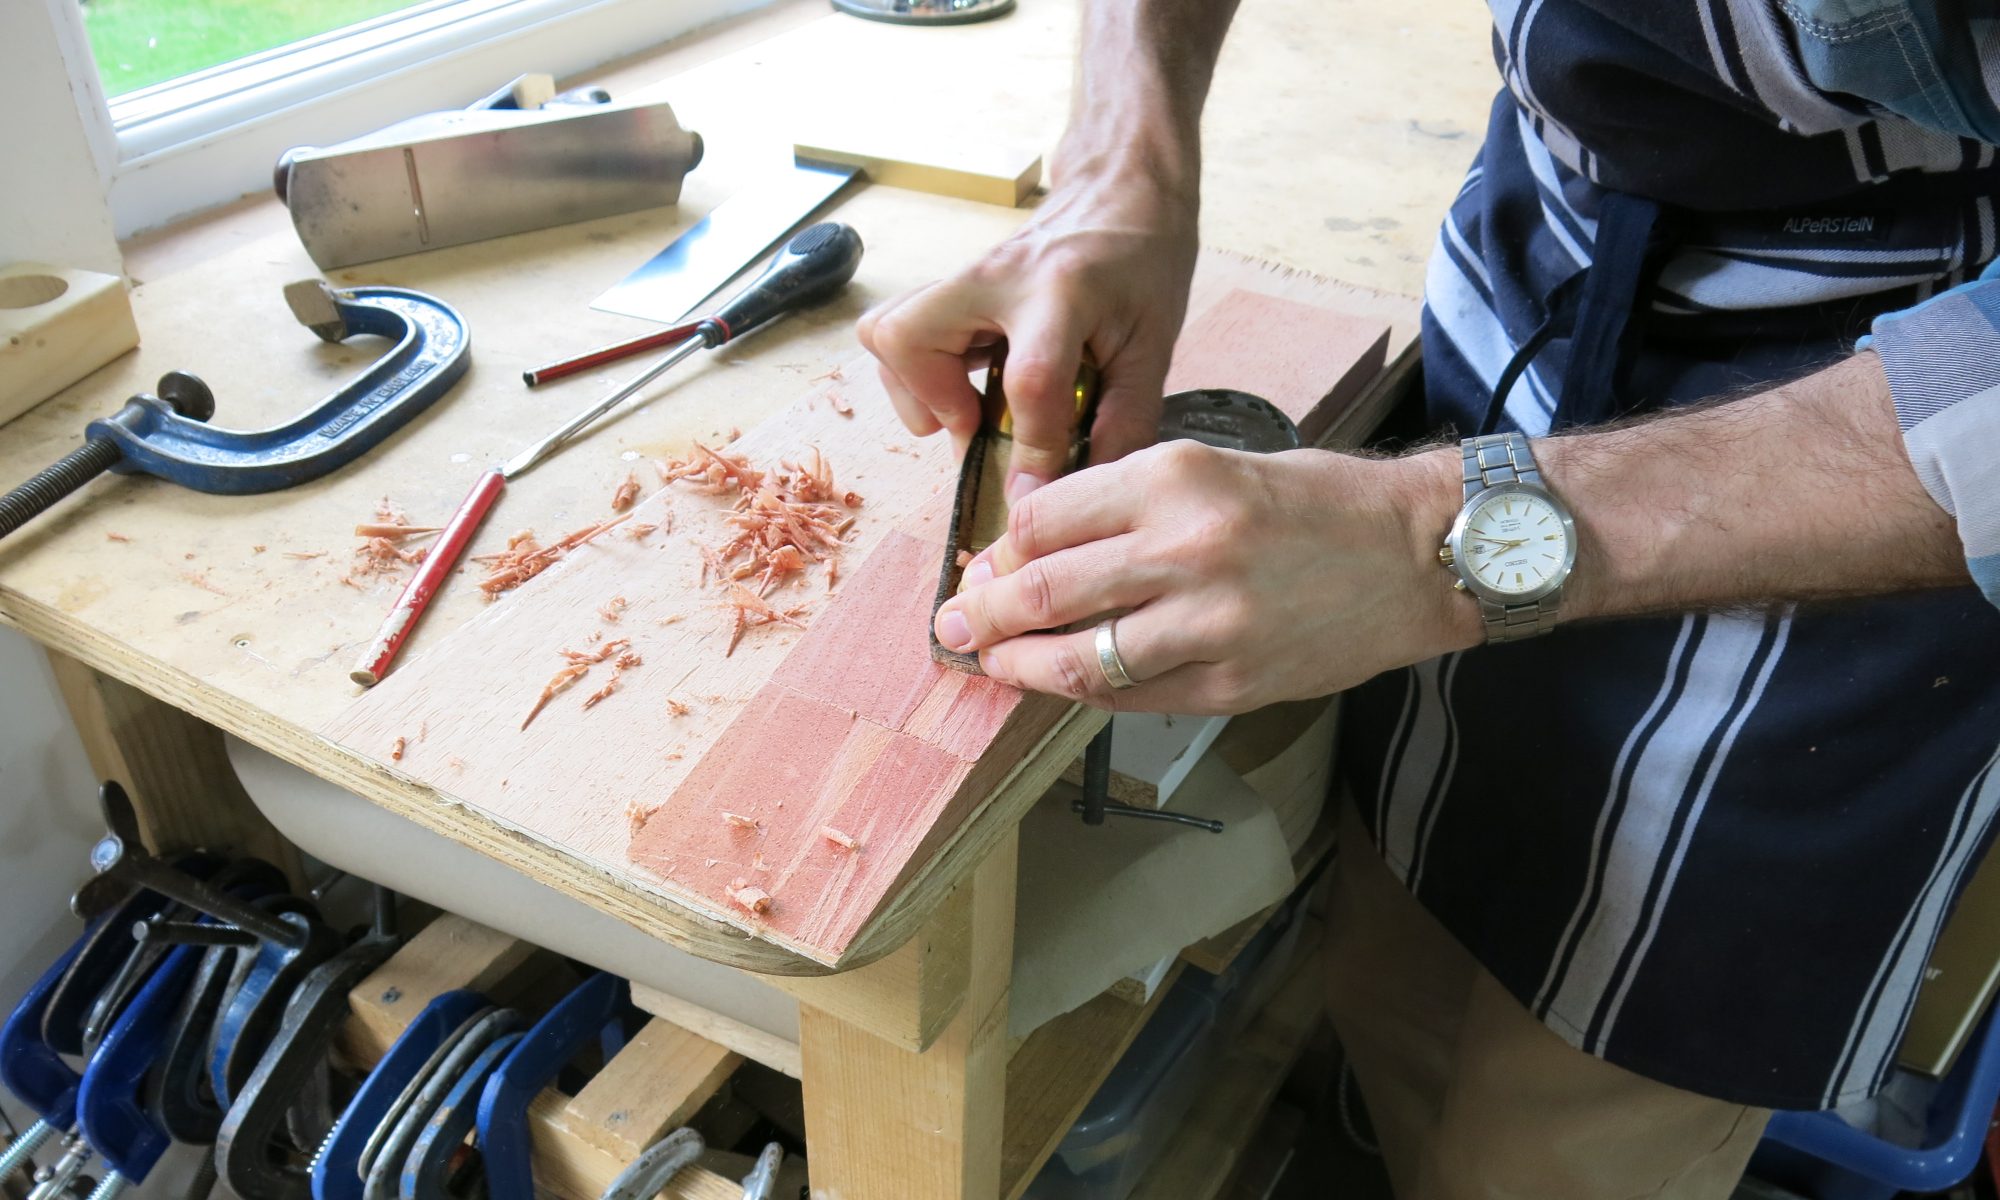
Today, I reinforced the kerfed linings with a strip of 1mm veneer, giving the ribs more stiffness. I also started to shape the arm rest, taking an off-cut from a rib and cutting it into three 25cm lengths, which were bent, laminated and clamped to the side of the guitar to retain their shape while drying.
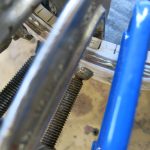
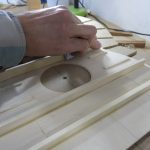
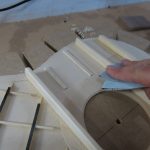
I then glued the neck and end block to the soundboard, taking care to get the end block centred and vertical. I then prepared a rib for gluing to the soundboard, first by planing the edges and then sanding it on a sufficiently large sanding board.
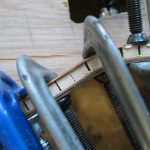
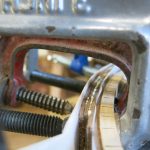
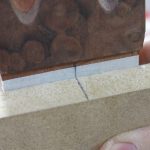
Once that was done, I made corresponding cuts into the lining and the harmonic bars so they fitted together when glued.
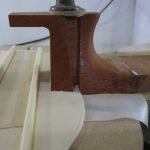
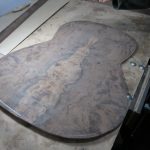
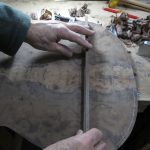
At the end of the day, I cut the laminated back to shape on the bandsaw and three walnut bars to reinforce it. A ply template will be used for shaping the bars to the to the dome that the back will be forced into when clamped.
Today corresponded to Roy’s book pp. 240-252.
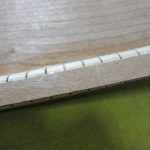
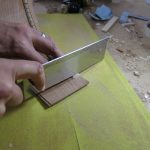
A 1mm veneer strip was glued to the kerfed lining to make the ribs stiffer.
The laminated ribs and reinforced linings result in a very stiff rib.
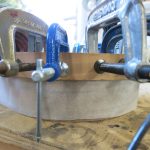
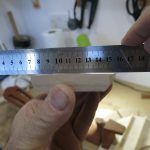
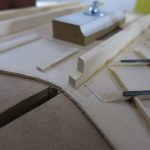
Three 25cm long off-cuts from the walnut ribs were bent on the iron and laminated for the arm rest. Here they are clamped to the rib to hold them in shape.
The additional depth of the arm rest required some temporary cauls.
Shaping the arm rest.
The arm rest laminate.
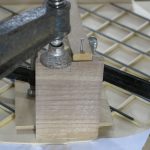
The top of the wedge for the neck is marked.
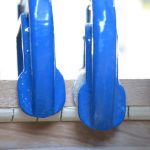
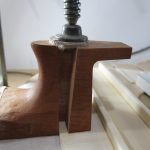
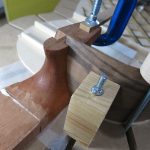
The walnut end block is shaped.
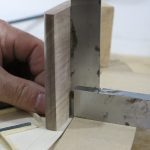
The base of the end block must be flat and positioned vertical. The engineer’s square must be raised to the height of the soundboard.
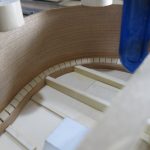
The harmonic bars are trimmed to length to allow the ribs to fit within the plantilla shape.
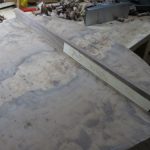
The bars are lightly planed and sanded.
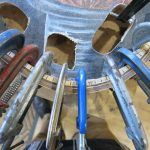
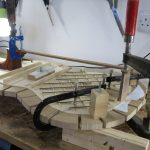
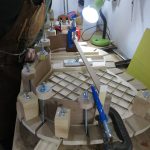
In preparation for assembly of the guitar, the centre of the neck is aligned perfectly with the centre of the solera.
The neck is glued to the soundboard.
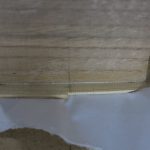
Grease proof paper is placed under the soundboard and neck to stop glue sticking the soundboard to the solera.
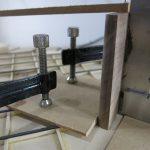
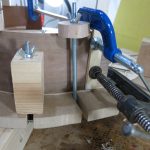
The end bock is clamped into place.
A bar is pinned to the top of the end-block and the heel of the neck to hold the end block in place.
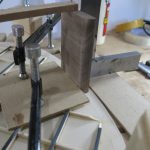
The centre of the end-block is aligned with the centre of the soundboard (and solera).
The neck, soundboard and end-block are assembled, glued and clamped.
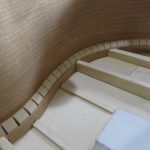
The reinforced lining.
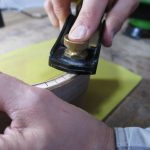
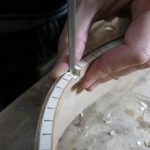
The edge of the ribs is planed flat and then sanded flat on a large sanding board.
The lining is trimmed to fit at each end. Ensure that the ribs are correctly guided into place by blocks around the outside of the plantilla outline, otherwise the lining may be cut shorter than necessary.
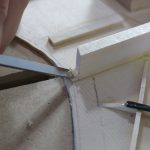
The harmonic bars are cut to allow for the lining.
The lining is cut in the corresponding place to overlap with the harmonic bars.
The rib is glued and clamped.
The back is cut to the plantilla outline. This shows the inside of the back with a burred walnut veneer.
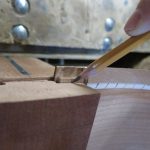
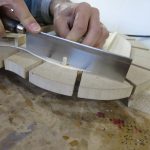
Three walnut bars are cut to reinforce the back and shaped to a template giving a 3mm dome.
A line is drawn along the top of the template. Once planed to the correct shape, the longest bar will be used as the template for the remaining two.


You must be logged in to post a comment.