Day 11: Laminating a rib, thinning and reinforcing the soundboard, cutting struts
We began the day by laminating the second rib with two layers of cherry. It reminded me of the importance of doing a dry run of jobs like this so that all the components are in place (e.g. grease proof paper taped to the jig) and the clamps are to hand. Once the rib was clamped up, the focus for the rest of the day was the soundboard.
To begin with, I marked the outline of the plantilla and the position of the 12th fret, 107mm from the edge of the sound hole. I then roughly cut out the shape of the plantilla on the bandsaw and worked on thinning the soundboard by planing, scraping and sanding. I made sure the area that would be glued to the heel of the neck was consistently 2.5mm across and the thickness of the upper bout was also consistent (again, 2.5mm).
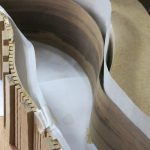
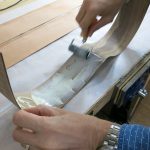
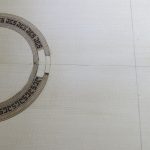
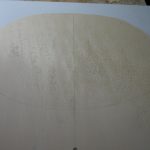
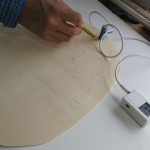
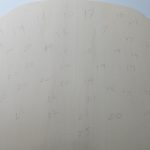
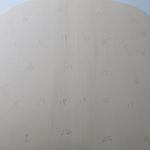
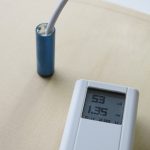
We used the dial gauge for the upper bout and then switched to the ‘Magic Probe‘ for measuring the thickness of the lower bout. The process was to measure, pencil the thickness at different points (e.g. ’17’ = 1.7mm) and then sand using 100 grade paper; then measure again, pencil the new thickness across the lower bout and then sand again. Each round of sanding would take off about 0.1-0.2mm. You can see in the photo that as we get nearer to the rosette, the thickness increases to over 2mm. The aim was to achieve a maximum of 1.5mm across the lower bout and especially around the bridge area. 1.5mm at this stage allows a further 0.1-0.2mm to be taken off the front when finishing the soundboard. The final round of sanding on the back of the soundboard was with 180 grade Garnet paper. The lowest reading today was 1.35mm.
The next job was to cut and reinforce the soundhole so the glue could dry over lunch. After lunch, I trimmed the soundboard with a scalpel at the position of the 12th fret (see illustration 19-3 in Roy’s book) and marked the centre line of the guitar. From there, I marked out the bridge, the lattice struts and the area of the lining.
I then bolted the soundboard to the solera and took the opportunity to mark the heel of the neck where the soundboard will fit into a recess.
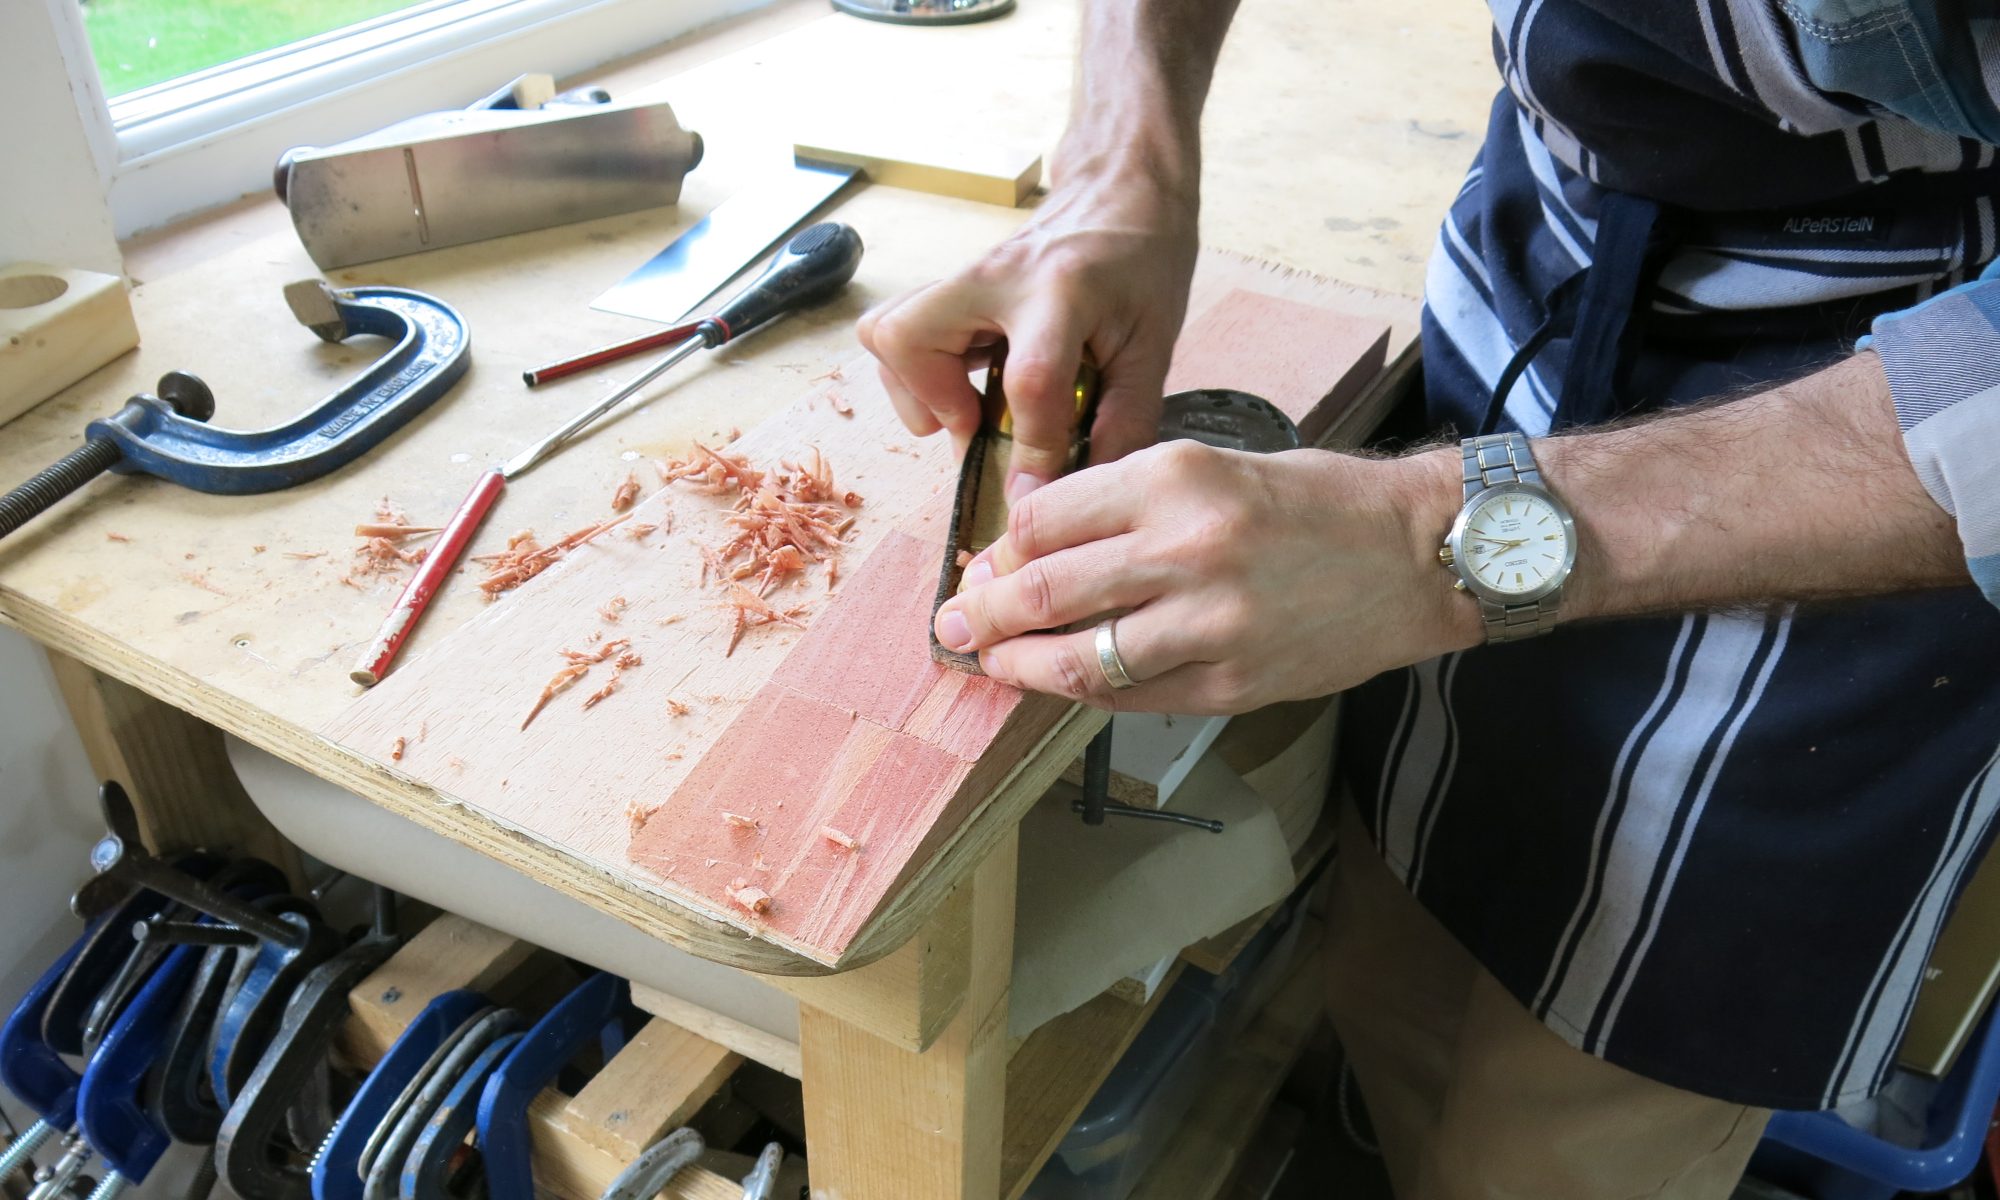
The last job of the day was to shape the 18 struts for the lattice. They had been planed to 2.5mm thickness and needed to be cut to length and marked to account for the dome of the plantilla.
Each pencil line of the lattice was either given a letter (A, B, C, etc.) or a number (1, 2, 3, etc.), with letters perpendicular to numbers. Then, each strut was cut to the length of a lattice line and labeled with the corresponding letter or number. To trace the dome of the plantilla, I pressed the soundboard down while running a pencil horizontally across the strut which rested lightly on the soundboard. I then planed and sanded down to the line, checked the fit and sanded again if necessary.
Today corresponded to Roy’s book pp. 208-212.
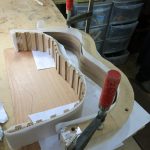
Preparing to laminate a rib using a board and mould.
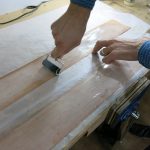
Grease proof paper is stuck to the mould.
The mould is clamped to the bench. We do a dry run to ensure everything is in place once the gluing begins.
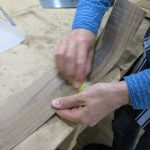
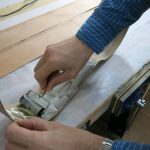
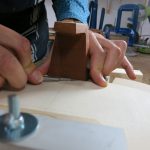
The rib is sanded lightly to take off the shine from the bending iron.
Before gluing, I decided upon the best surface for the face of the rib and marked it with a cross so as not to mistakenly coat it with glue. The veneer sheets often come from the same timber so the grain can be arranged to run in different directions for additional strength.
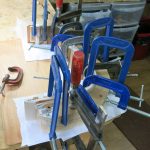
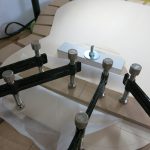
The rib is clamped and left overnight. Be sure to have all the clamps ready and start clamping from the centre of the waist.
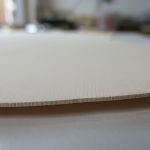
Moving to the soundboard, I used a scraper to reduce the thickness to 2.5mm.
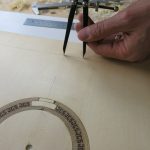
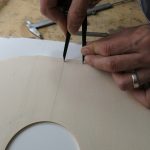
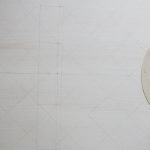
I then marked up the line of the 12th fret, 107mm from the edge of the soundhole (p.209)
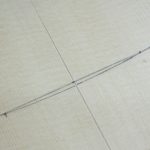
I then marked the width of the fretboard, 31mm each side of the centre line.
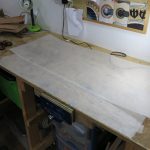
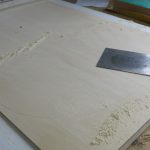
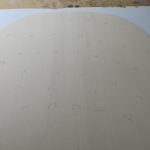
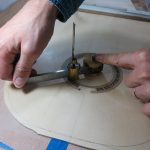
Then, using the plantilla template, I marked the outline of the body, aligning the template so that it intersected with the fretboard mark, rather than the top of the body aligning with the 12th fret mark.
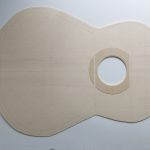
The outline of the body is clearly marked and then I cut it roughly on the bandsaw.
Next, the soundboard was reduced to almost its final thickness. The upper bout was reduced to 2.5mm, paying particular attention to the area that will be glued to the heel of the neck. Then, I began on the lower bout, aiming for 1.5mm and getting thicker towards the rosette.
After some initial planing and scraping, we used a ‘Magic Probe’ to measure the thickness precisely, marking it in pencil across the lower bout.
The process was to measure, pencil the thickness at different points (e.g. ’17’ = 1.7mm) and then sand using 100 grade paper; then measure again, pencil the new thickness across the lower bout and then sand again. Each round of sanding would take off about 0.1-0.2mm. You can see in the photo that as we get nearer to the rosette, the thickness increases to over 2mm. The aim was to achieve a maximum of 1.5mm across the lower bout and especially around the bridge area. 1.5mm at this stage allows a further 0.1-0.2mm to be taken off the front when finishing the soundboard.
The final round of sanding on the back of the soundboard was with 180 grade Garnet paper.
1.35mm was the thinnest spot, with much of the area being 1.5mm.
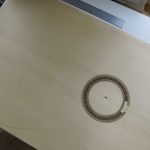
I then cut out the soundhole, leaving 3mm of spruce inside the rosette.
Again, I marked the fretboard from the centre line. I then marked out where the harmonic bars would be according to the Friederich plan I am using.
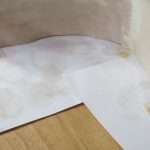
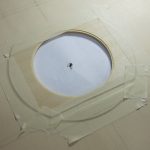
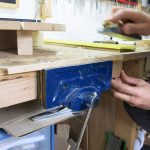
I then cut out a piece of sycamore veneer to reinforce the soundhole.
The hole of the reinforcing veneer is cut slightly larger than the soundhole so as not to show. The overall diameter is such that it extends past the harmonic bars and must be cut. The upper part is discarded and the lower part is glued on the other side of the harmonic bar.
The reinforcement is clamped into place.
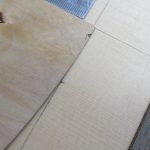
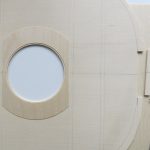
Once the glue had dried, I then cut out the section that will fit onto the heel of the neck.
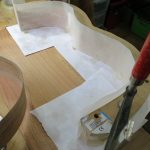
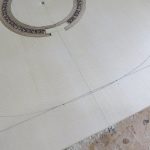
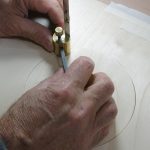
Next, I marked out the bridge. The saddle is 327mm from the 12th fret (325 + 2mm for compensation). I then marked out the lattice strut reinforcements. We set them out by first drawing a line at 45 degrees to the centre line, such that it intersected the centreline half way between the saddle and the rear of the bridge. Then we marked parallel lines 37mm apart until there were 9 lines and repeated for the other set.
The outline of the bridge, saddle and struts.
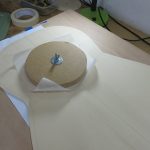
With the soundboard clamped to the solera, I marked the depth of the recessed area on the heel of the neck. This will later be chiselled out and the soundboard will be glued to the heel.
A further reinforcing piece of sycamore veneer is clamped to the upper bout
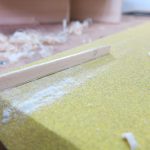
Next the struts are shaped. They had already been planed to 2.5mm thickness and needed to be cut to length and marked to account for the dome of the plantilla.
Each pencil line of the lattice was either given a letter (A, B, C, etc.) or a number (1, 2, 3, etc.), with letters perpendicular to numbers. Then, each strut was cut to the length of a lattice line and labeled with the corresponding letter or number. To trace the dome of the plantilla, I pressed the soundboard down while running a pencil horizontally across the strut which rested lightly on the soundboard. I then planed and sanded down to the line, checked the fit and sanded again if necessary.
After planing, a little sanding.
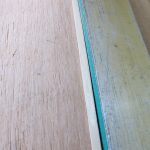
Then sanding on a shooting board to ensure the bottom of the strut is flat for gluing. Notice the dome of the strut.
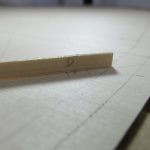
Each strut is marked with a letter or number to correspond to a line on the soundboard.
Checking the fit.
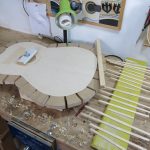
All 19 of the struts are finished and ready for gluing.


You must be logged in to post a comment.