Today I inlaid most of the rosette and started thinking about the sound port. As I mentioned on day 6, the first attempt at creating the log for the rosette motif was a failure. This was due to three reasons: My inexperience, the nature of the design, and being supplied with square lines that weren’t uniformly 1mm.
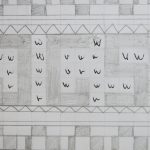
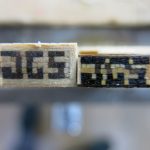
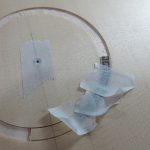
I had asked my 10 yr old daughter to come up with a simple design for the motif. She decided upon our initials: J G S. When drawn on 1cm square graph paper this amounted to 11 columns and 5 rows plus a column at each end for spacing, so the finished log would be 13 x 1mm square lines across and five planks deep. Roy said this was not as simple as it seemed because it was wider than a typical motif and there was more opportunity for misalignment of the square lines. Furthermore, unlike an abstract pattern, the familiar lettering and monochrome (walnut/sycamore) tones made any mistakes immediately obvious. To add to this, the square lines were badly cut by the supplier and so I was dealing with variable width materials. You can see the first attempt on the right in the picture below with the second attempt on the left.
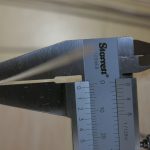
The second attempt was improved mainly because I asked the supplier to check the materials they sent me the second time around and I double-checked with a vernier caliper too. I also glued one plank at a time rather than all five at once, which helped me check the alignment at different points. I finished the second log off with sycamore veneer on the top, bottom and one side to provide more spacing when cutting each piece to fit the rosette circle.
I then cut each piece off the log, cut two circles, and chiselled out the waste and glued them into place.
I decided to decorate the motif with simple concentric circles of walnut and sycamore. The outer veneer inlays were glued into place but I didn’t have time to finish it all off today but will do next weekend.
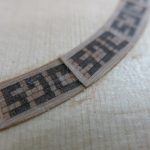
I’m quite pleased with the rosette. It has my daughter’s input, was technically demanding but instructive, and looks OK, too, even if a little idiosyncratic. From a distance, the lettering looks like an abstract pattern but also has personal meaning.
Today corresponds to Roy’s book pp. 201-207.
As I said on day six, my 10 yr old daughter was tasked to come up with a simple motif and decided on our initials: J G S (Joss, Gracie, Sue). Each row of the motif was a separate plank with the end of each square line representing a square on the paper.
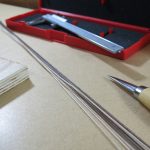
I started with sycamore and walnut 1mm square lines.
I checked that each line was 1mm square, otherwise they would not align correctly when the planks were glued together.
I cut each square line 100mm long.
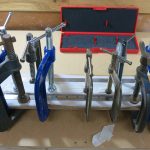
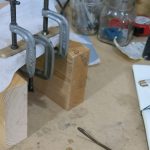
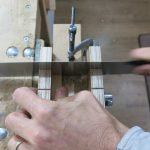
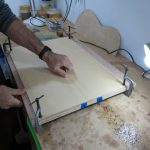
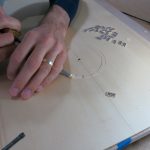
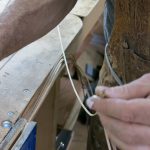
I then laid them on a piece of wood with grease proof paper in the order on the graph paper and held them together with two steel rulers masked with tape. With everything in place, I spread glue across the plank of 13 lines and then clamped the top. I repeated this for each of the five planks.
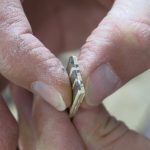
I took each of the planks and glued them together one at a time to ensure they were correctly aligned.
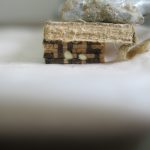
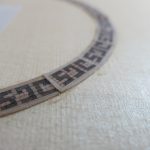
The lettering of JGS gradually appears with each plank that is glued to the next.
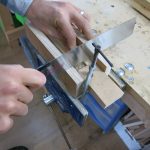
The planks are clamped.
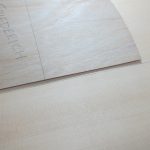
Finally, I glued some sycamore veneer to the side to allow for cutting at an angle to fit into the circle.
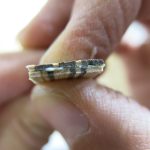
Before and after. The log on the right is my first attempt (see day six). In addition to my inexperience, the square lines I was supplied with were not uniformly 1mm square so when it came to gluing the planks together, it was impossible to align them accurately. Also, Roy said that the log is not normally so wide (13 squares) and aligning lettering over that width would be tricky. The log to the left is the second and more successful attempt, having checked that the square lines were in fact 1mm square. Veneer was added to the right for spacing and the letter J was extended by 1mm column to allow for cutting into the circle without disfiguring the intended letter.
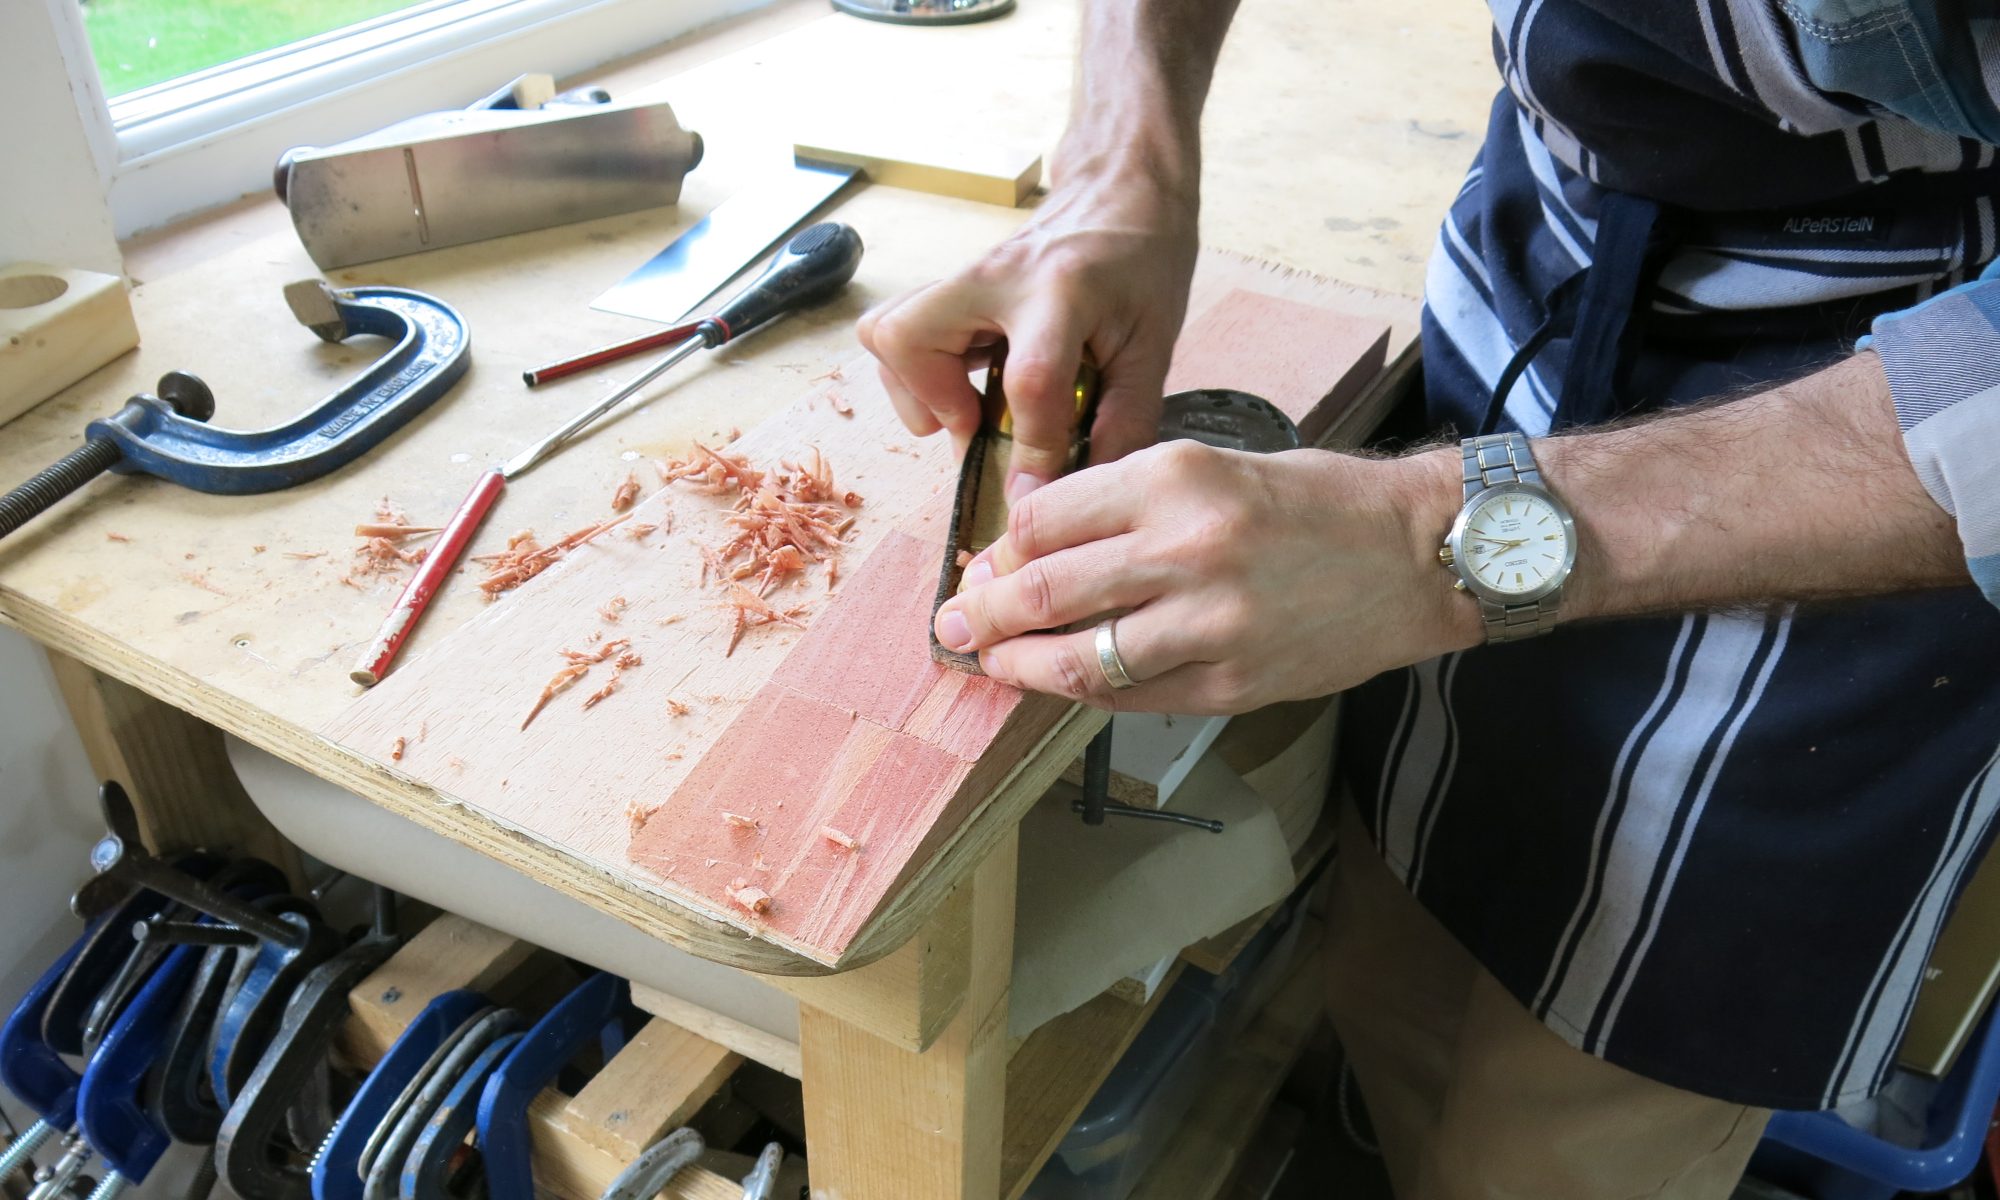
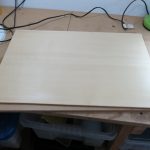
I gave the sound board a coat of shellac to protect it while making the rosette.
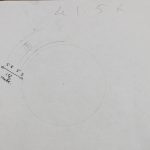
A few calculations to figure out the diameter of the sound hole. I am having a 35mm sound port and decided to subtract the area of the sound port from the area of the sound hole that Roy suggested, reducing the diameter from 90mm to 83mm. The idea is that the body of the guitar retains the same area of ‘hole’ even though it is distributed across both sound hole and sound port. I’ve no idea what effect it will have, if any, but it seemed like the right thing to do.
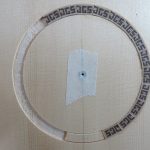
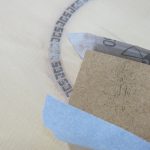
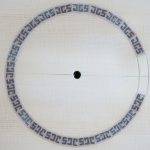
I drew the outline of the rosette out on paper using a compass. This made it simple to transfer to the actual sound board while working. From the sound hole: 3mm sound board, 5mm veneer strips, 8mm motif, 5mm veneer strips.
The centre of the sound hole had already been marked on the plantilla template so I centred it up with the centre line of the sound board and made sure I was using the best part of the wood (i.e. no grain defects) and marked the centre of the sound hole on the sound board.
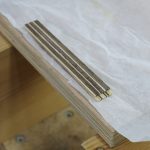
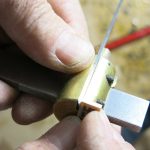
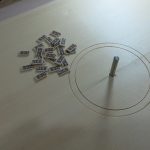
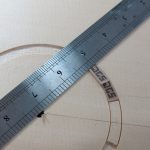
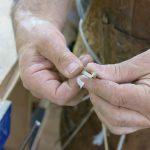
I cut 22 pieces off the log for the rosette using a square box and a stop to ensure each was the right thickness.
Here are the pieces I’ll use.
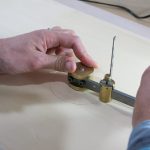
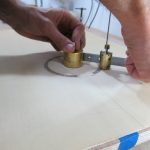
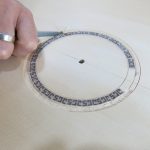
With a hand drill, I carefully drilled a hole the same size as the circle cutter steel. Roy said it was important that it was a close fit so that the rosette circles were cut accurately. Each time I used the circle cutter I could appreciate what he meant.
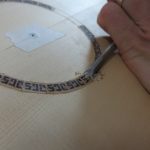
Slowly cutting the first circle.
The steel rod of the circle cutter fits into the hole so well that it remains suspended by friction.
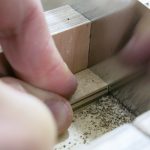
I chiselled out the 8mm for the JGS pieces.
The bottom of each piece had to be sanded slightly concave with a sanding stick and the top had to be sanded slightly convex. Each side had to be chisel cut so as to fit into the circle. Using the rule from the centre of the sound hole made this easy to mark and then cut.
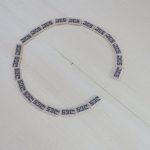
Masking tape helped keep them in place until gluing. I didn’t want the pieces to lose the order I cut them in.
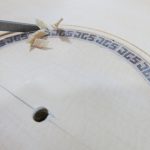
I glued a few into the circular slot a few at a time.
The pieces were intentionally glued in slightly higher than the cut out groove. Better higher than lower as they cut be cut/sanded down later.
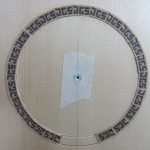
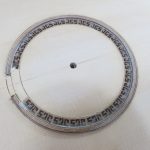
All the pieces glued into place.
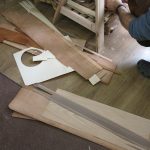
After lunch, Roy started digging around for veneer while I tidied up the rosette by chiselling away the high points.
I then sanded them flat with 150 paper.
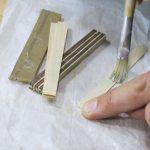
I chose to dress each side of the motif with concentric circles in alternate sycamore and walnut to match the wood of the motif. 5mm each side. This required about 8 veneer strips. I checked the total width with a vernier caliper.
The ends of the strips are glued and taped together to stop them getting out of order.
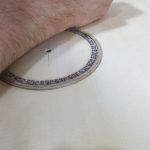
The rosette before another circle was cut.
The outer circle was cut, carefully ensuring that the distance from the existing circle was the same as the thickness of the veneer pieces that would be fitted. It’s very important to cut this circle at the right distance so that the veneer, when glued, fits well.
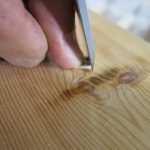
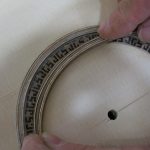
I carefully chiselled the outer circular groove.
This was the most nerve racking task so far in making the guitar!
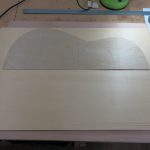
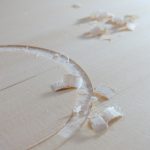
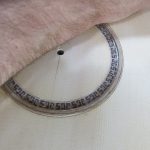
The veneer inlays are glued in and drying before adding the inner circle.
Here’s what it will look like with the other inlays. Nice!
2 Replies to “Day 9: Rosette (again)”
Hi there,
Can I ask where a circle cutter like that can be obtained?


Hi there,
Can I ask where a circle cutter like that can be obtained?
Thanks!
The cutter was made at Newark College years ago. It took me a while to find something similar and I bought the one here: http://www.jamvguitars.com/luthier-tools/ After using that for a while, with mixed results, I settled on a Veritas router fence and plunge base that is excellent.