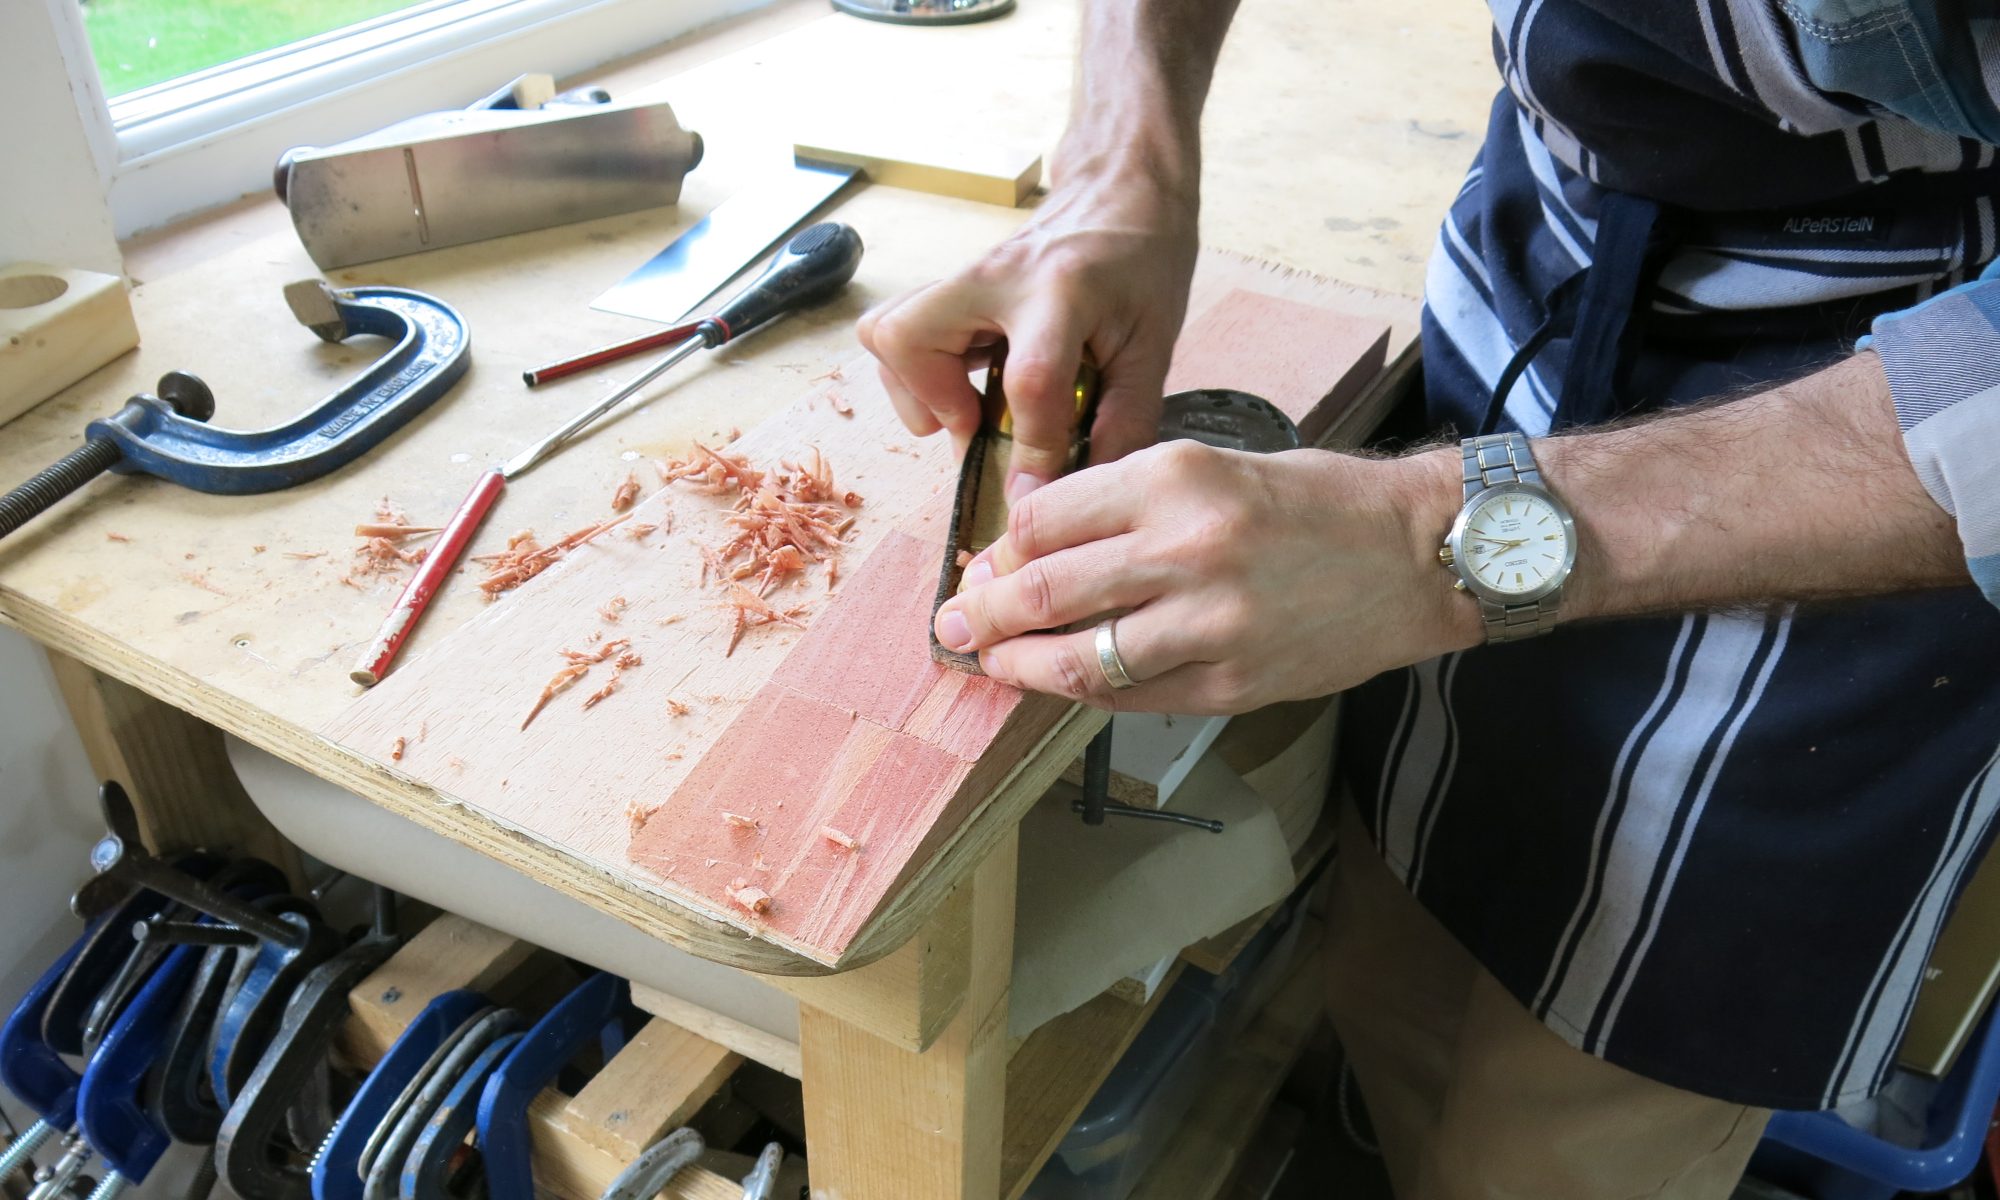
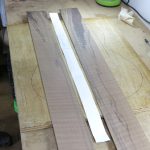
Today, we began by laminating the back with the cherry and walnut veneers that we glued together last week. Using a scraper and abrasive paper, I ensured the joint was clean of glue and smooth, as well as sanding the cherry veneer to ensure a good flat gluing surface. Then, having pencilled the plantilla outline on the area of the walnut veneer which will show through the soundhole, I sanded it to bring out the grain. It was important to get the centre line of the burr walnut veneer in line with the centre of the back so that when looking through the soundhole, the grain of the walnut veneer was correctly placed. Because I am laminating the back, there is no need to strengthen it with a cross-grain reinforcing strip (pp.221-2).
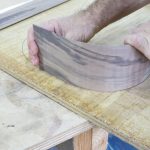
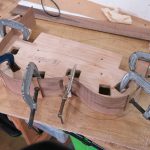
Next, I bent the walnut sides, constantly checking the shape against an outline of the plantilla. I’m using the Friederich body plan from Roy’s book. Once the ribs were bent to the correct shape I clamped each of them to a separate jig to help retain their shape.
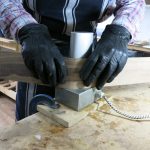
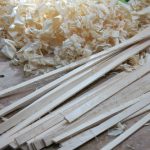
Next, I cut a block of quarter sawn spruce into 23 strips for the struts and harmonic bars. There are 18 struts for the lattice. The struts will be further planed and carved to the correct size and shape and then reinforced with carbon fibre strips. Today, they were rough cut at 12 x 4 mm but the final width will be 2.0 to 2.5 mm. The height will vary, from 6 or 7mm over bridge tapering down slightly towards periphery.
Finally, throughout the day I was attempting to create the log for the motif of the rosette. As I said in an earlier post, I wasn’t happy with the first attempt because the ends of the square lines in each plank didn’t align correctly due to them not being uniformly 1mm square.
Today corresponded to Roy’s book pp. 209-10; 229-232.
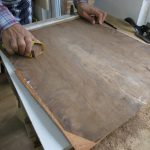
Having glued the two halves of the back together, I used a scraper and abrasive paper to clean and smooth the joint.
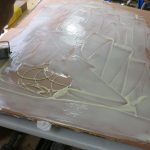
The back will be laminated with cherry and burr walnut veneer, which also needed cleaning and smoothing prior to gluing to the walnut back.
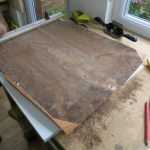
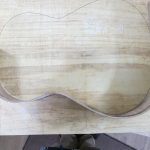
The burr walnut veneer is already glued to the cherry, which was then glued to the walnut back. I think it will look nice when polished and viewed through the sound hole.
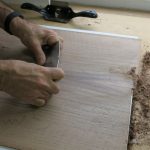
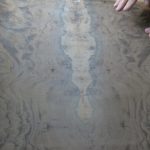
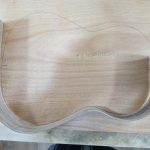
The grain of the walnut veneer will be visible through the sound hole so I dew out the plantilla shape, selecting the section of the wood I want to be most visible.
It’s important to align the centre of the veneer with the centre of the walnut back so that when looking through the sound hole, the grain is not off-centre.
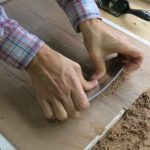
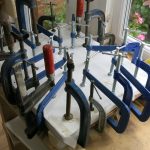
We prepared to clamp the veneer to the back.
Gluing the cherry before gluing the walnut back.
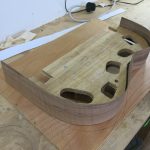
The whole thing clamped: walnut back, glued to cherry and walnut veneers.
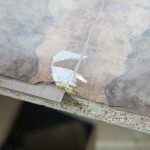
At both ends, I used masking tape and a pencil line to indicate the centre of the back so that I could ensure the centre of the veneer aligned as we clamped it.
I marked out the sides with a piece of paper cut to the length of the curved ribs, using the Freiderich plan in Roy’s book.
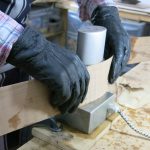
I then began bending the sides at a temperature of around 160c.
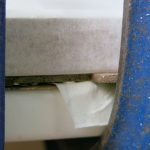
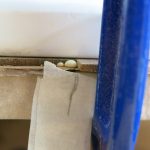
Scorched walnut due to problems setting the thermostat of the bending iron and my inexperience. It is on the underside of the guitar and will hopefully sand out.
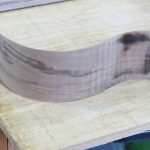
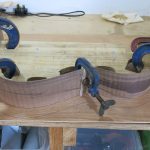
Constantly checking the bent wood against the plantilla outline.
Once the wood is bent it is stored in a jig to help retain its shape.
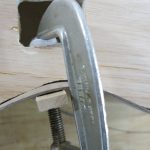
Gently clamp the wood.
With the bending of one rib finished, repeat.
The centre line of the guitar was marked on the template. The rib is almost bent to shape and I’ve yet to cut the wood to the correct length.
Once the ribs were bent to the correct shape I clamped each of them to a separate jig to help retain their shape.
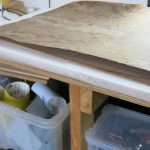
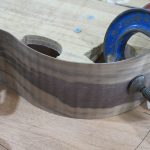
This is the top of the upper bout, most visible to the player and should look very nice.
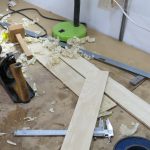
Finally, I cut the block of quarter-sawn spruce with the grain on the bandsaw, having first squared it so as to get an even cut.
Four 4mm strips were cut down into 20 struts and three pieces of wood for the harmonic bars.
The struts were rough cut at 12 x 4 mm but the final width will be 2.0 to 2.5 mm. The height will vary, from 6 or 7mm over bridge tapering down slightly towards periphery.


You must be logged in to post a comment.