Today, I cut the MDF mould to the plantilla shape for when we laminate the ribs and I cut the outline of the jig for when the ribs are bent (MMG p.232). I then prepared the two halves of the walnut back for gluing by following the same method as the soundboard. I ensured the grain of the two book matched halves were nicely aligned and planed the two edges on a shooting board, before gluing and clamping. The main thing to remember is which side is which when planing the edges, checking for a tight joint, planing, checking, planing, checking and so on. A mark across the two halves makes aligning them easy and two crosses on alternate sides of each half helps to ensure the right edge is being planed. The two halves were glued, clamped and wedged tight.
The back of this guitar will be laminated for rigidity. We were going to use two layers of cherry veneer but Roy has some burr walnut and I thought that it would look nice to see the burr of the walnut through the sound hole and sound port, so we prepared one layer of cherry to glue to the walnut back and then a layer of burr walnut to glue to the cherry.
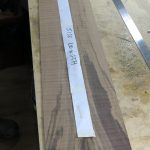
We then turned to work on the walnut ribs/sides. First I cut the wood and carefully planed it to the correct width. They were supplied 2mm thick so I then used a scraper plane to reduce them to about 1.8mm to make bending easier.
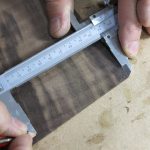
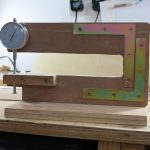
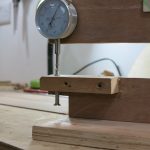
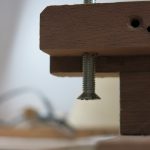
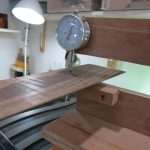
Roy had made his own thicknessing caliper with plywood and steel reinforcements. I will make my own too for about £10 in materials, including the dial gauge.
Today corresponded to Roy’s book pp. 218-219; 226-229.
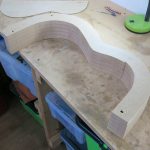
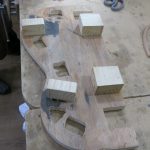
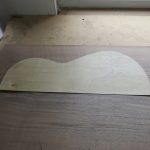
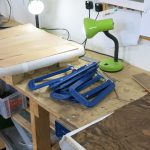
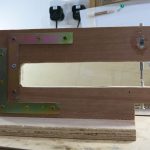
The mould for the laminated sides was cut from the layered MDF. It is difficult on the bandsaw given the thickness of the piece and the curve so some work remains to salvage the poor alignment of cuts.
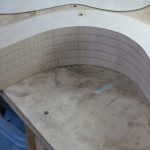
The plantilla outline in 18mm plywood to create a jig for holding the bend sides in shape.
Roy’s own jig.
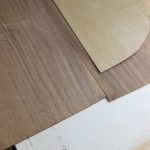
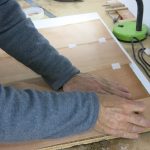
Aligning the two halves of the bookmatched back.
An X helps keep track of which edge to plane for gluing.
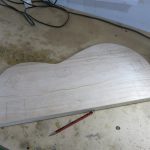
The plantilla is from the Freiderich plans in Roy’s book.
The shooting board.
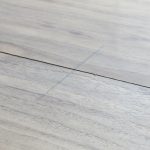
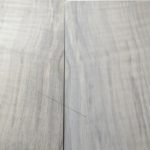
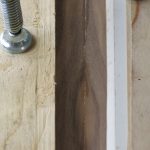
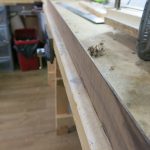
The edges are planed and the joint is good.
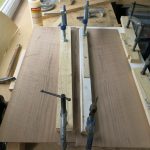
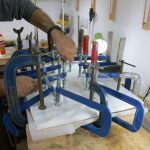
Preparing to clamp for gluing.
Glued and clamped with wedges firmly in place.
The glued joint.
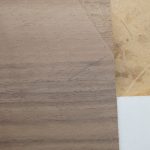
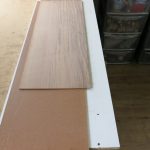
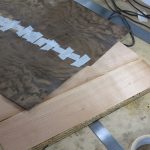
Preparing the laminated veneer for the back. Strips of cherry.
Strips of burr walnut which will be seen from the soundhole and soundport.
The walnut will be glued to the cherry, which will be glued to the walnut back. The laminated veneer are glued perpendicular to each other for strength.
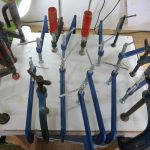
The clamped veneers.
Clamping board, grease proof paper, cherry, glue, walnut, grease proof paper, board and lots and lots of clamps.
The ribs were cut to the correct width (90mm minus the width of the back)
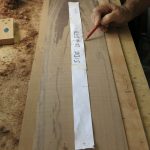
A strip of paper the length of the rib is used to select the best section of the wood and identify where the bends will be.
A home-made thicknessing caliper.
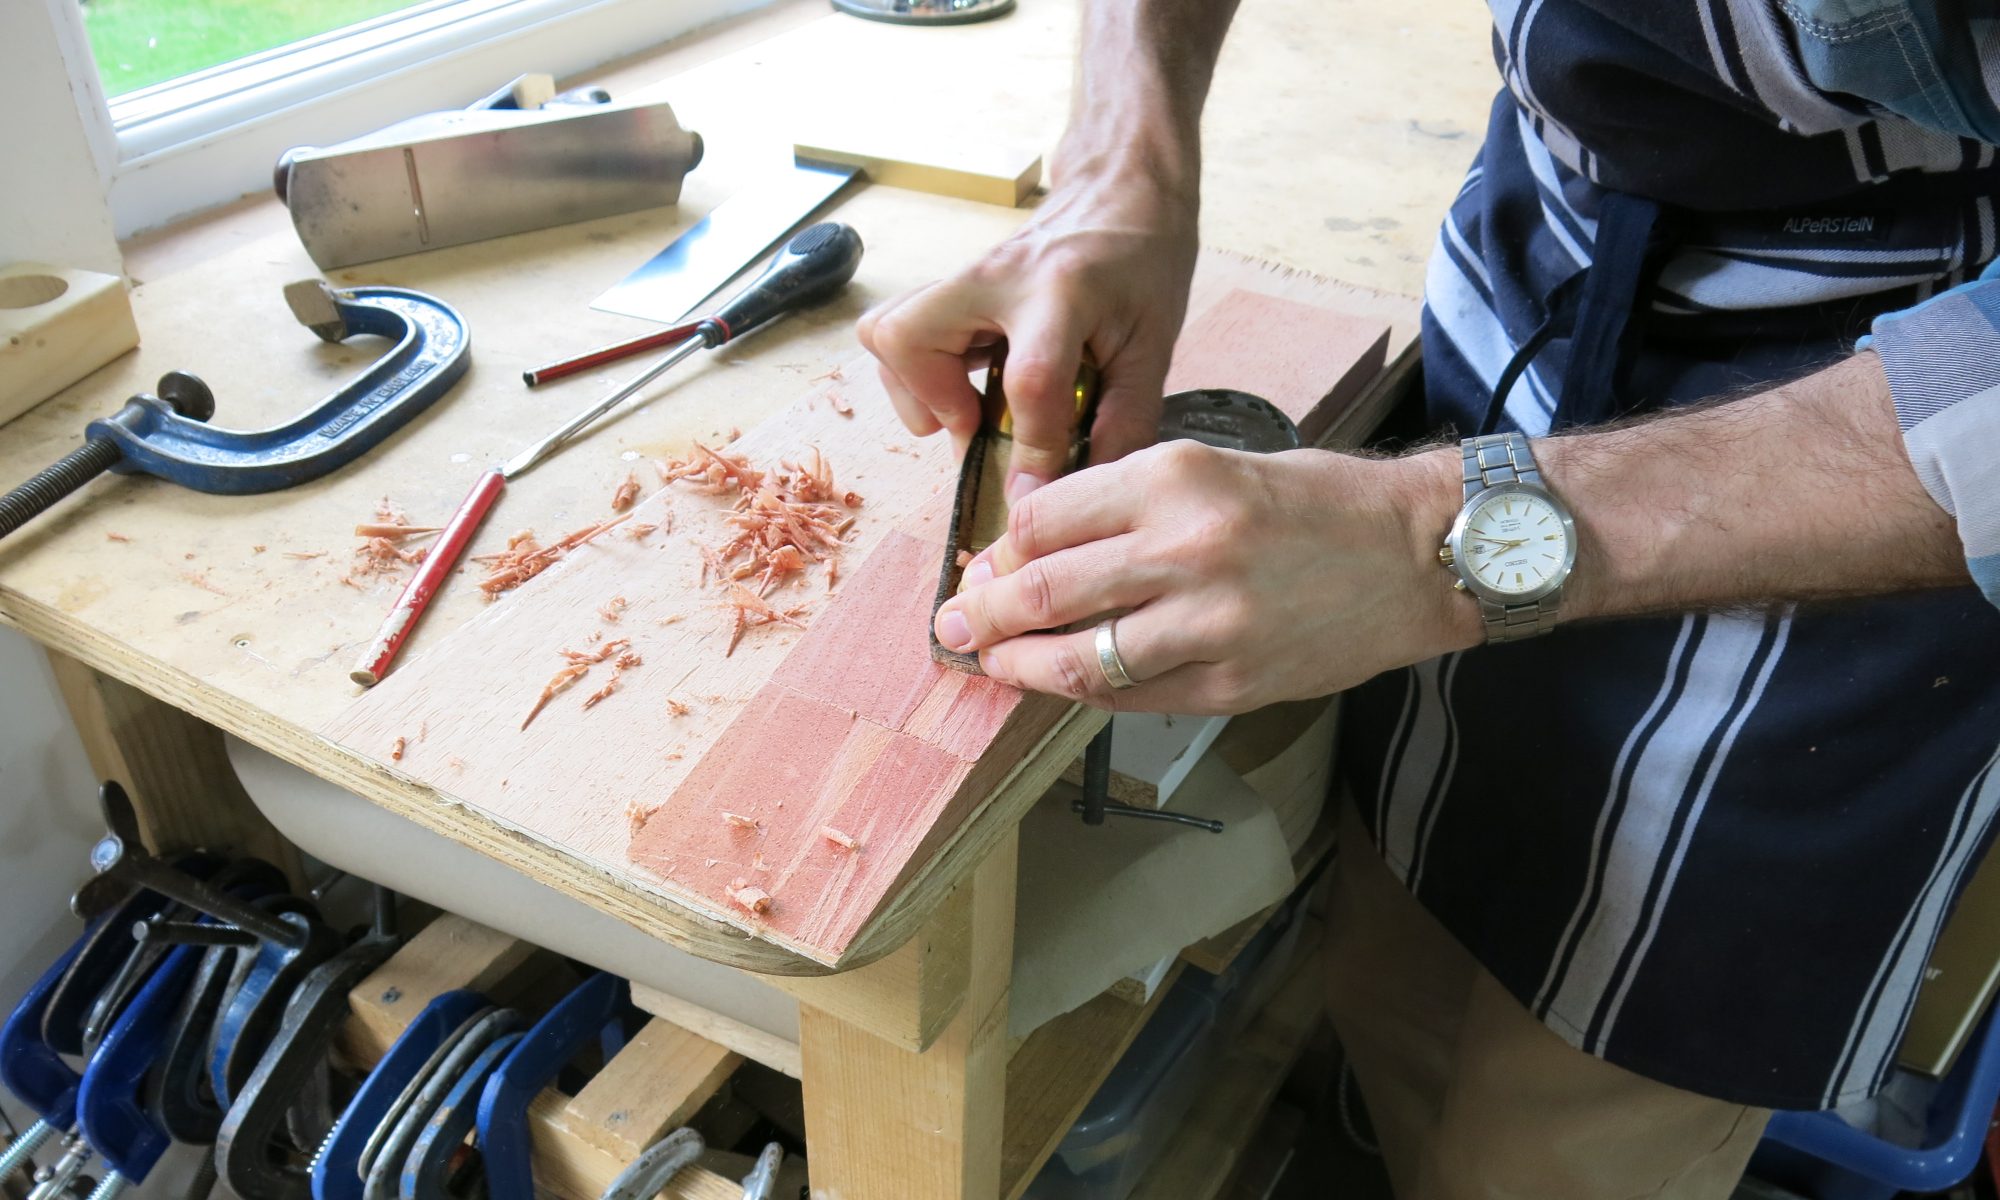
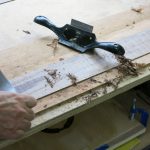
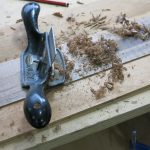
Shaving the ribs to 1.8mm
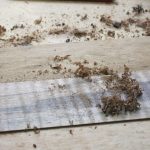
The shavings to the left are after the blade was sharpened.
Be careful to avoid tearing the wood. Check which direction is best to plane from.
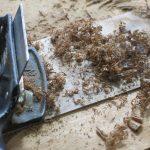
Once under 2mm, the last step is to use a coarse sandpaper to reduce it to the desired thickness.
With both ribs planed to the correct thickness, we marked the point where we expect the waist of the bouts to be. The strip of paper is the length of each finished side and shows were each bend will be.


You must be logged in to post a comment.