Day 5: Marking out, cutting and carving the foot and heel
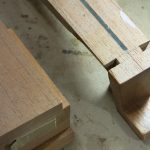
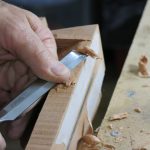
Today I cut the rib slot and carved the heel. We began by meticulously marking out the wedge-shaped rib slot which is illustrated in Roy’s book (p.184, 12-35). I started from the centre of the 12th fret mark, masking off the lines so they were clearly visible. In an image below, you can see how it compares to a neck that Roy had previously made. Careful cuts were made with a tenon saw to produce the slot where the sides will be wedged. In his book, Roy illustrated a method involving a 2mm slot for the sides, which he no longer uses, having switched to a method illustrated on p.184. It was shown to him by Jose Romanillos while doing research for the book.
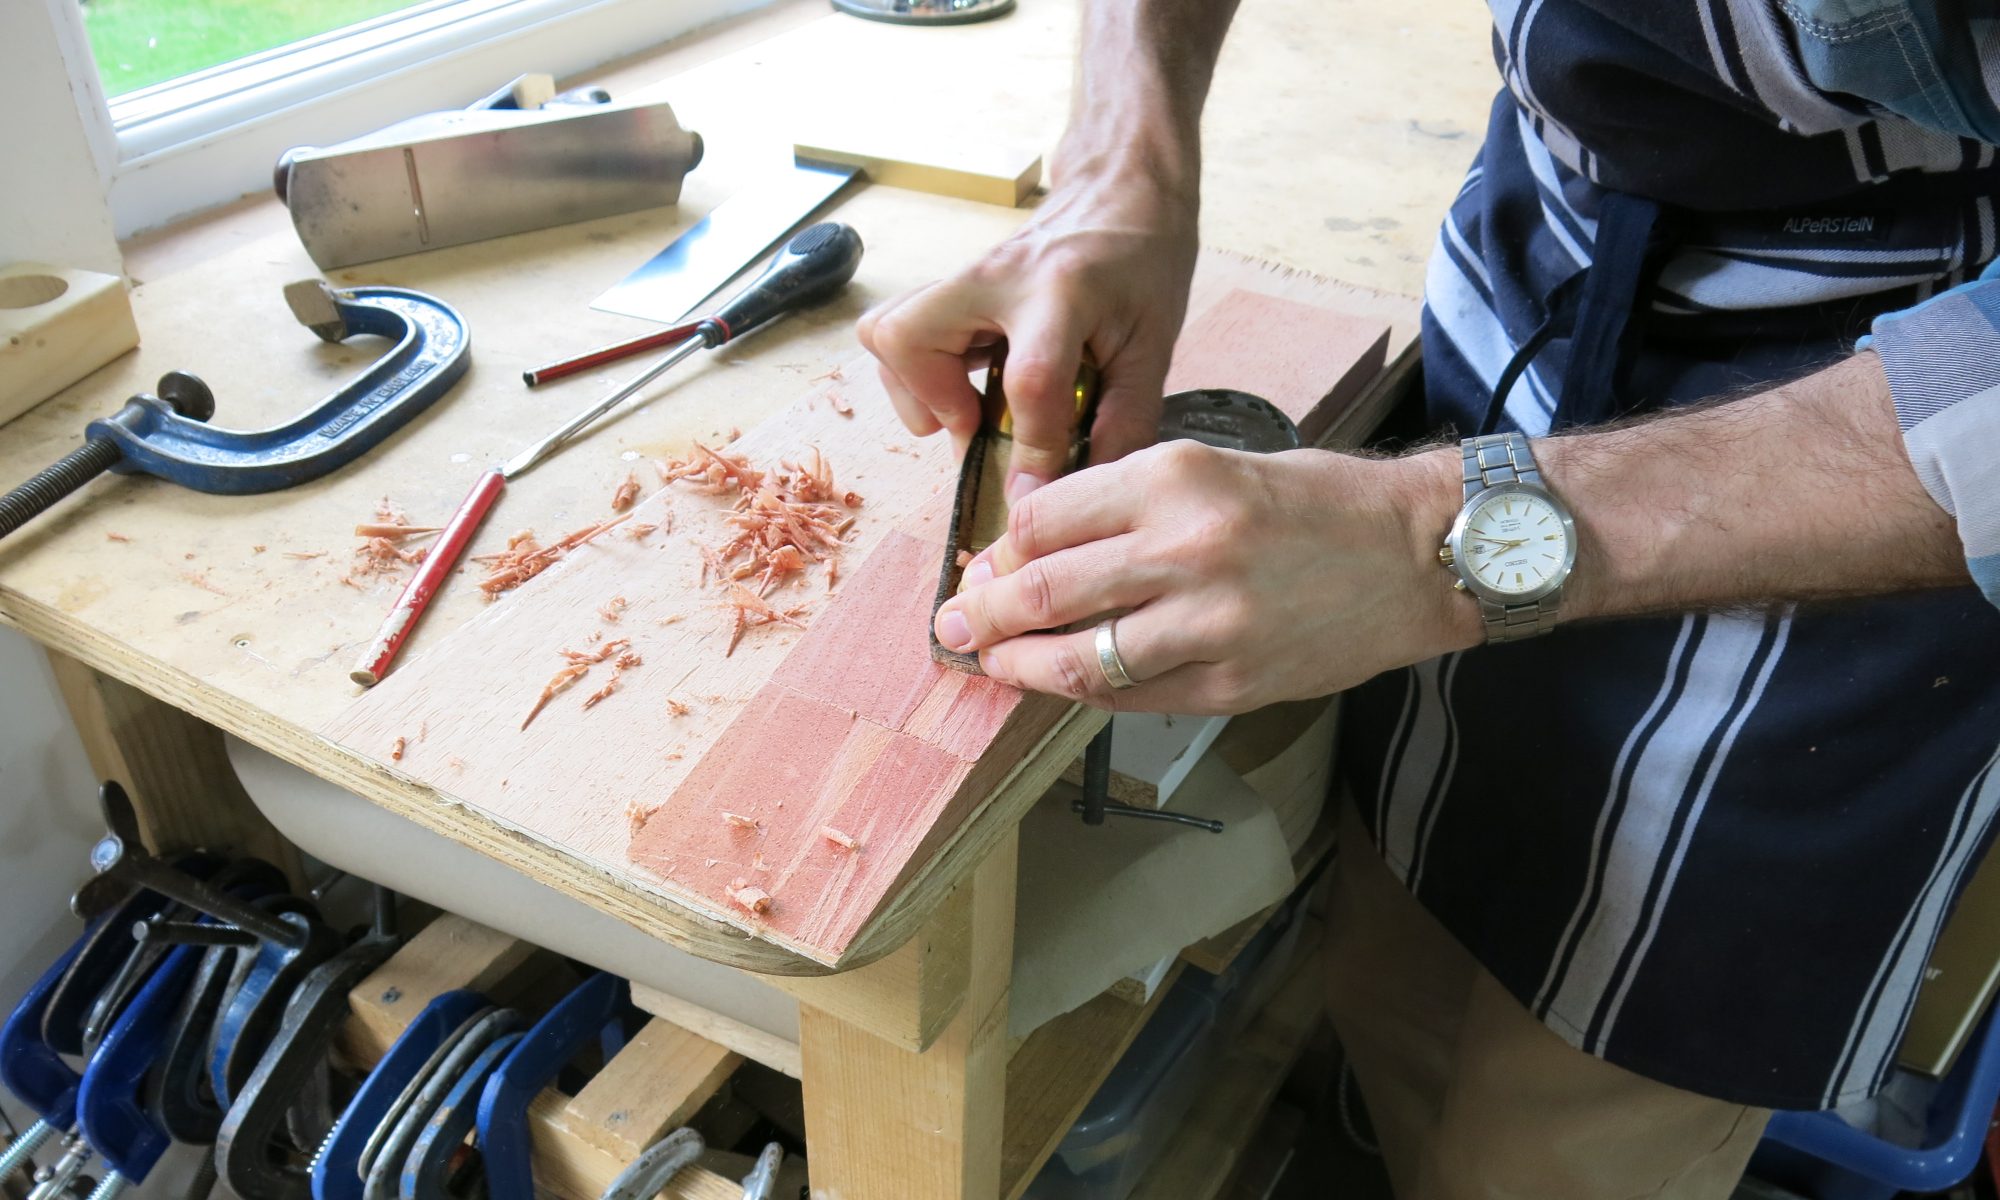
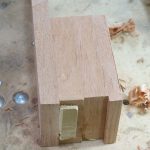
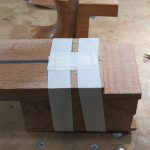
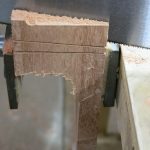
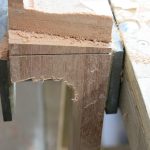
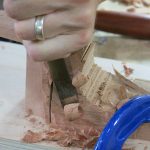
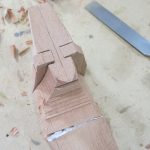
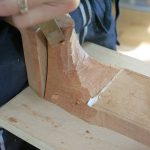
In the photos below, I am starting to carve the heel, having finished the foot. The cuts for the wedges are visible but the wood has not yet been removed. The front cut is wider than the saw blade, because the two cuts were not perfectly symmetrical and so I slid in a piece of veneer and re-cut it slightly forward, salvaging the problem.
Today corresponds to Roy’s book pp.177-184.
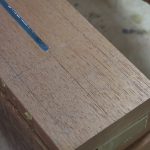
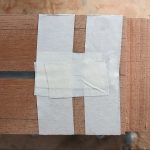
Marking out the lines for the wedge slot, 2mm above the centre line of the 12th fret.
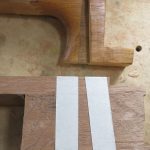
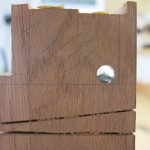
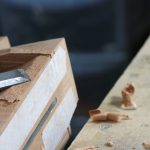
You can see in the finished neck to the right that the slots for the wedges slope towards the foot, starting 2mm in the centre and sweeping back to the 12th fret.
The marks need to be accurately transferred to the opposite side of the foot/heel, so I planed the sides flat, using the planed side of the neck as the datum.
The planed side.
Checking for level, 90 degree surfaces so that measurements can be accurately made around the foot/heel.
Reducing the thickness of the block (85mm – 4mm for the back = 81mm).
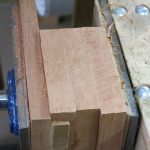
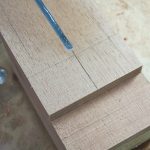
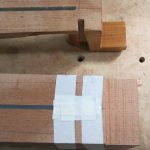
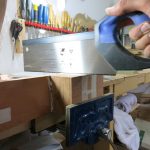
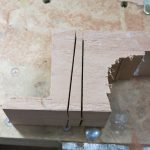
Using tape to clearly mark the lines for cutting. The two sides of the wedge slot are clearly visible.
My neck compared to one of Roy’s
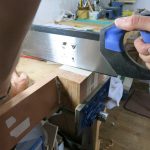
Cutting very very carefully. One side of the cut is higher than the other.
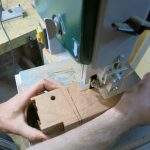
Prior to cutting the waste from the foot, I drilled a hole to create a rounded corner.
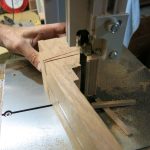
I then trimmed off waste from the heel and the foot with a bandsaw.
Straight from the bandsaw. Plenty of room was left for finishing by hand.
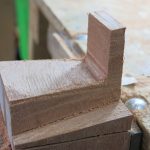
15mm was taken off each side of the foot going down to 5mm off each side under the soundboard, giving the foot an elegant tapered finish.
The roughly finished foot.
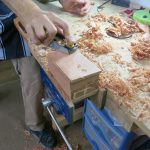
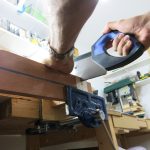
Gently nibbling away the outline of the bottom of the heel.
I reduced the bottom of the neck to the correct width.
Carving the heel. I used both a 20mm bevelled chisel and a gently curved carving chisel.
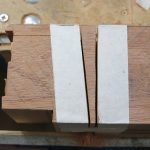
The slots where the wedges will go have not yet had the waste removed. For some reason I tapered the sides of the foot. There was no need for this.
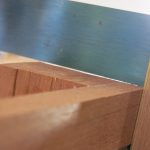
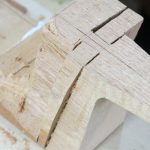
The waste has been removed and the slots cleaned up for where the sides and wedges will go. The sides of the wedge slots are critical because the laminate sides and wedges must fit flat and tight.
One Reply to “Day 5: Marking out, cutting and carving the foot and heel”


One Reply to “Day 5: Marking out, cutting and carving the foot and heel”
Comments are closed.