I am new to guitar making and am being taught one-to-one by Roy Courtnall, author of Making Master Guitars. I expect it to take 20-30 days in total and my time permits only one or two days a week working on the guitar so I think it will take around six months. It will be walnut back and sides, cedar neck and a lattice spruce top.
Needless to say, it’s already a fantastic experience and education and I am documenting it as a reminder of my learning; what to remember, look out for, and to do when I come to build a guitar on my own.
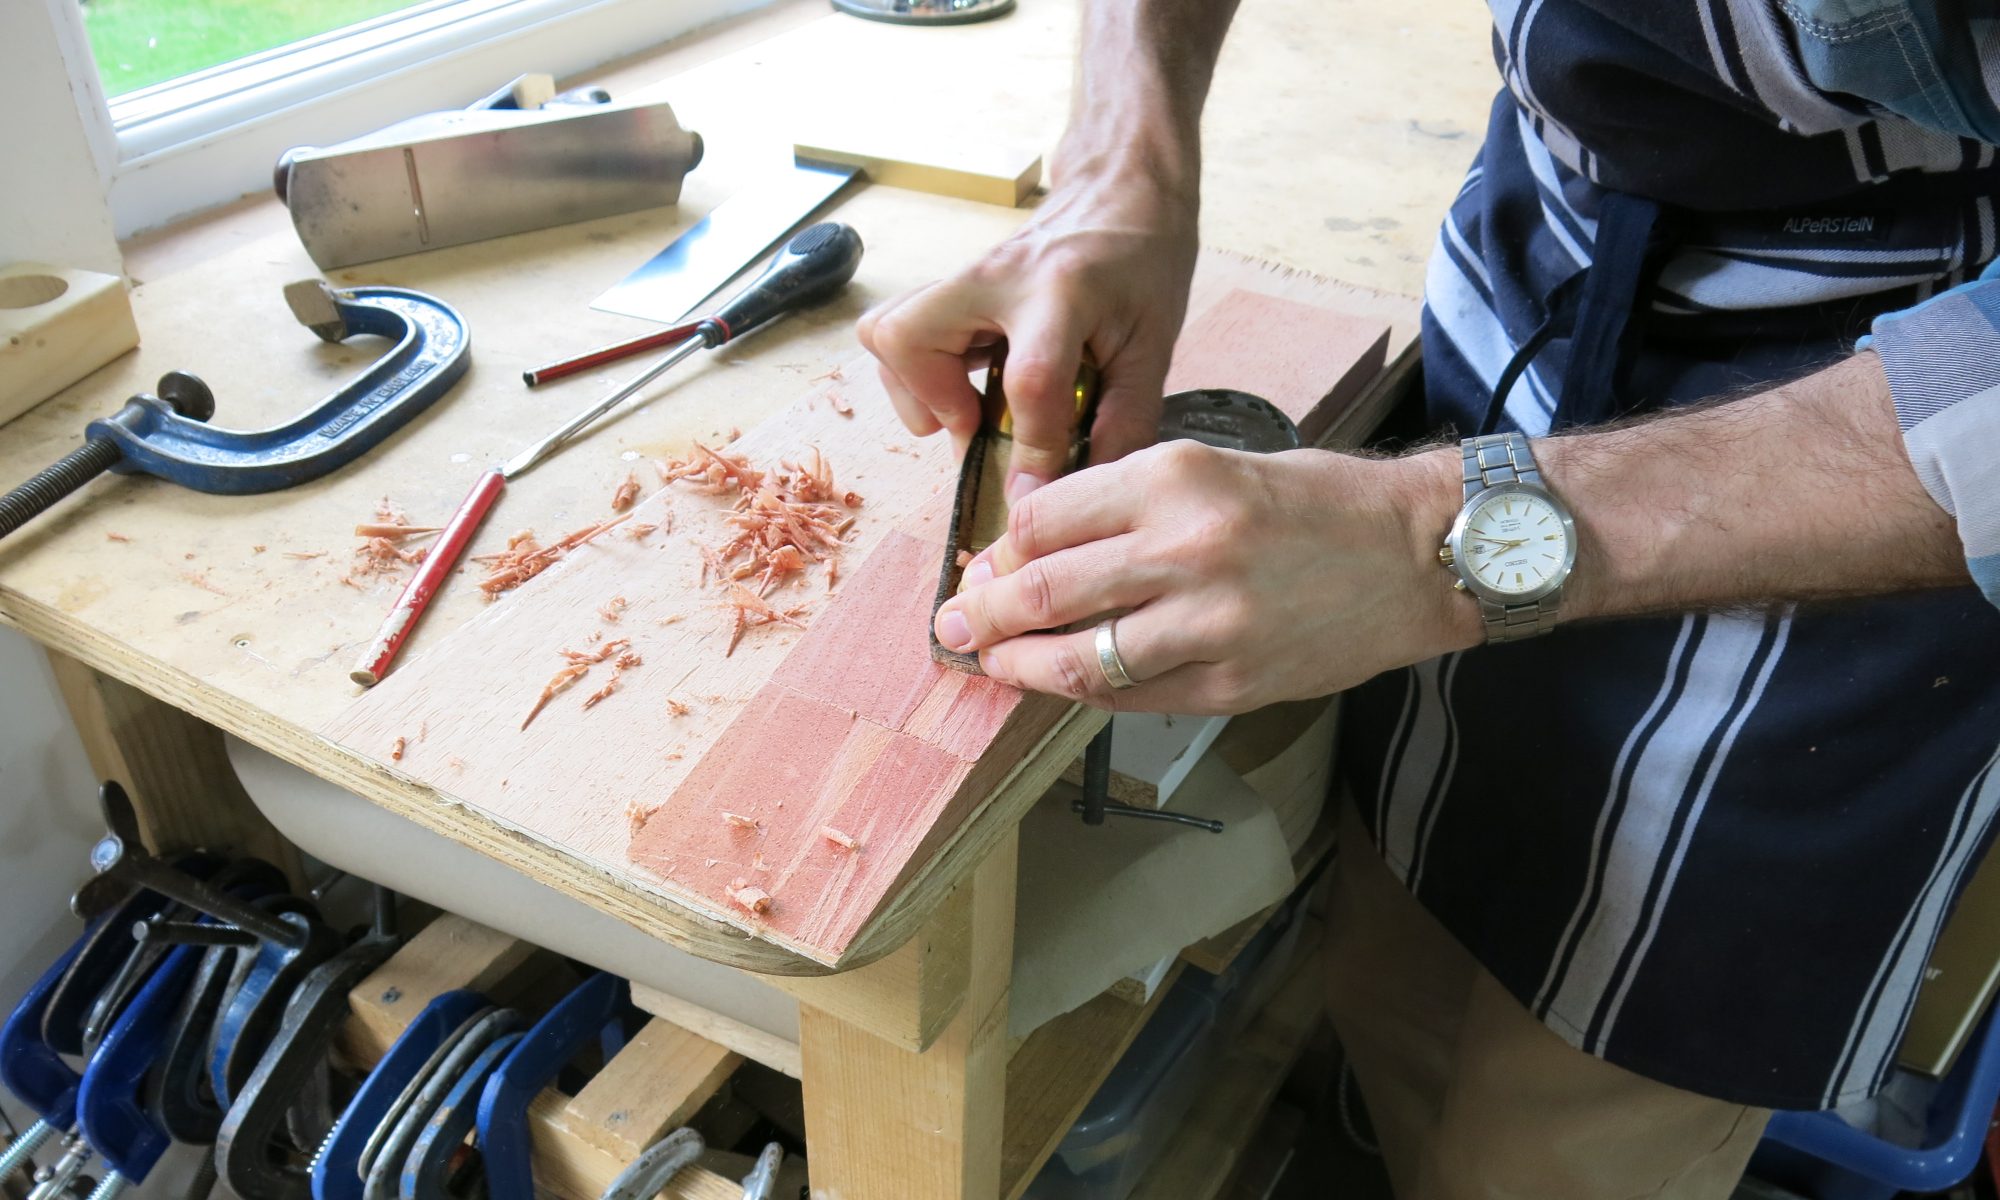
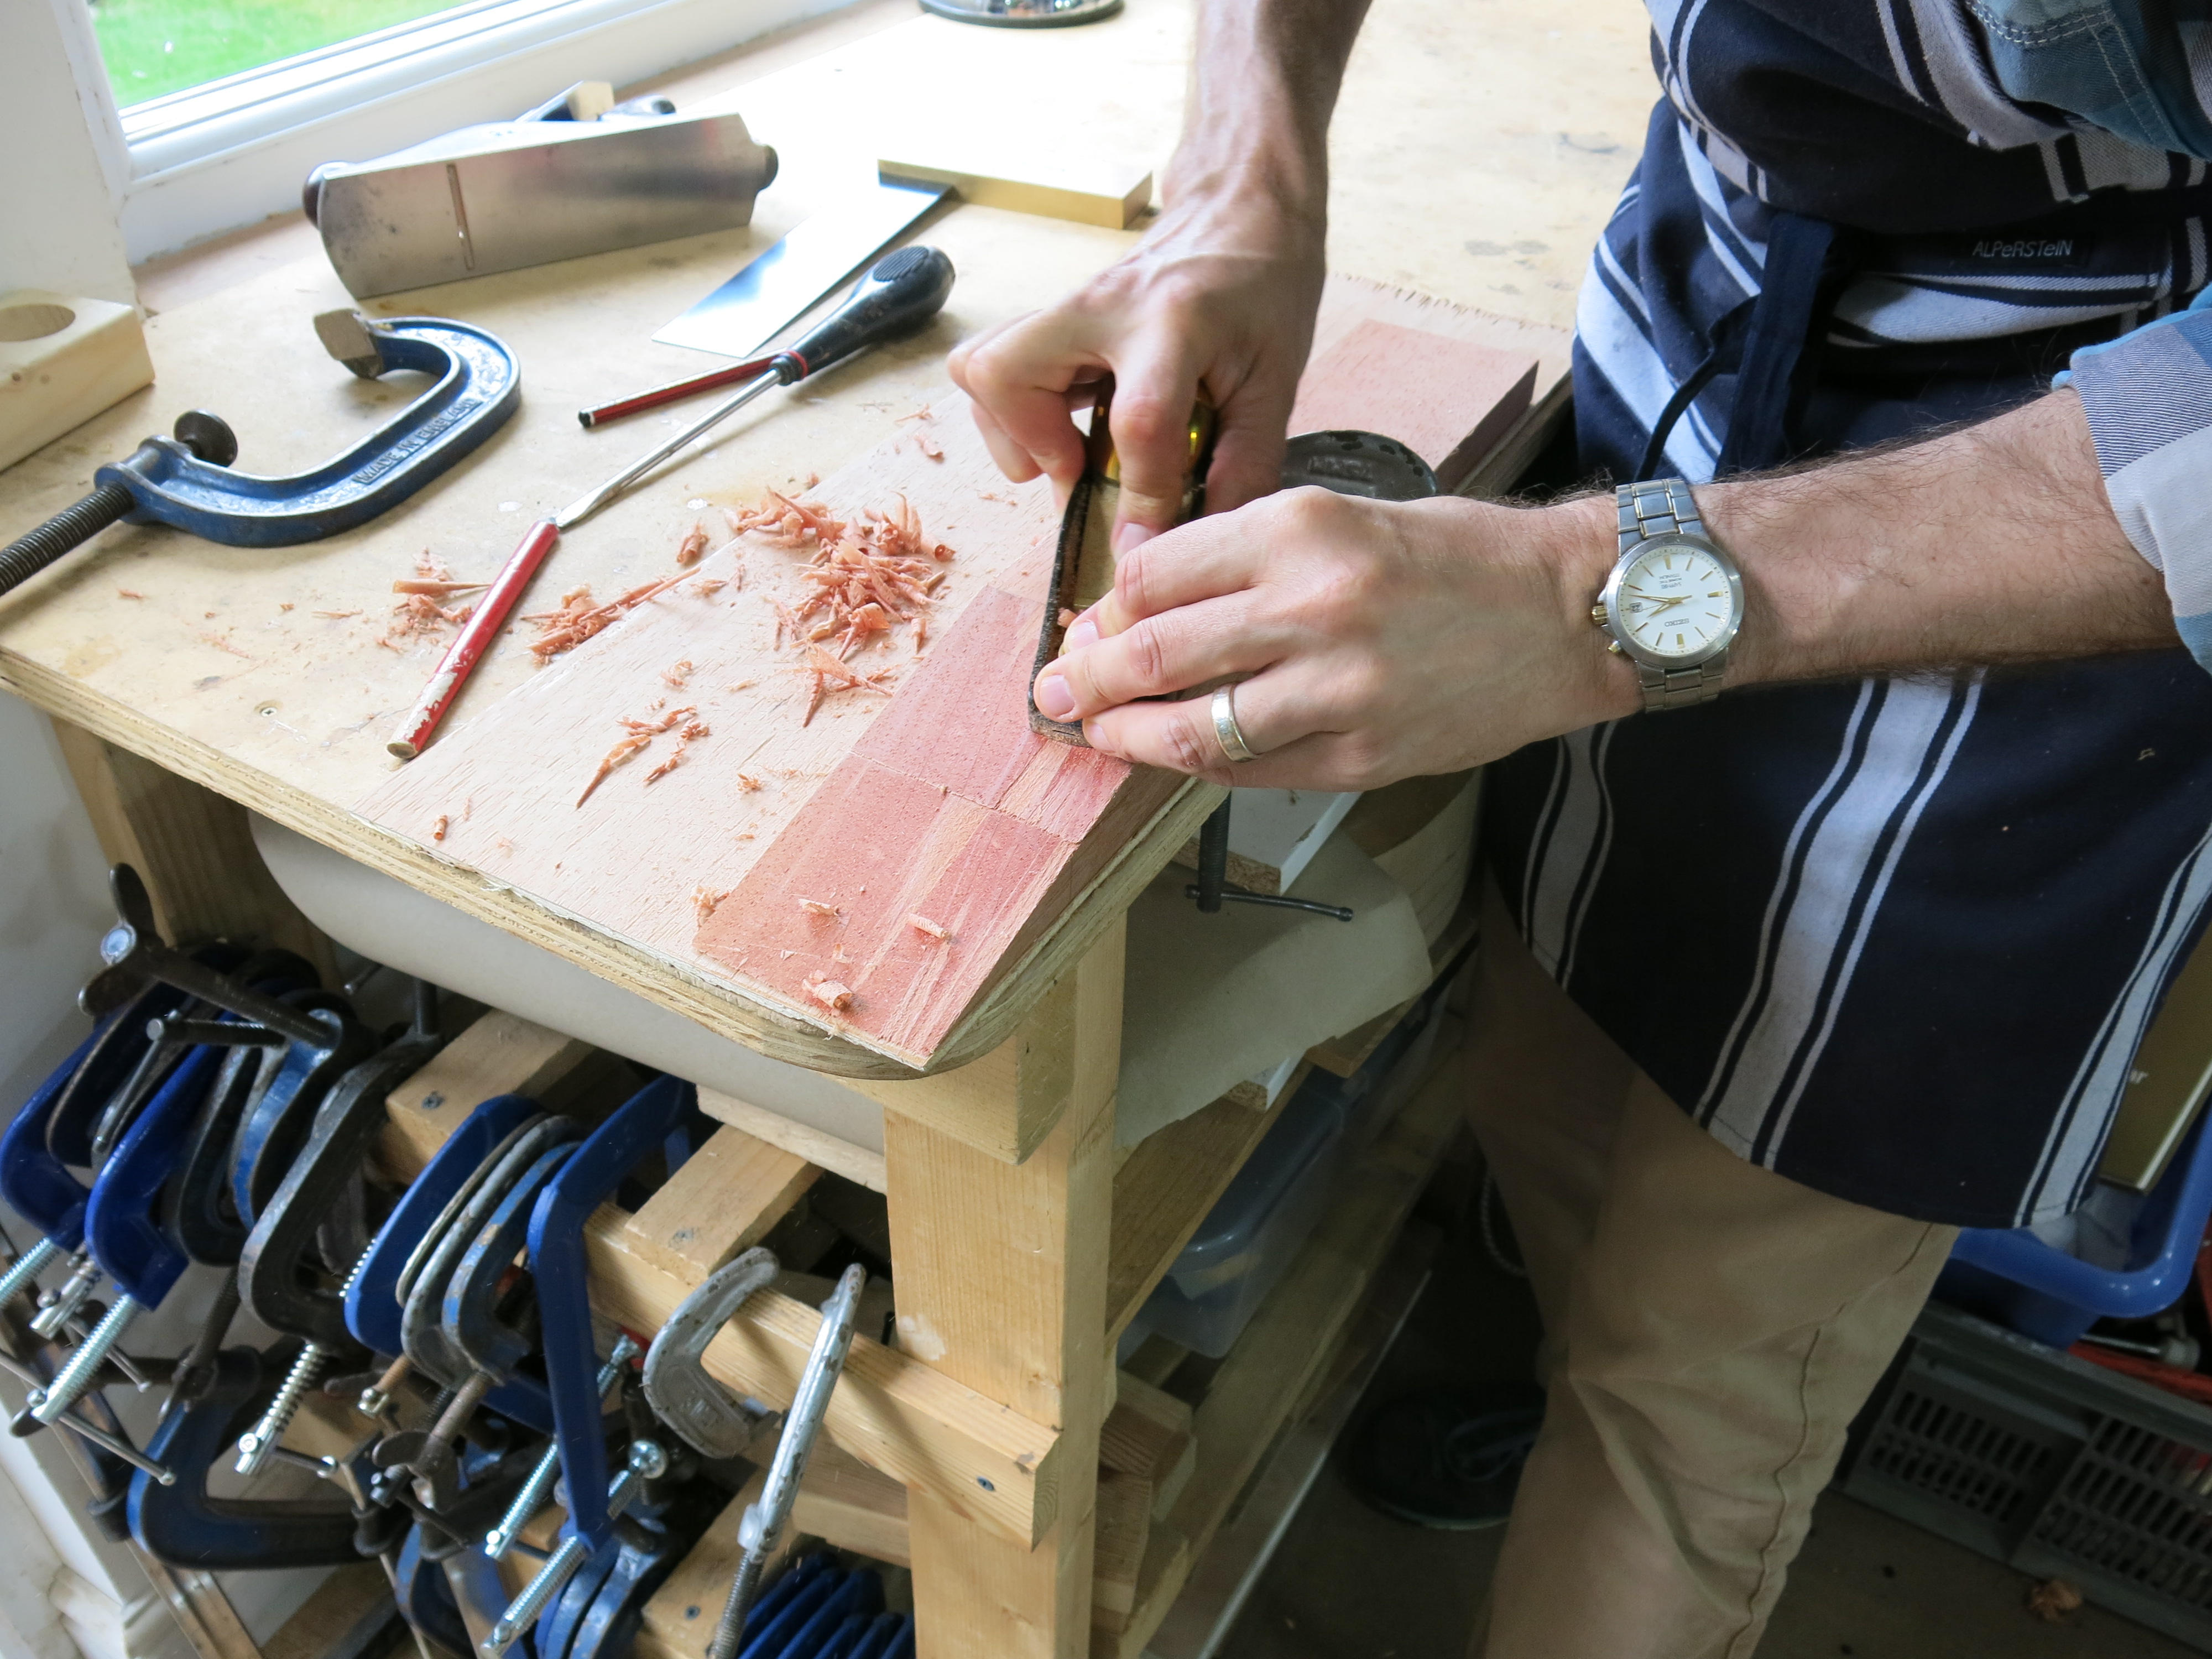
Today, Roy showed me how to sharpen tools and prepare the neck. This corresponds to Roy’s book, pp. 167-170.
You can click on any of the images and view them as a slideshow. Feel free to leave comments.
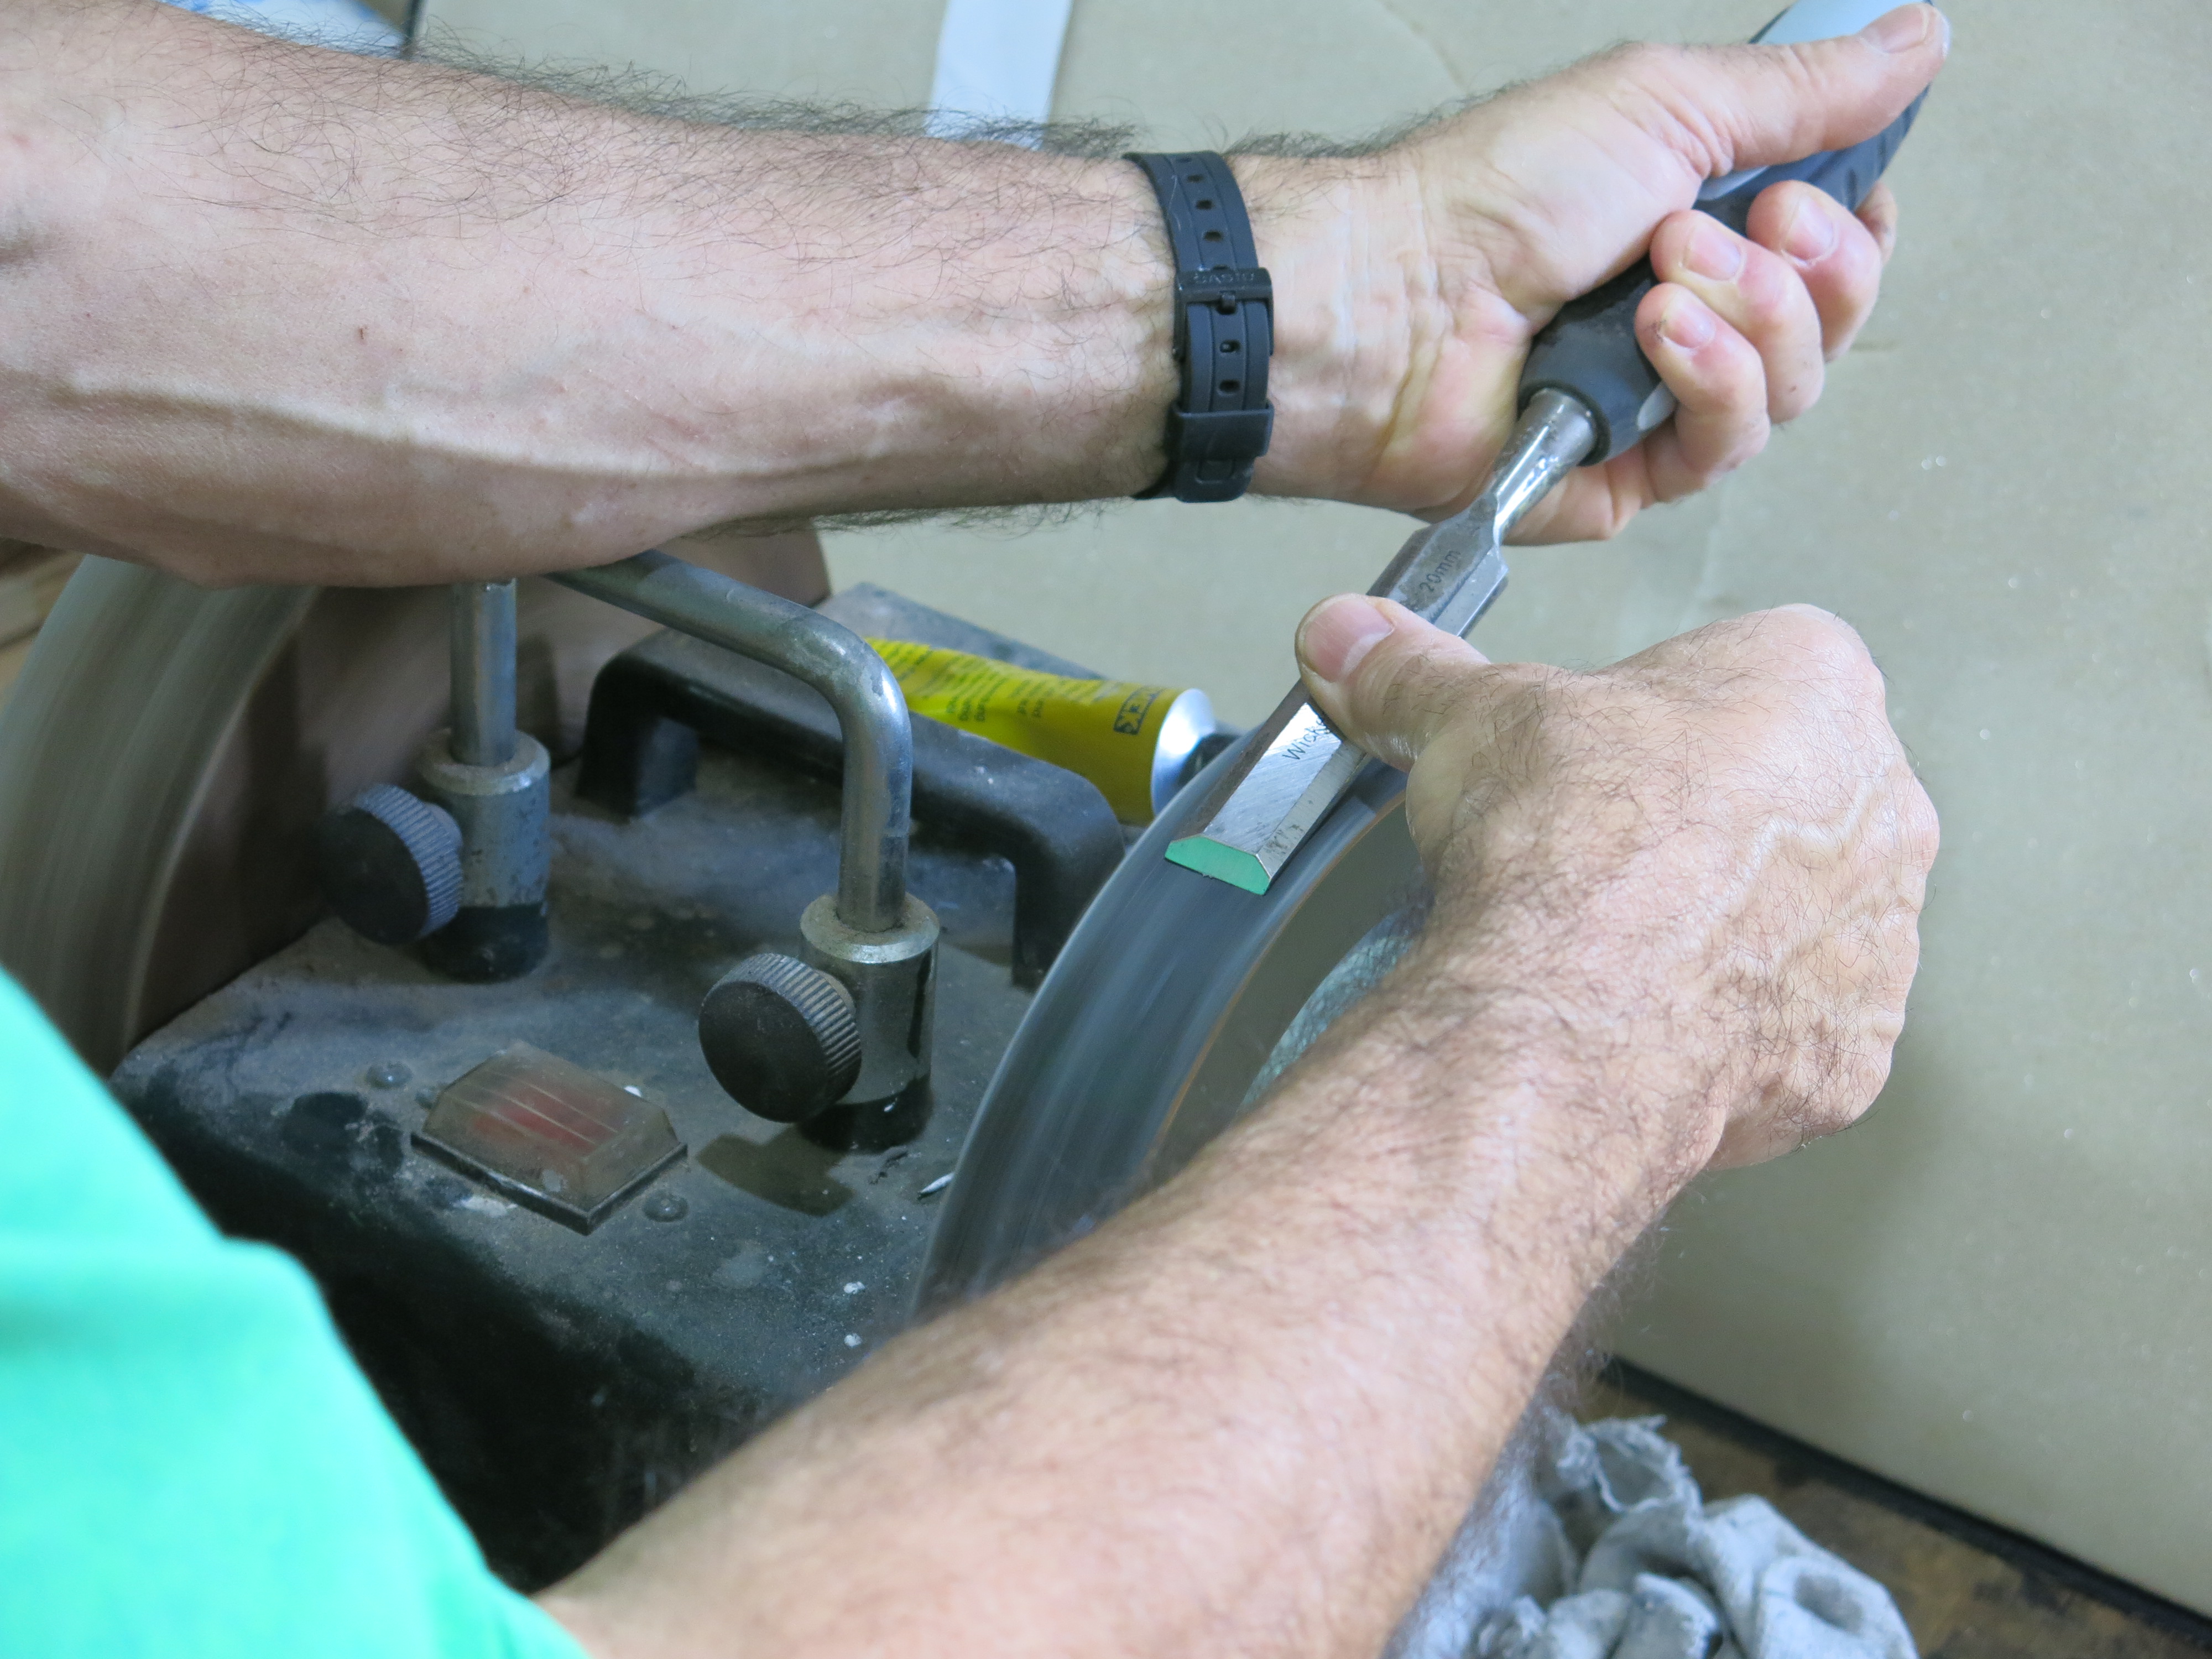
First, we sharpened the tools.
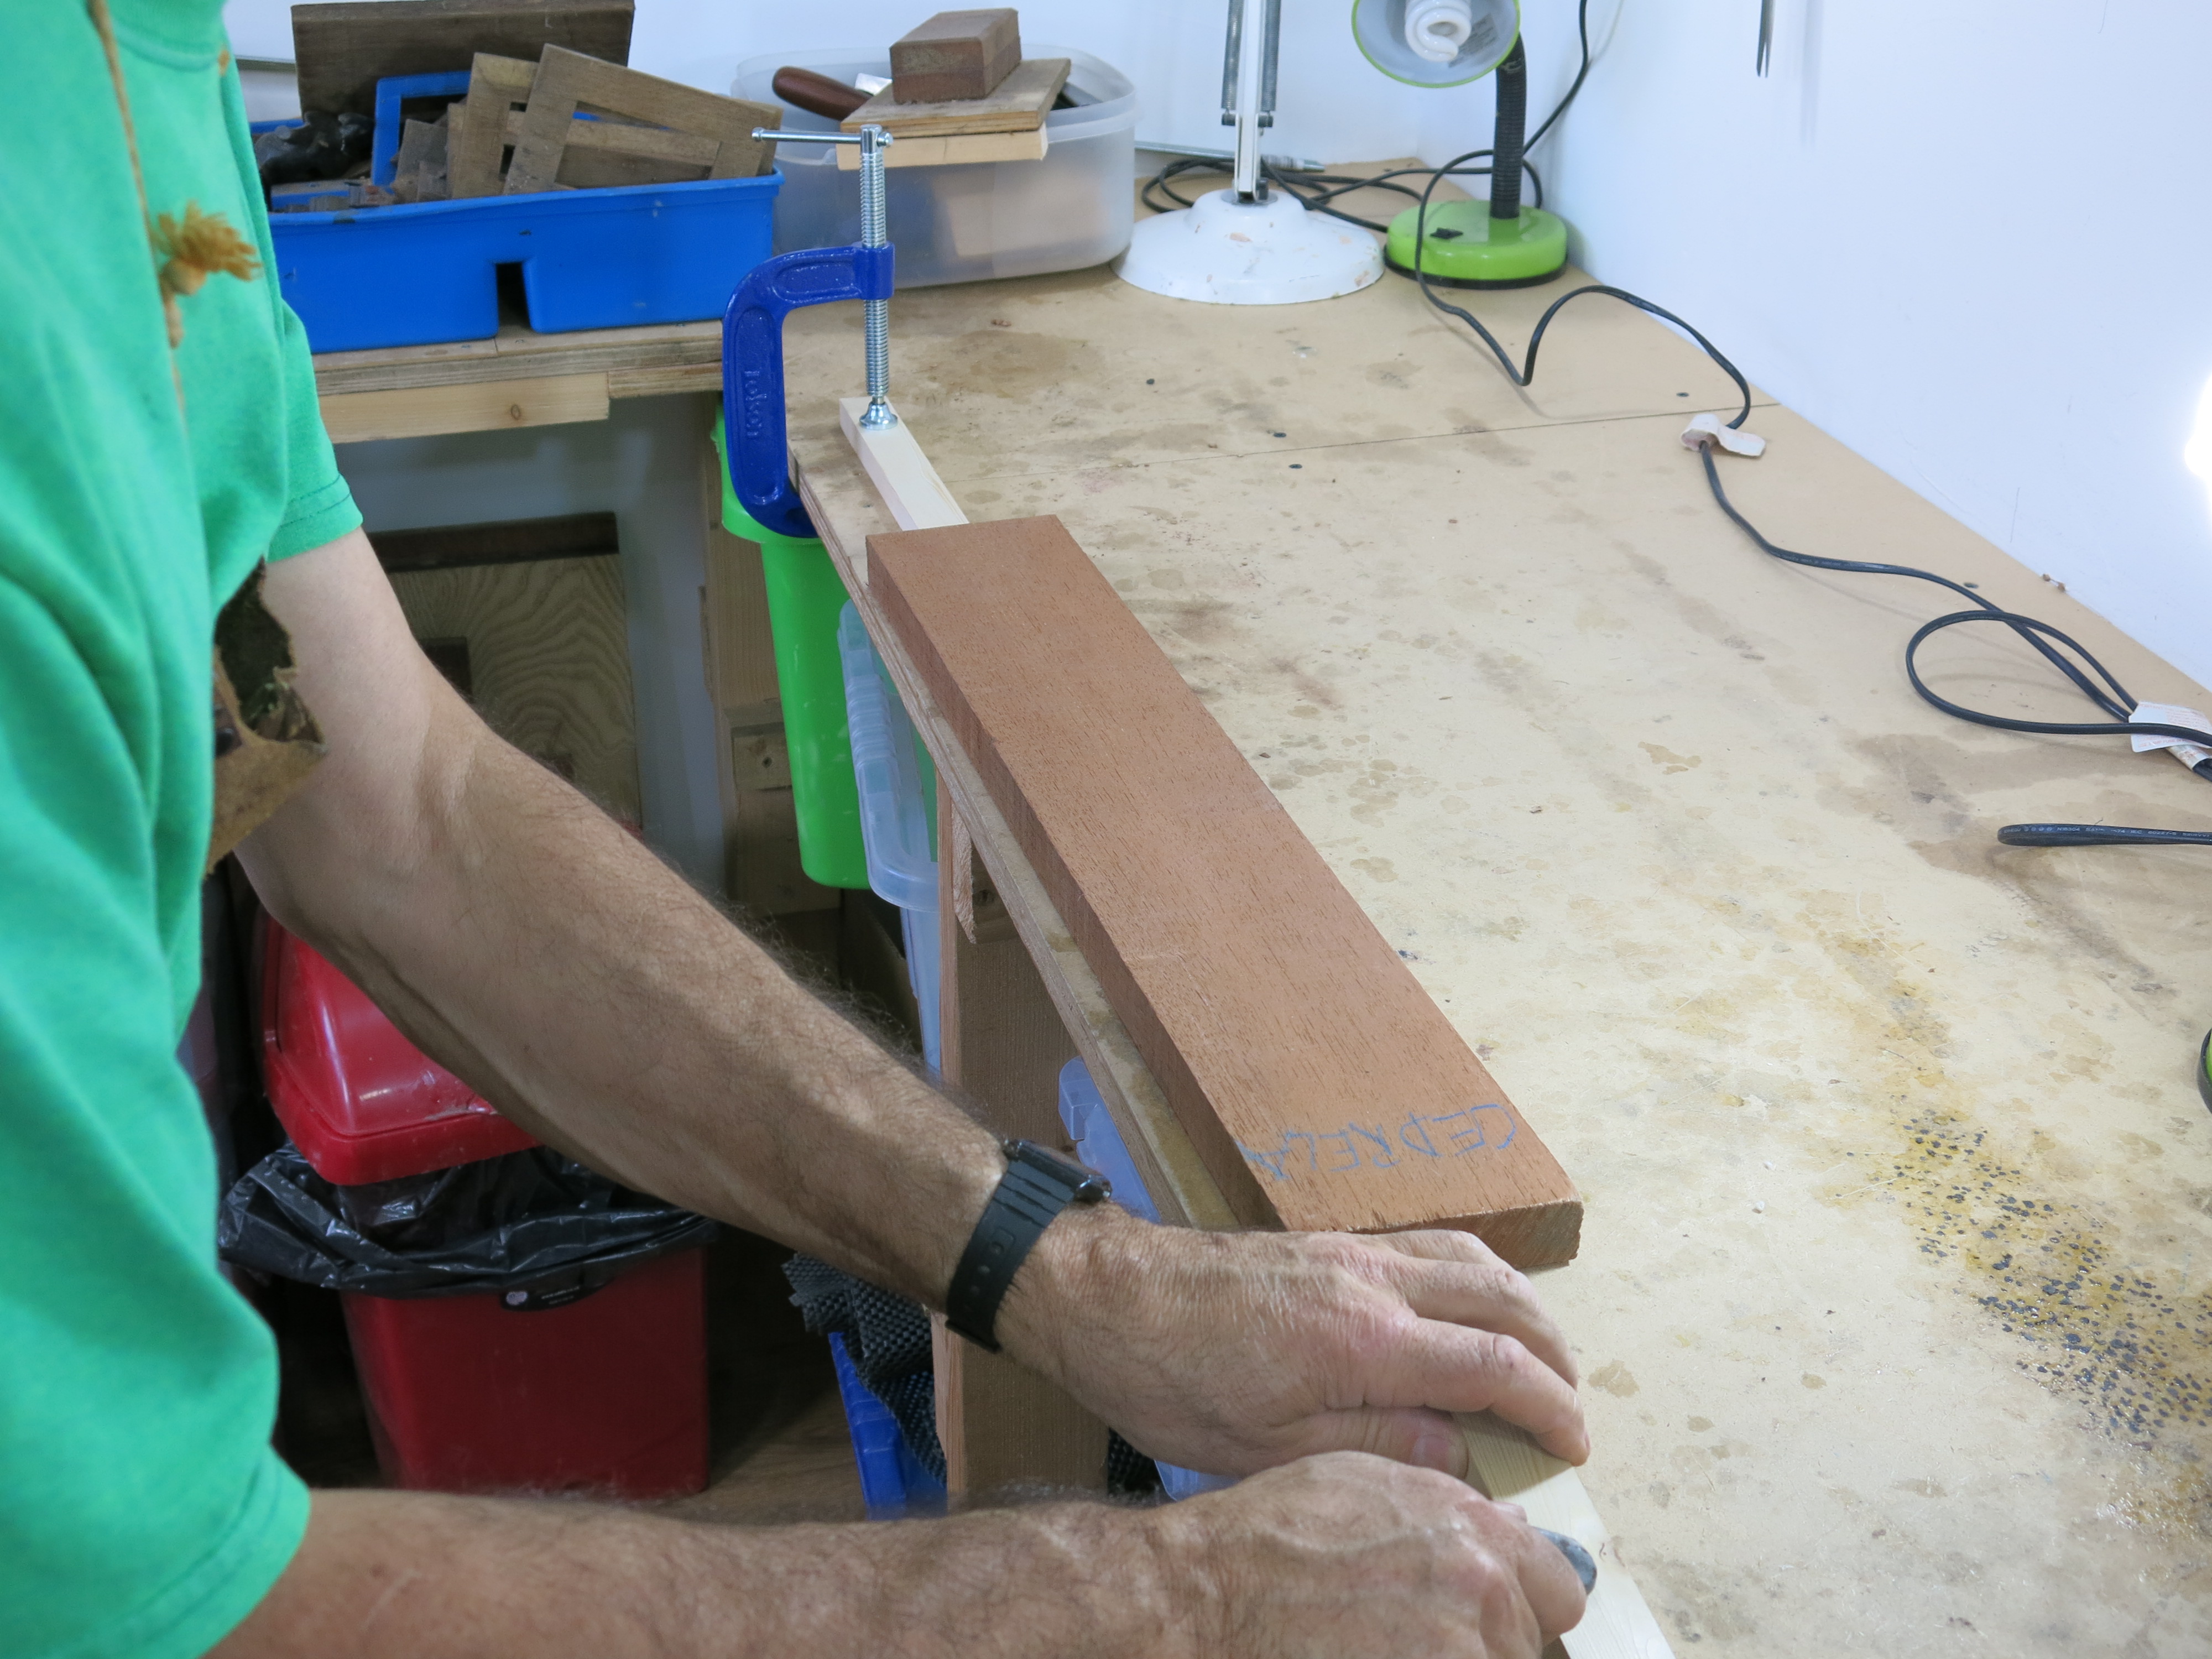
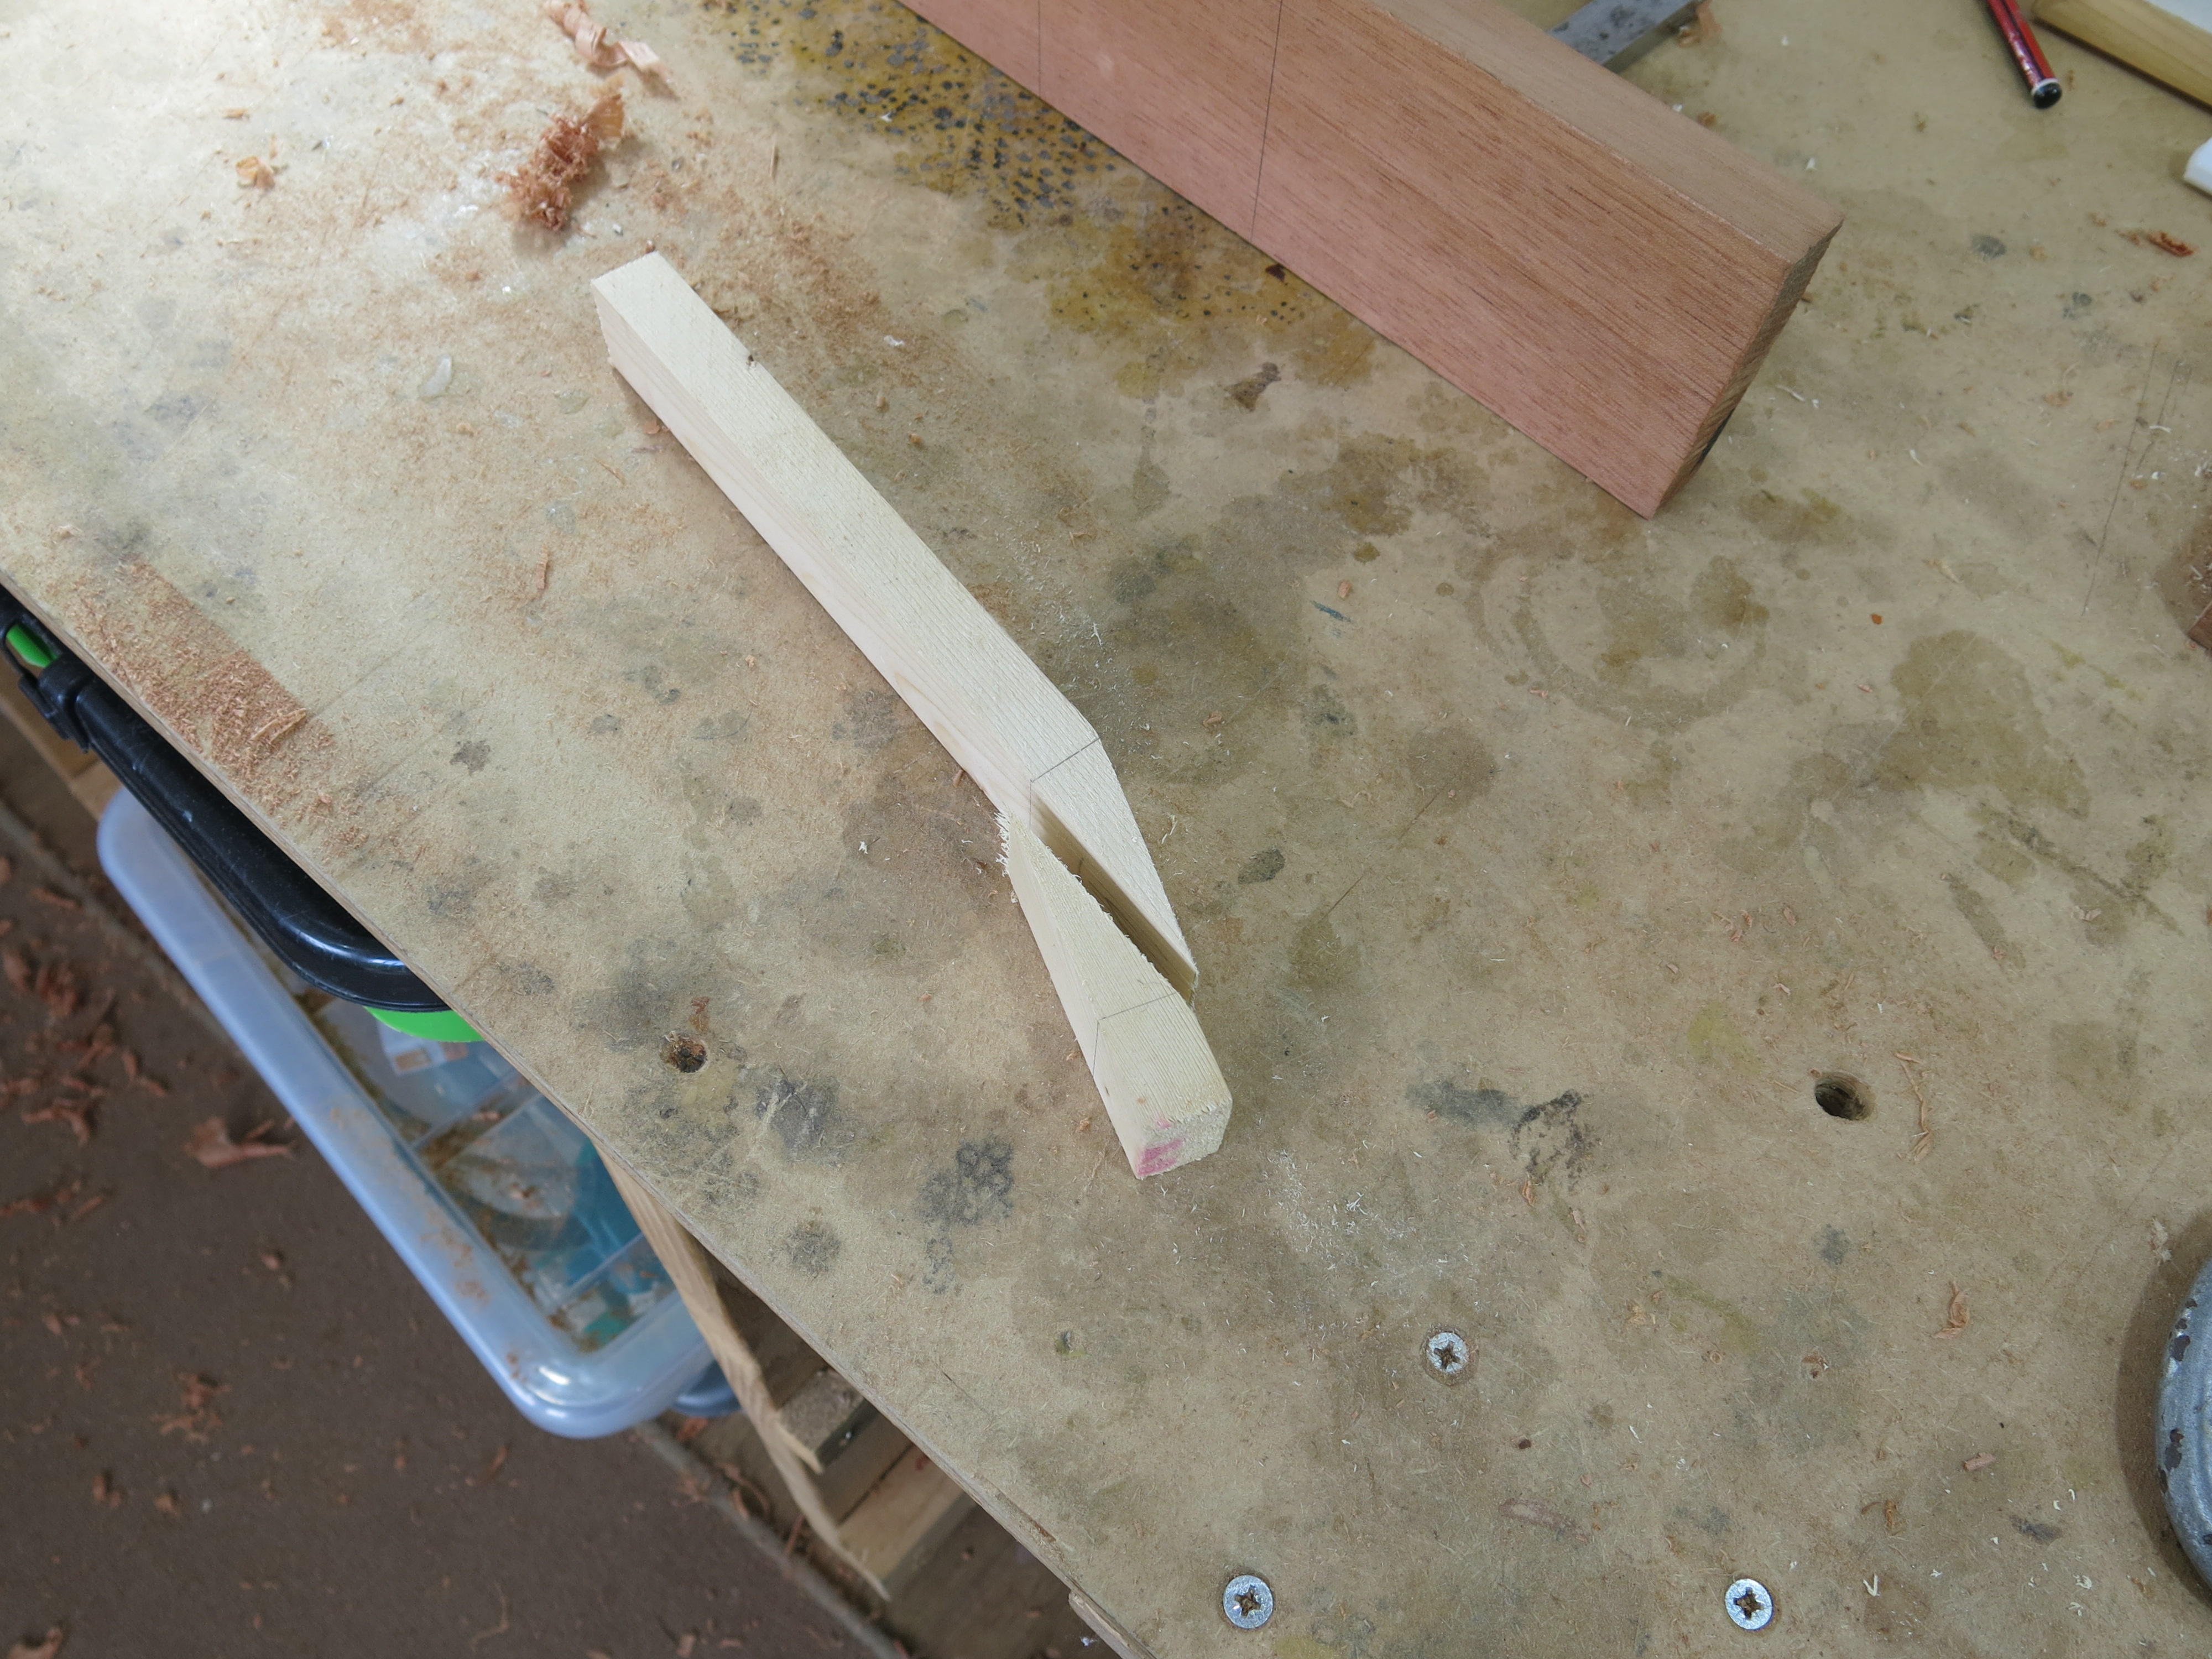
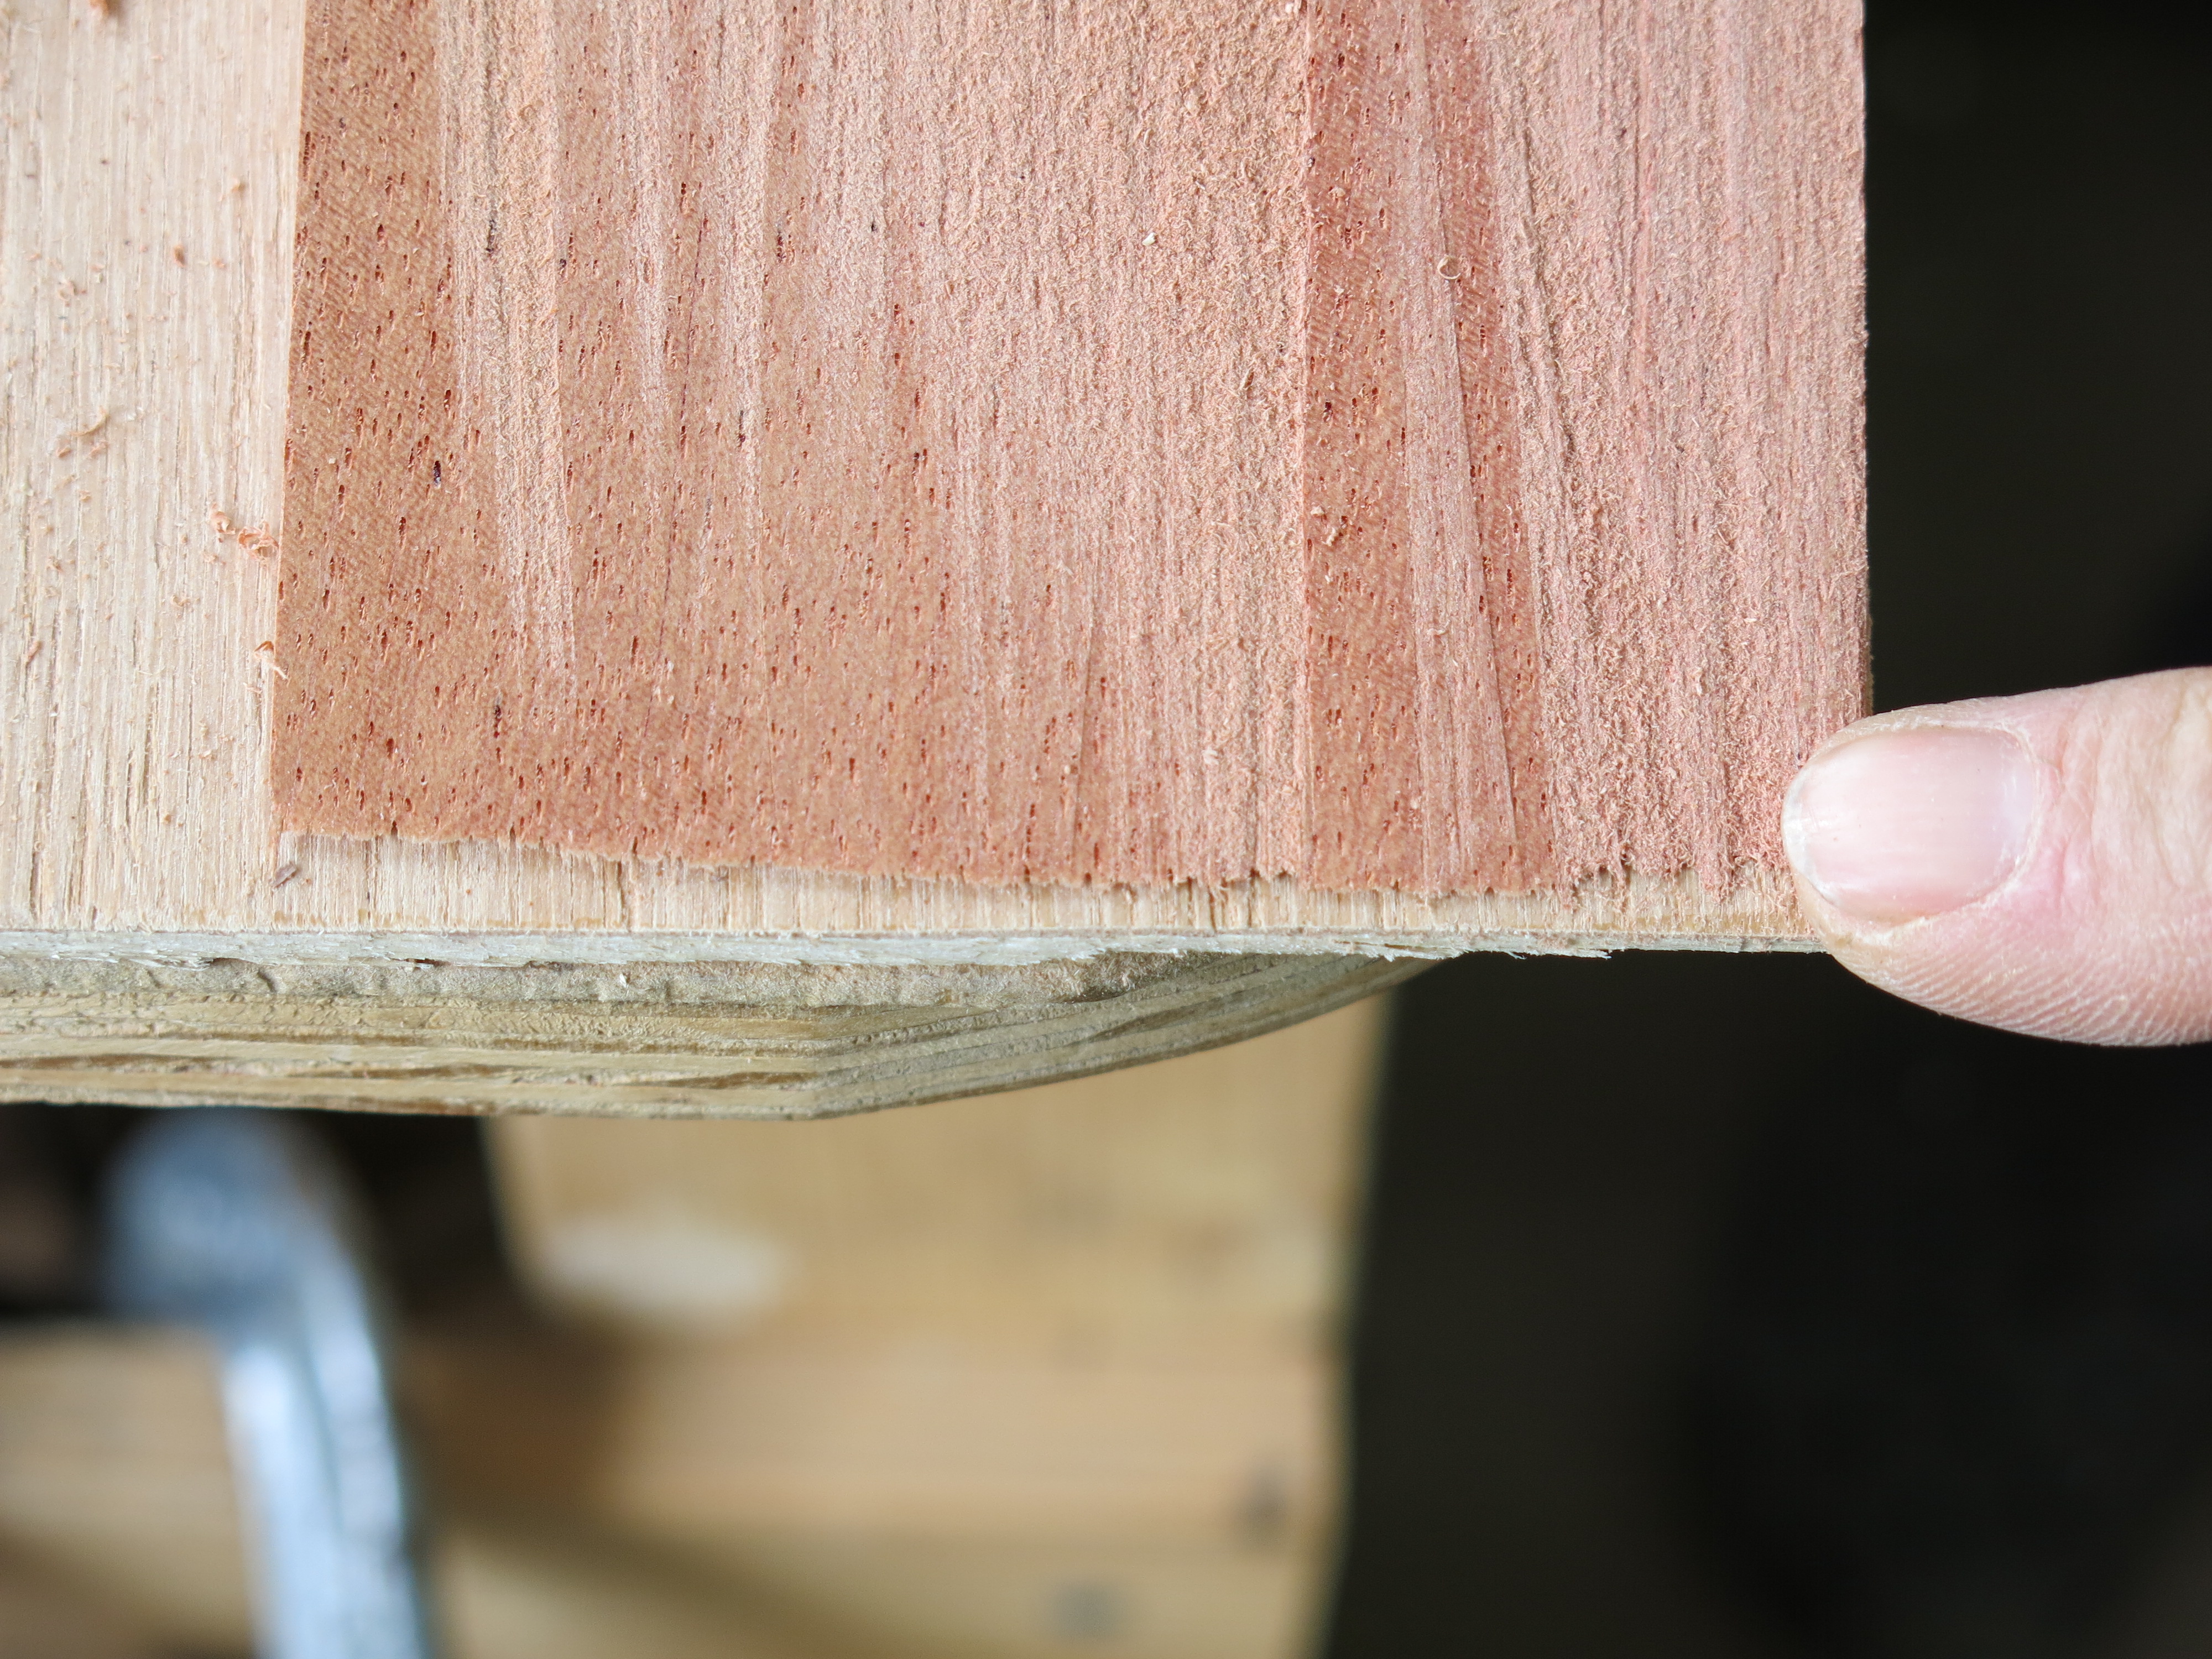
On day 1, we worked on the Cedrella neck.
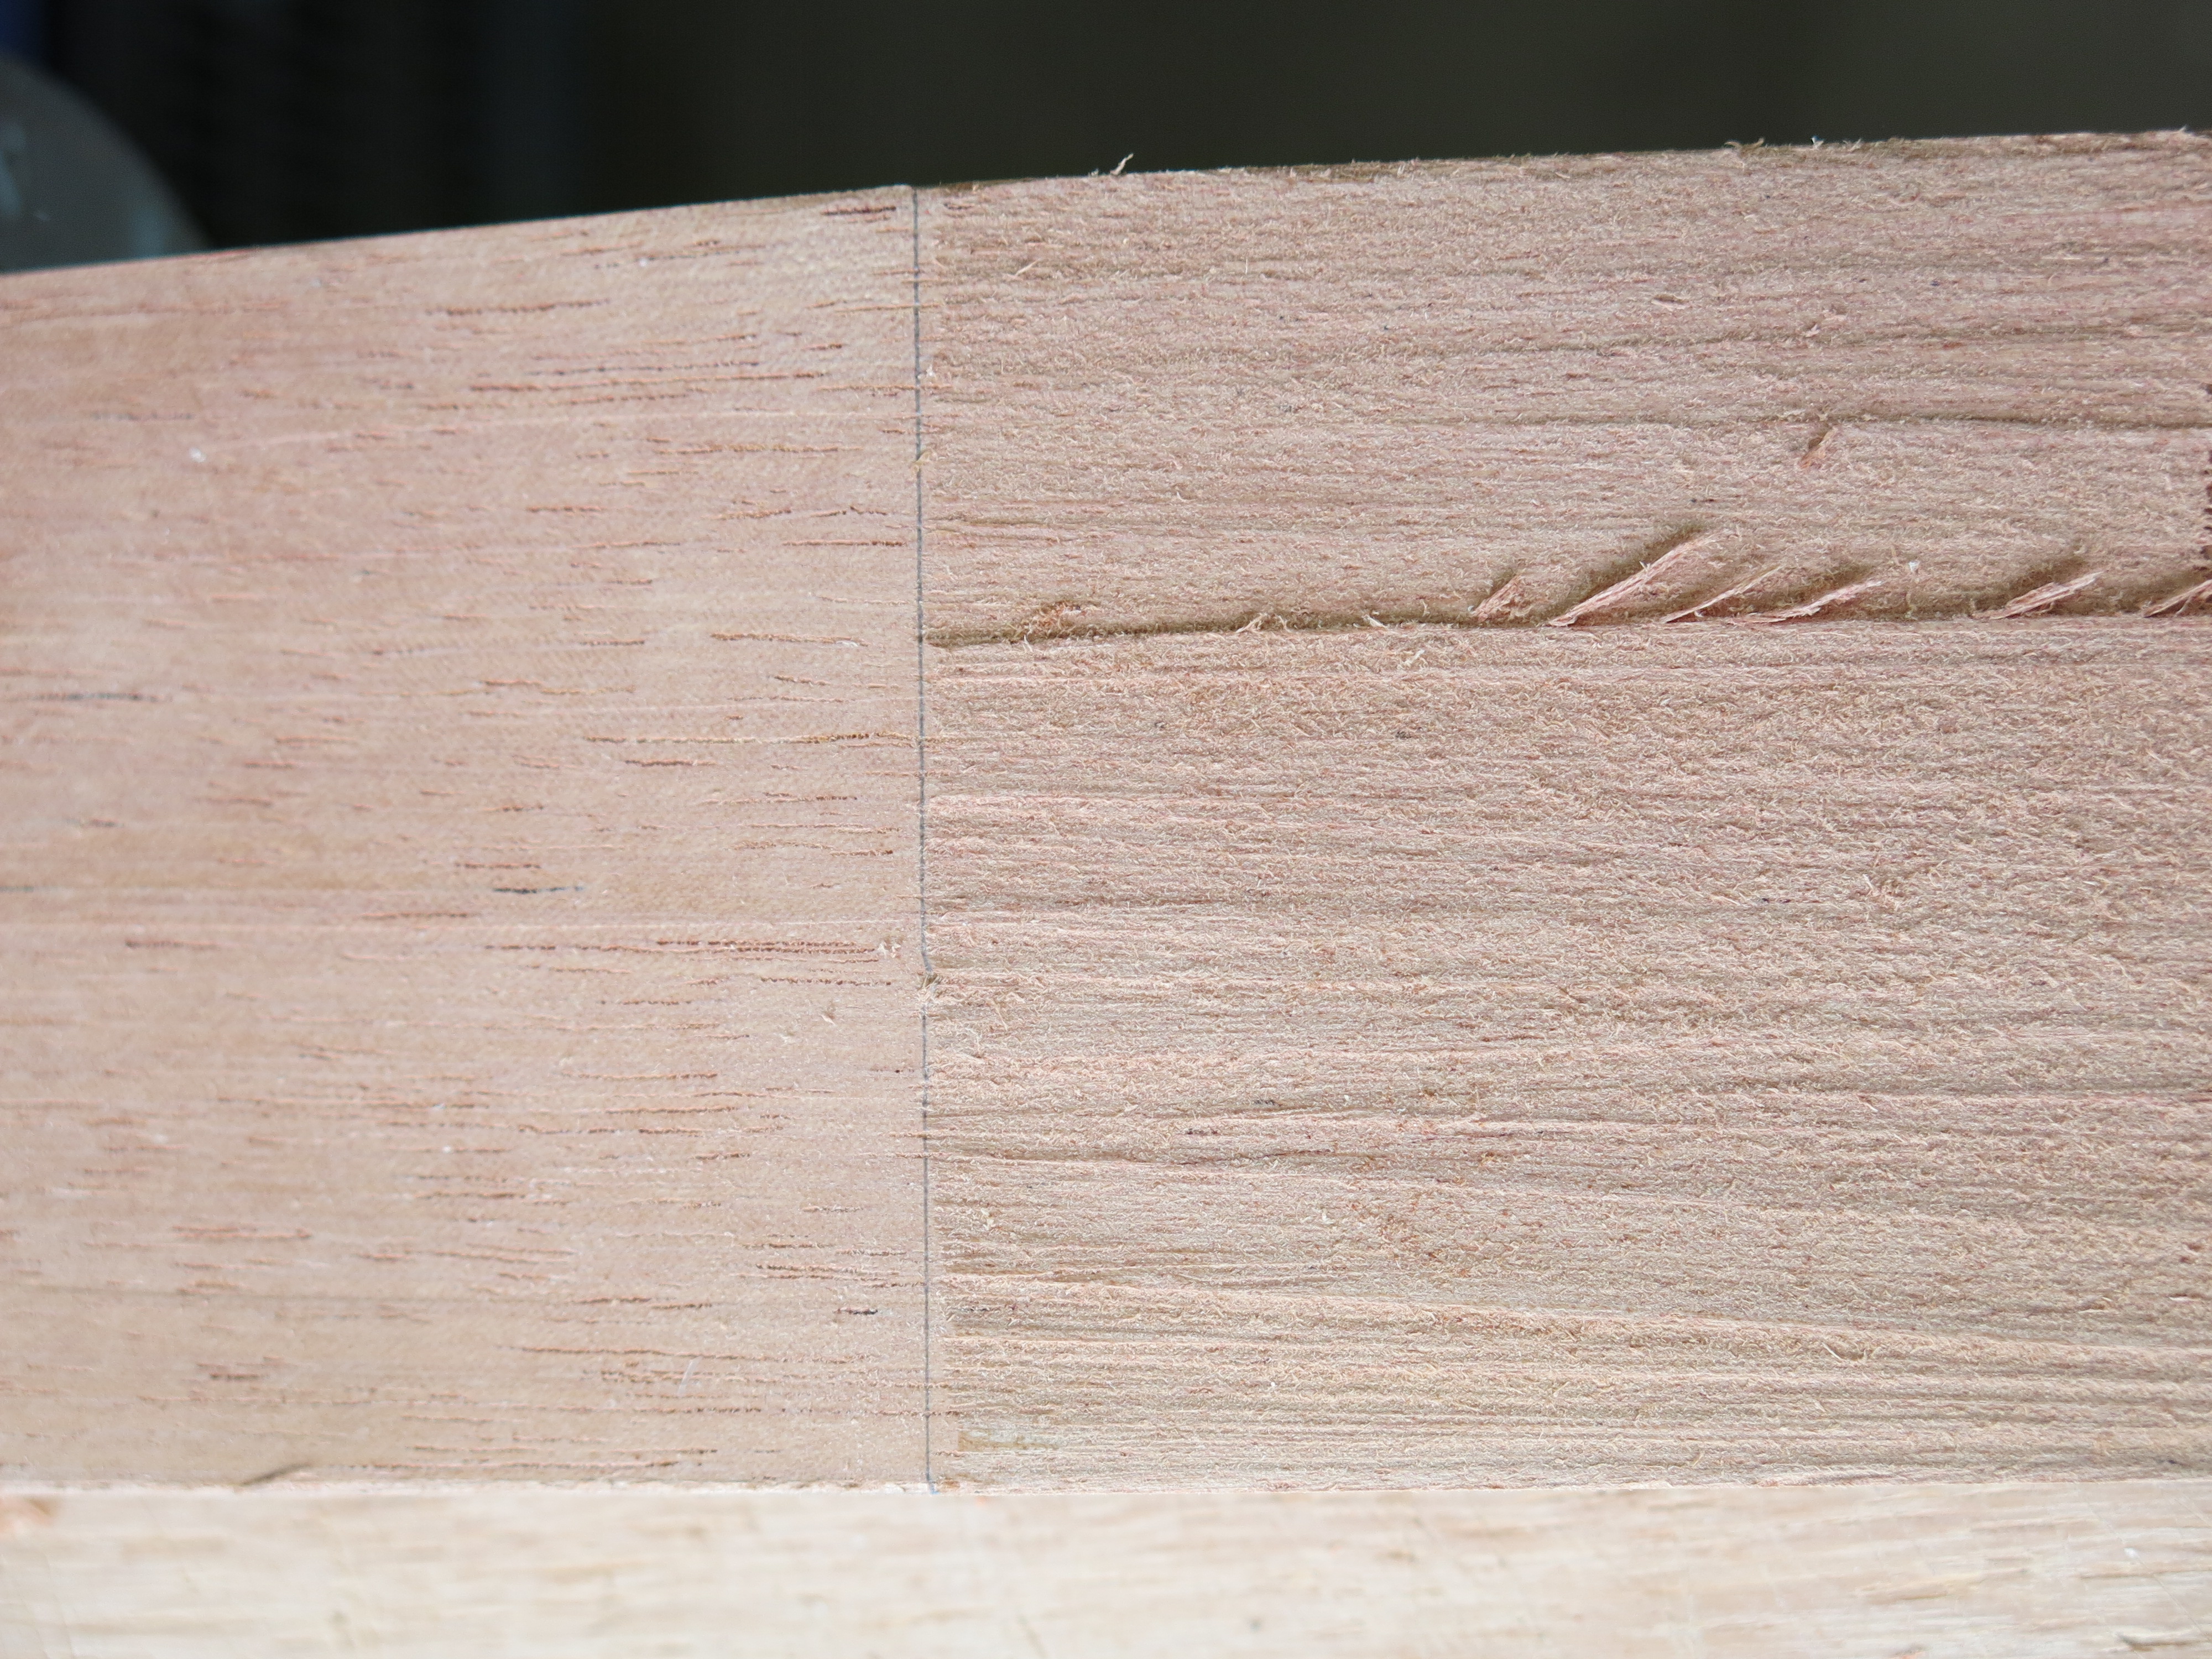
The neck blank needed reducing to size and the head section cutting.
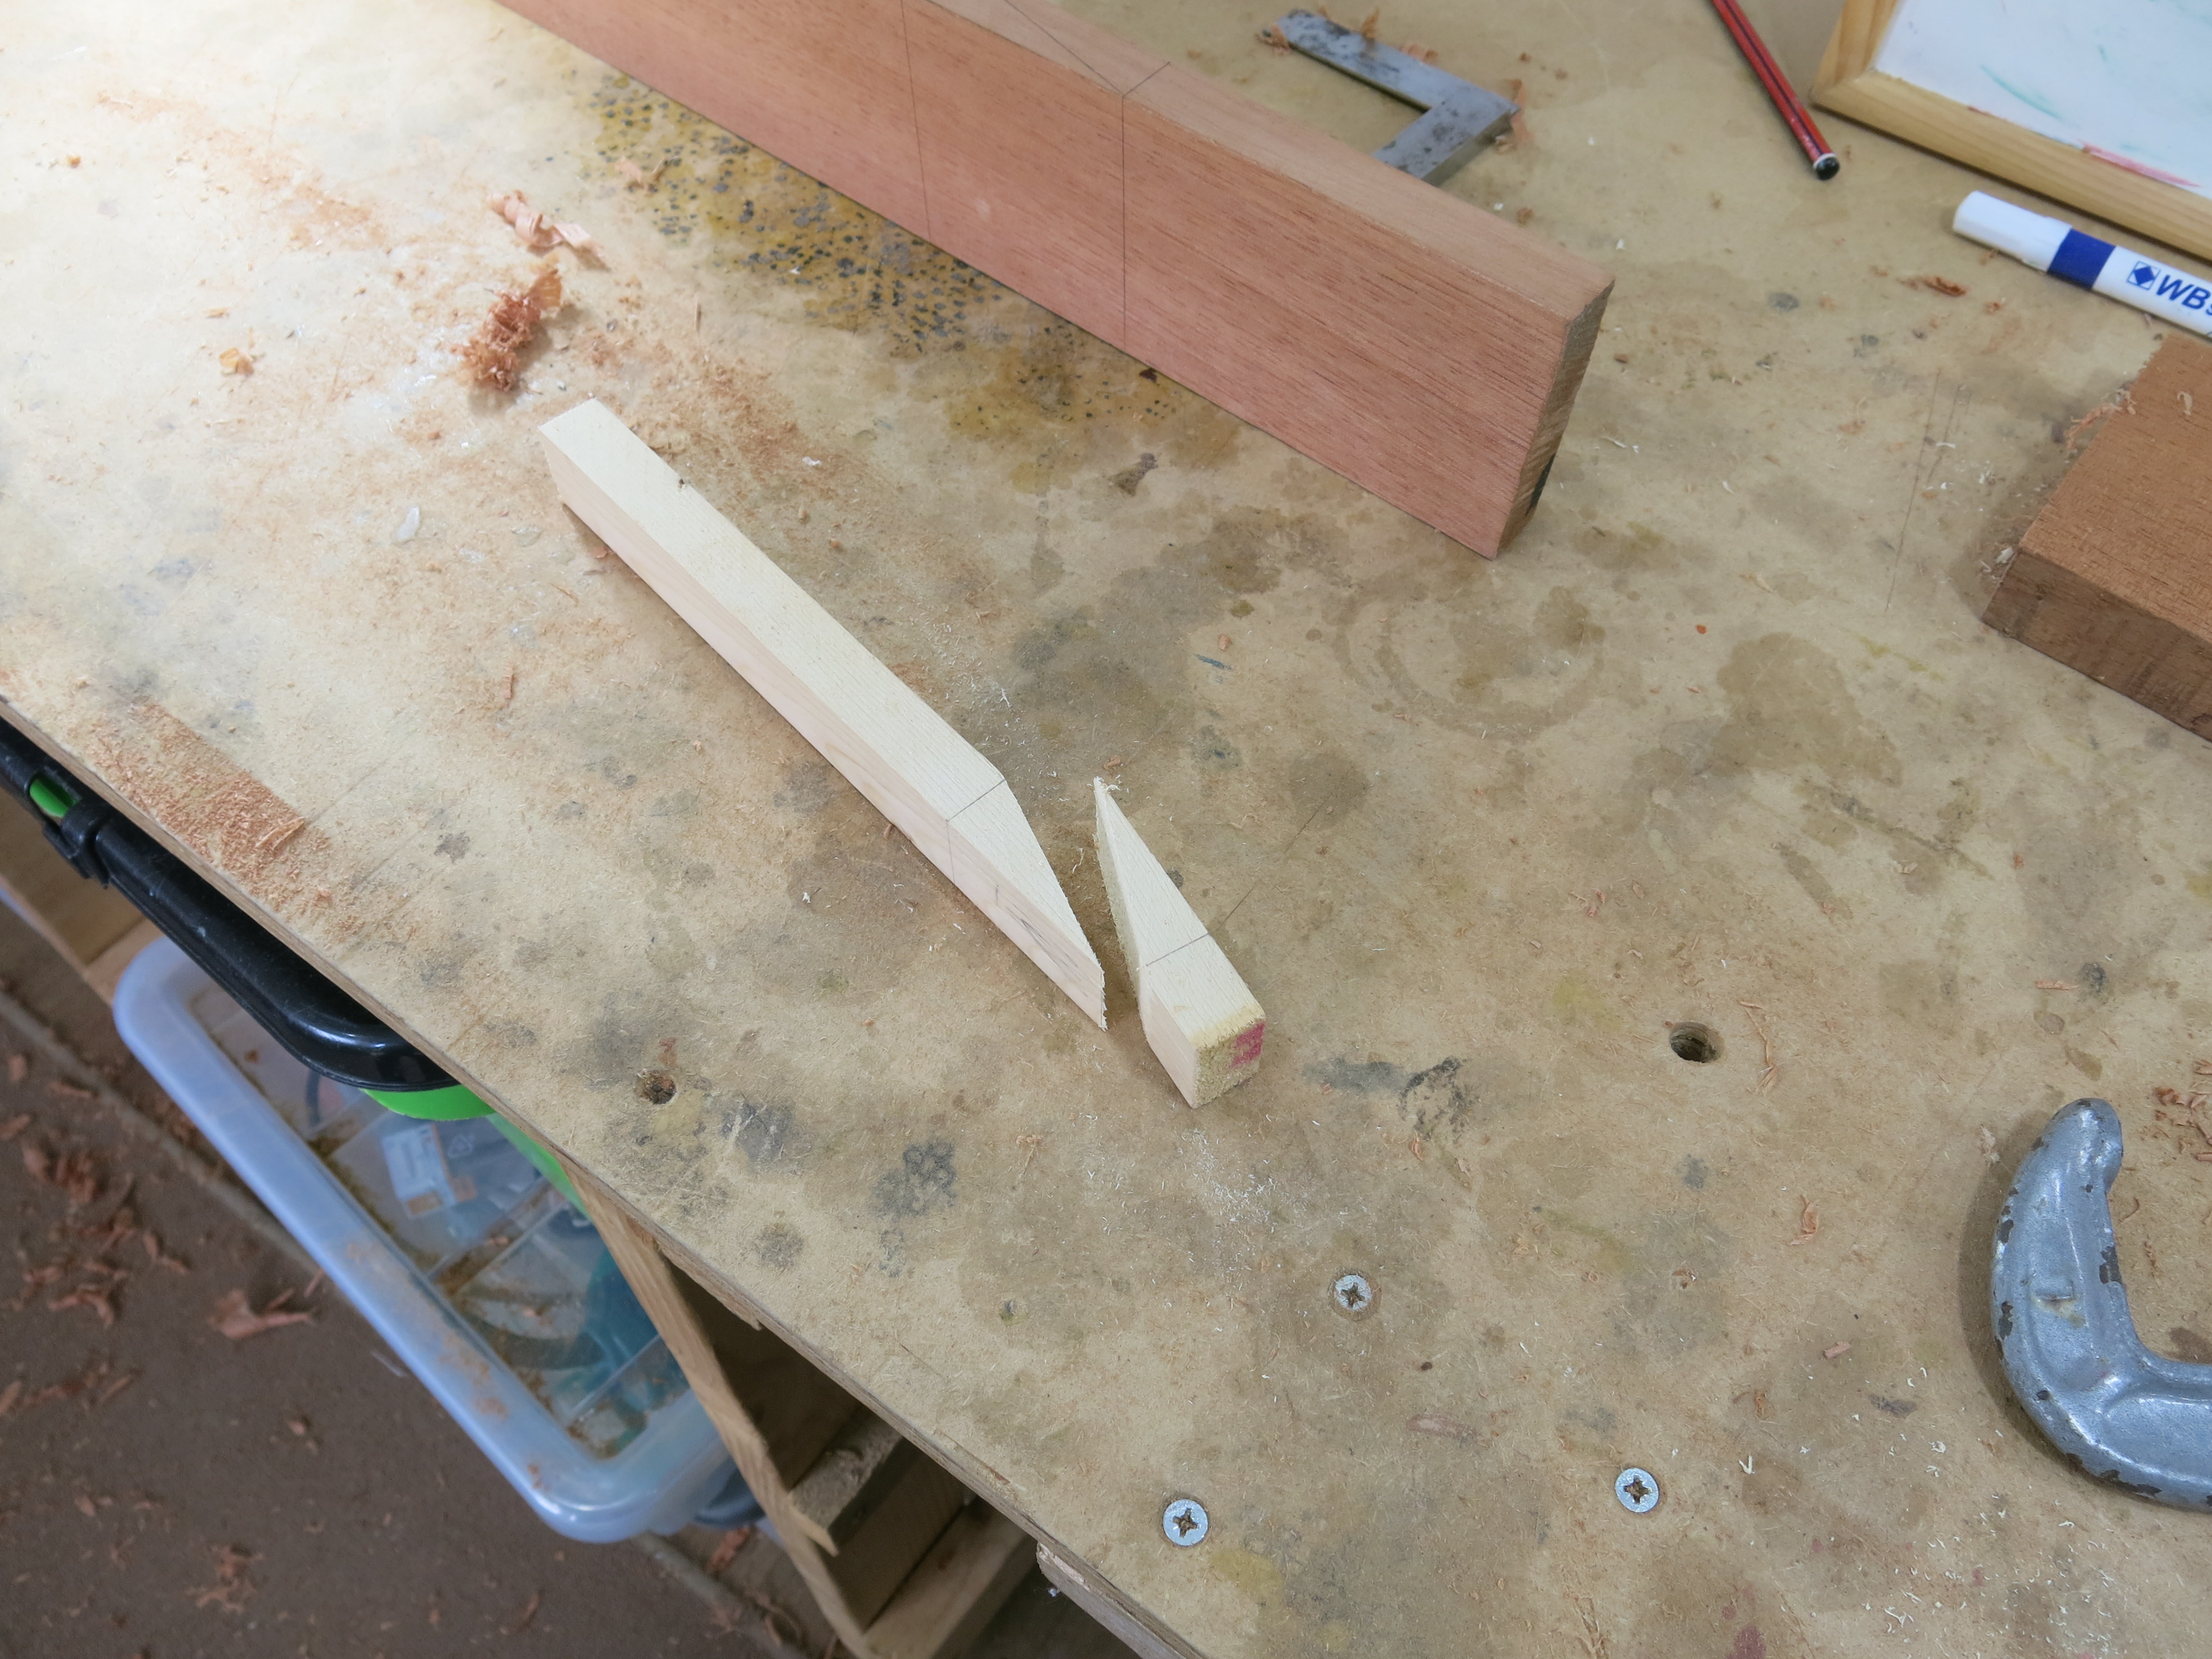
The pine off-cut shows what we’re aiming for.
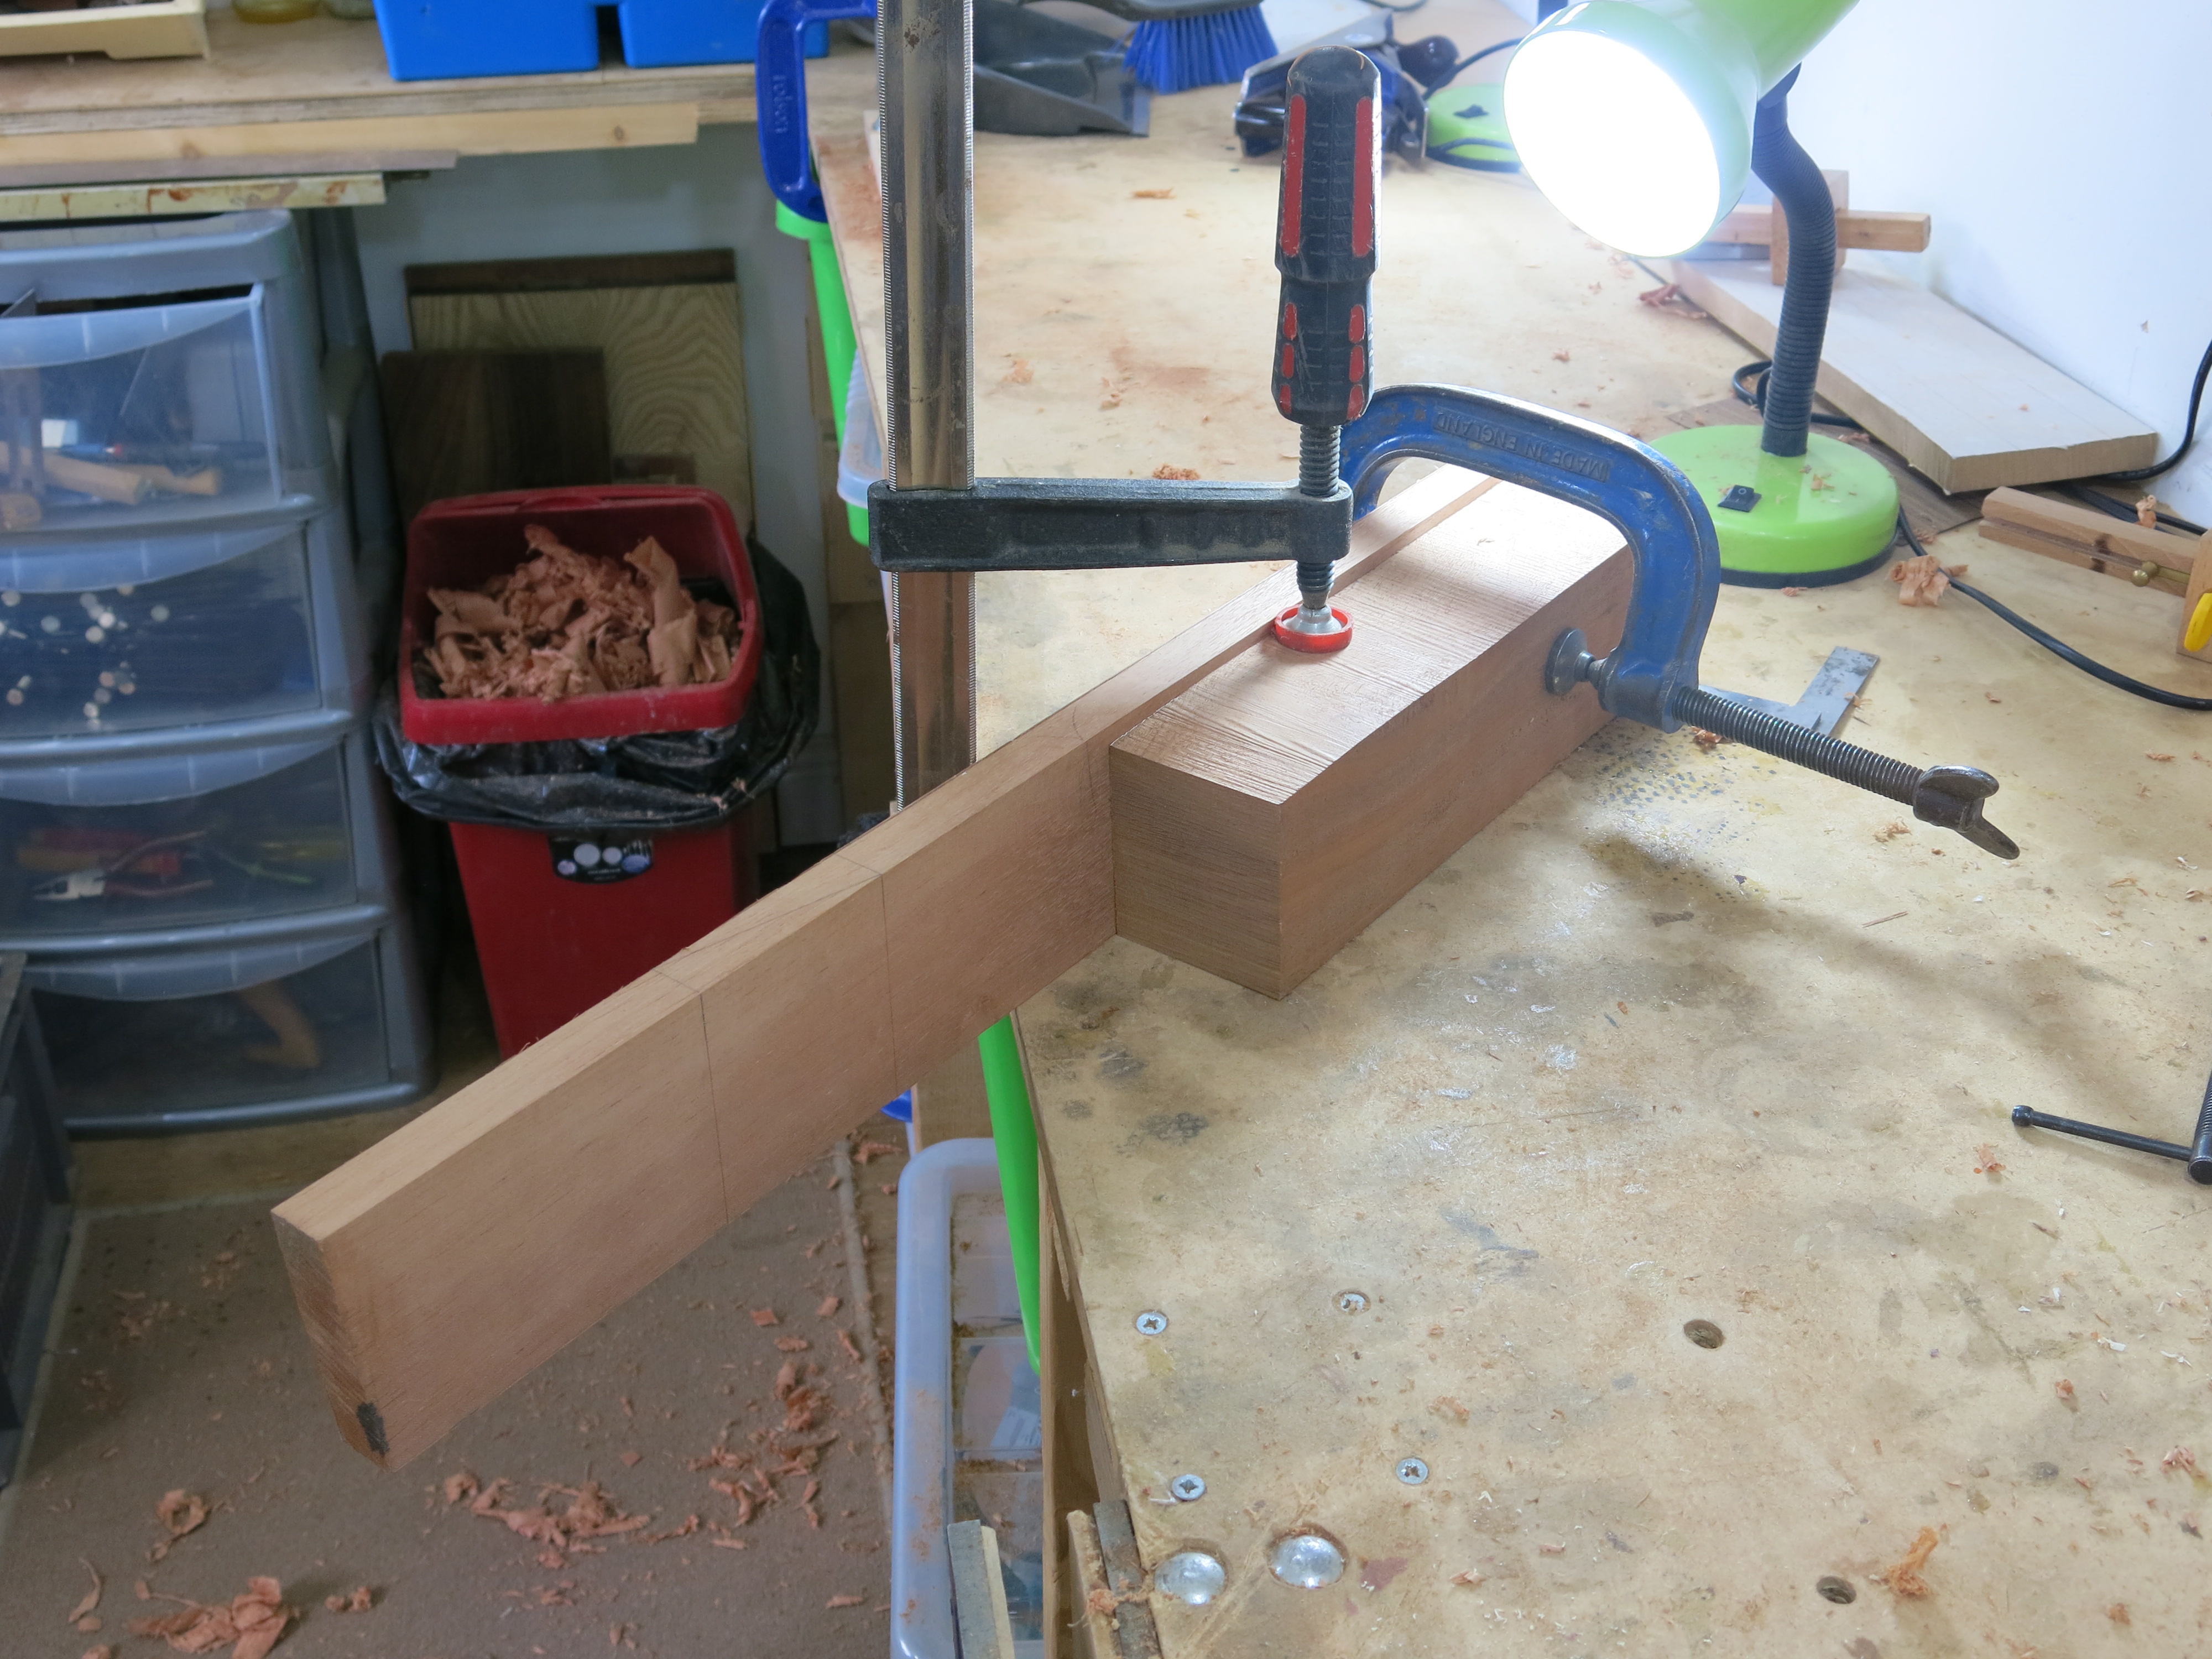
With each side of the neck accurately planed and sanded flat, we cut the required angle.
The tenon saw reaches part of the depth of the cut and then we turn it over and try to meet the cut from the other side. I was slightly off.
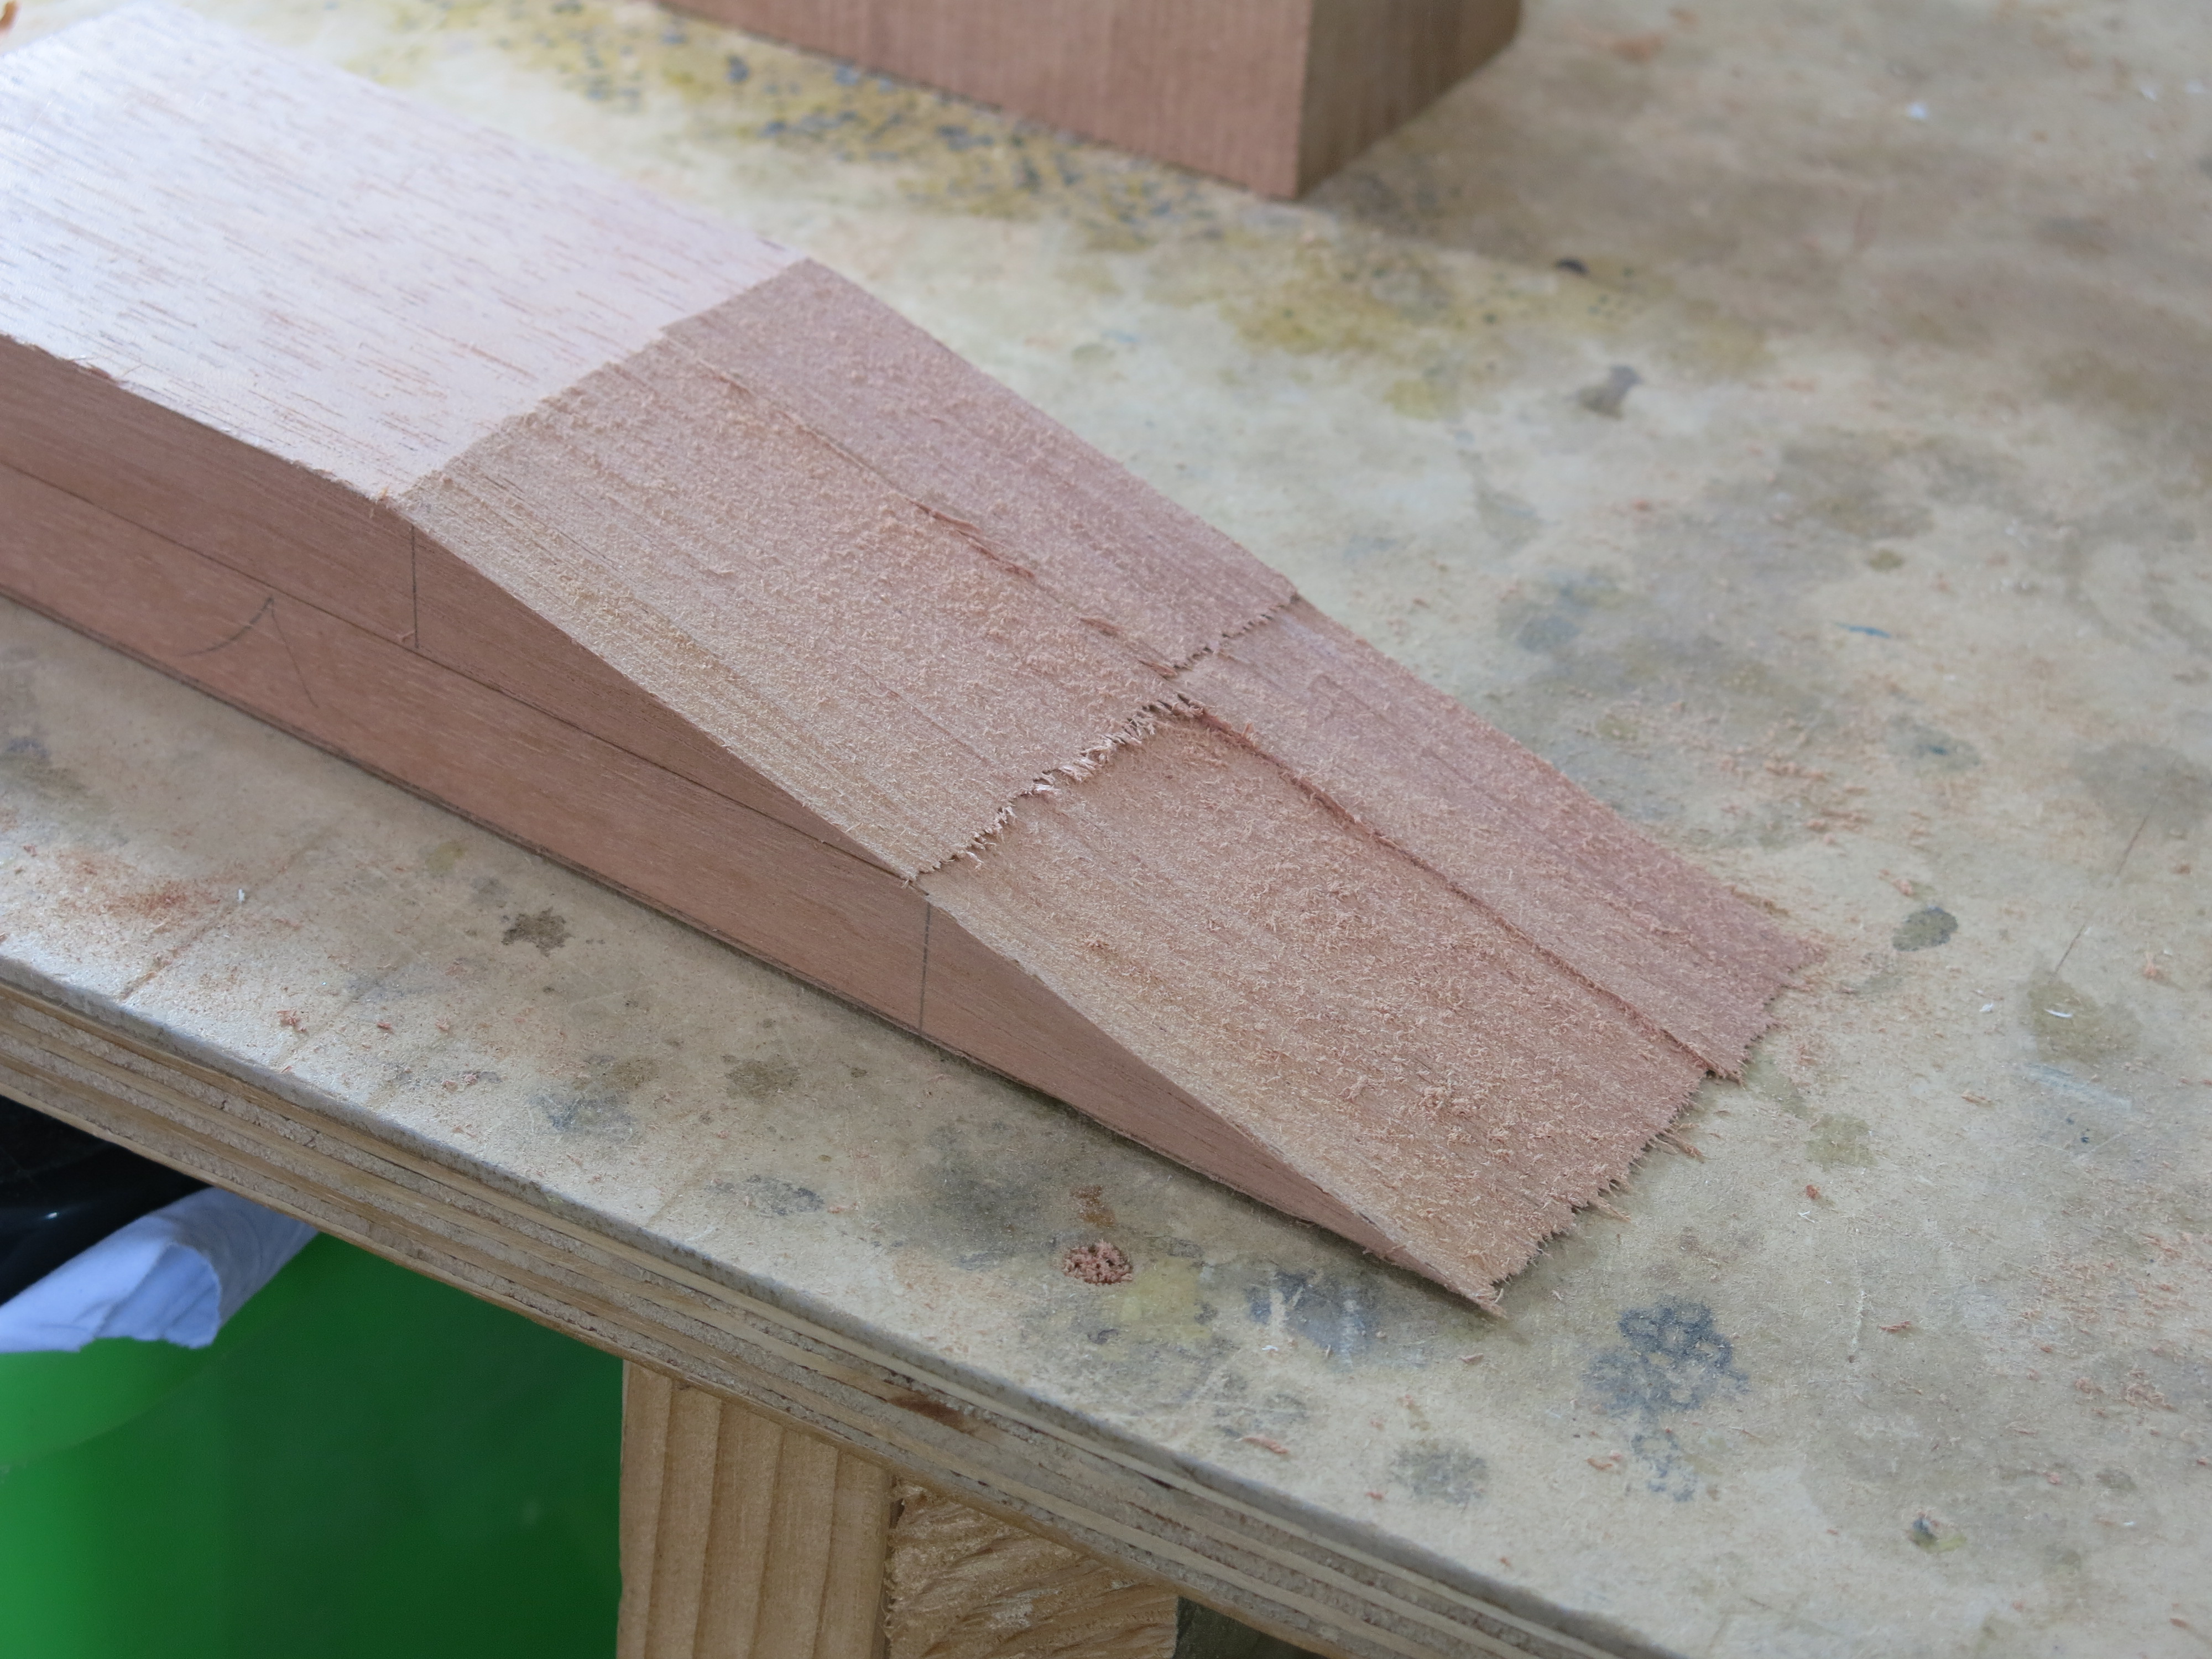
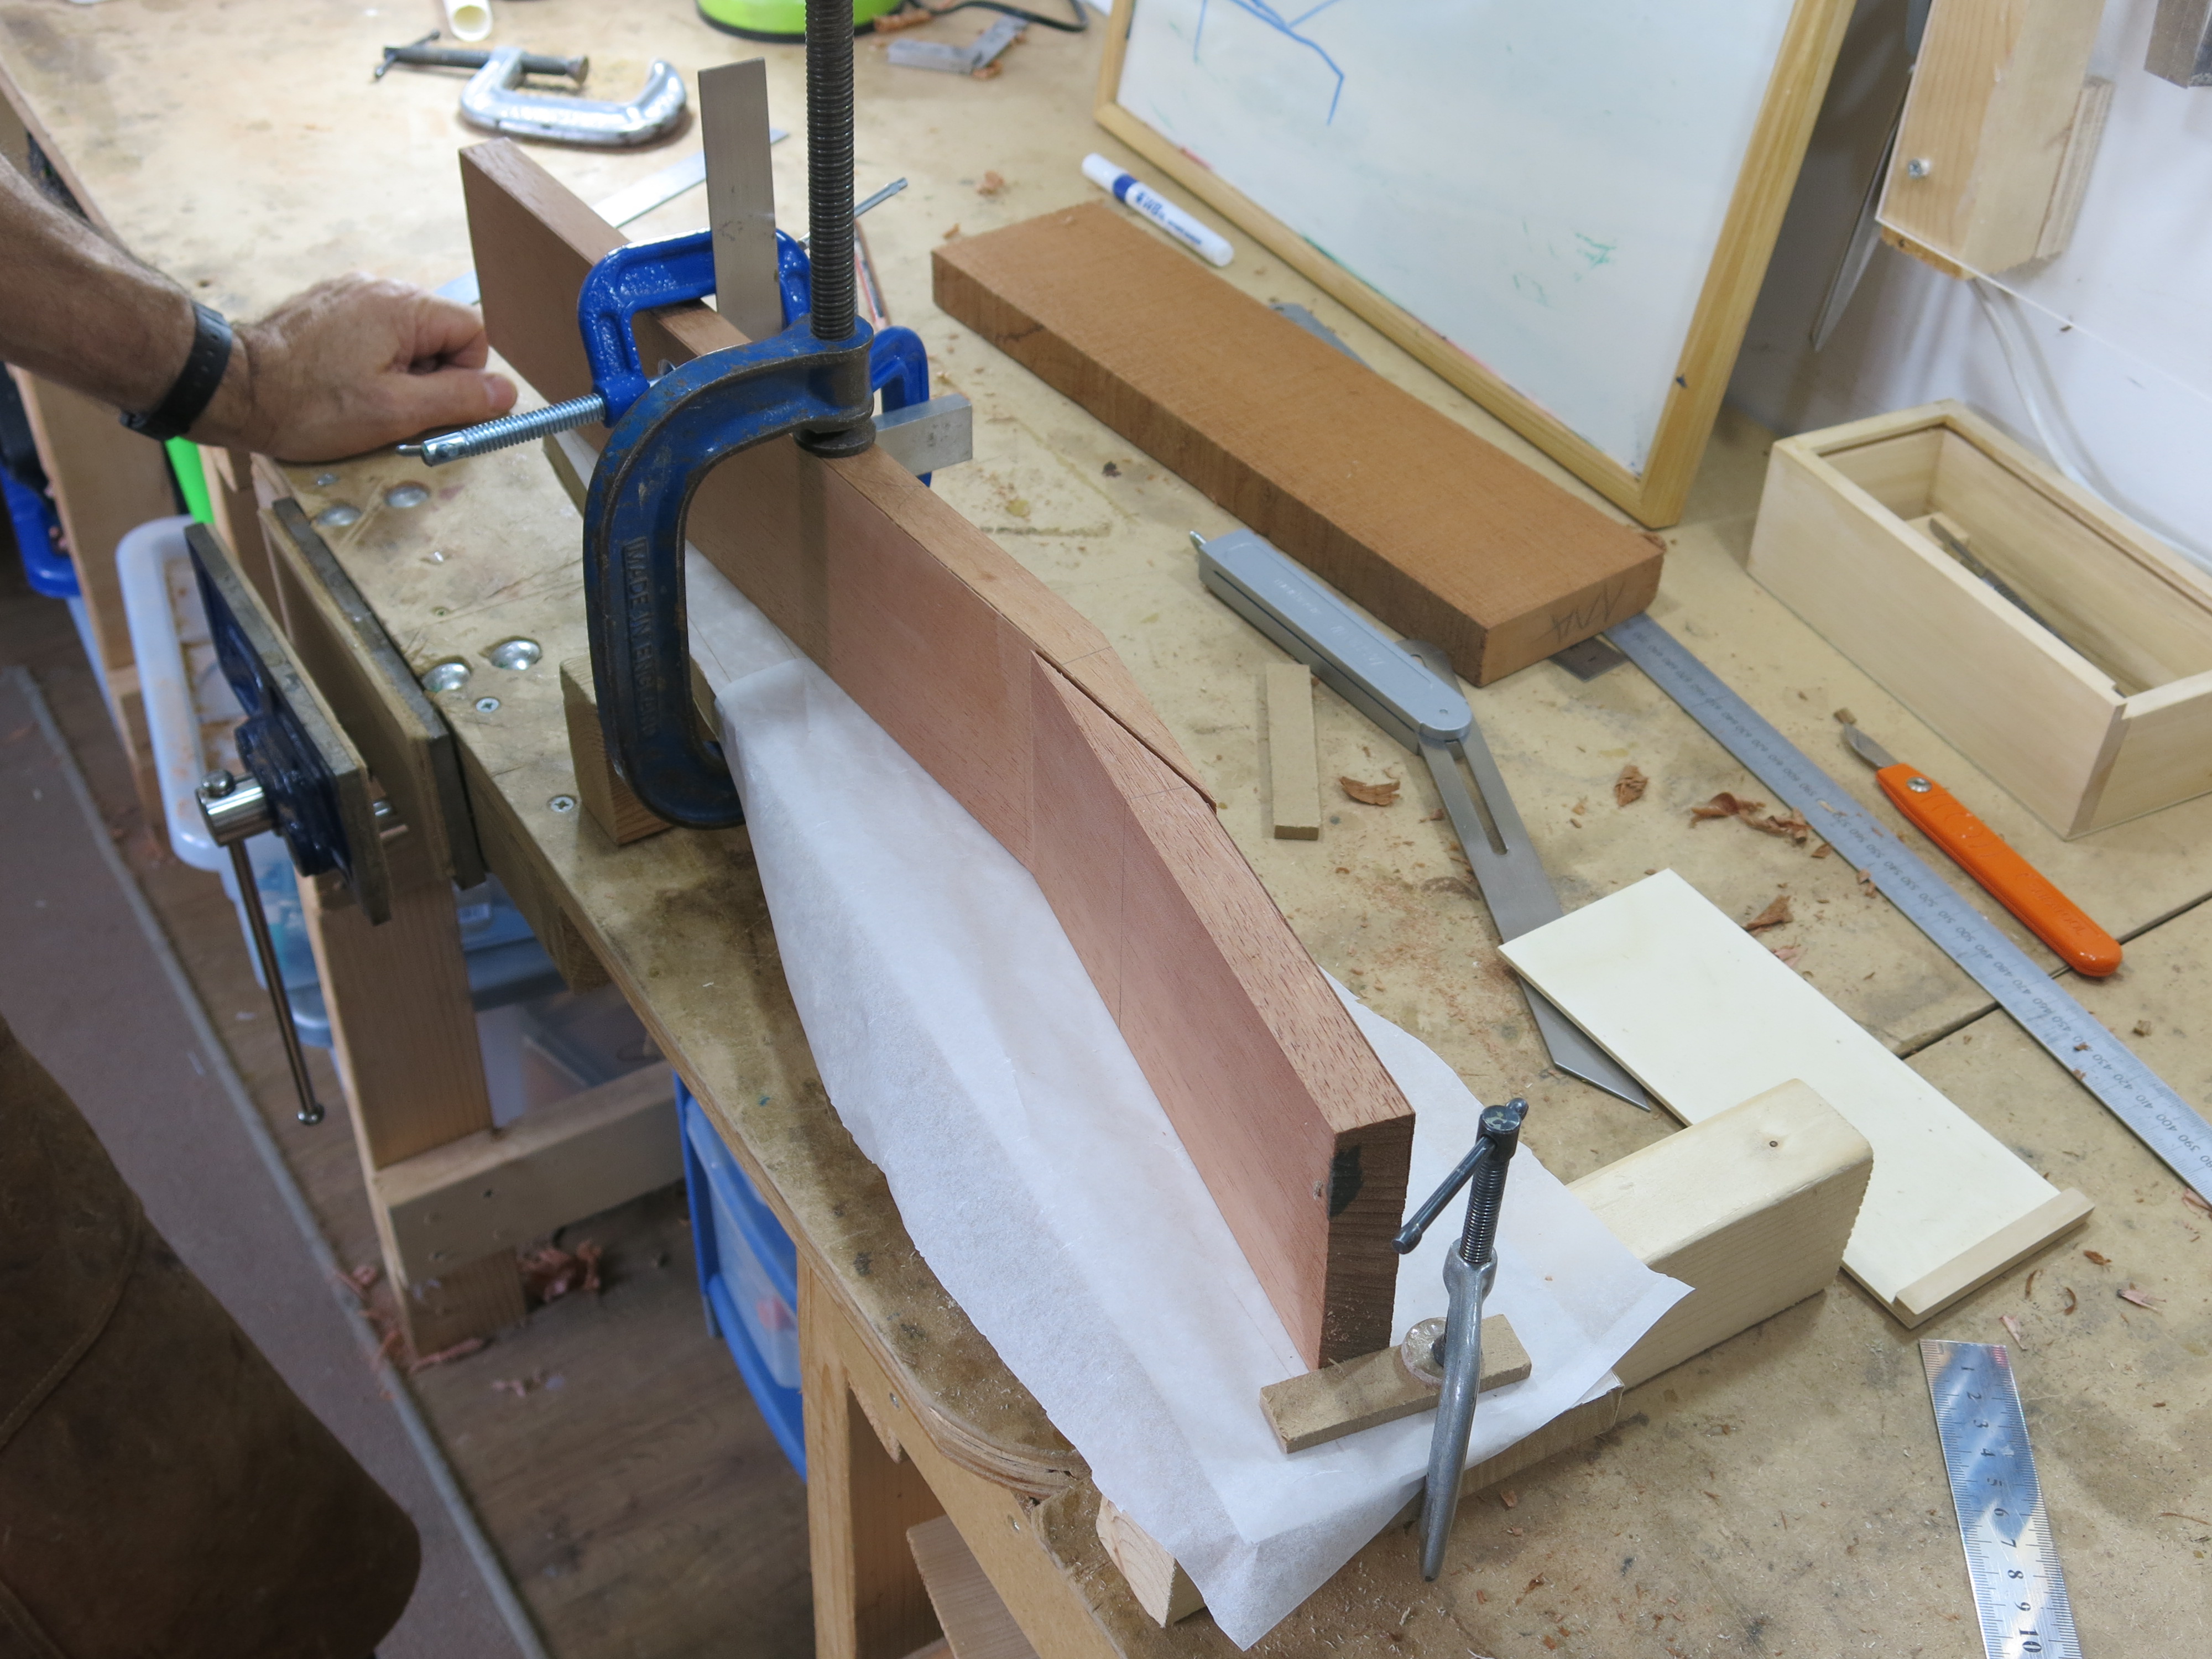
This is where it will be glued.
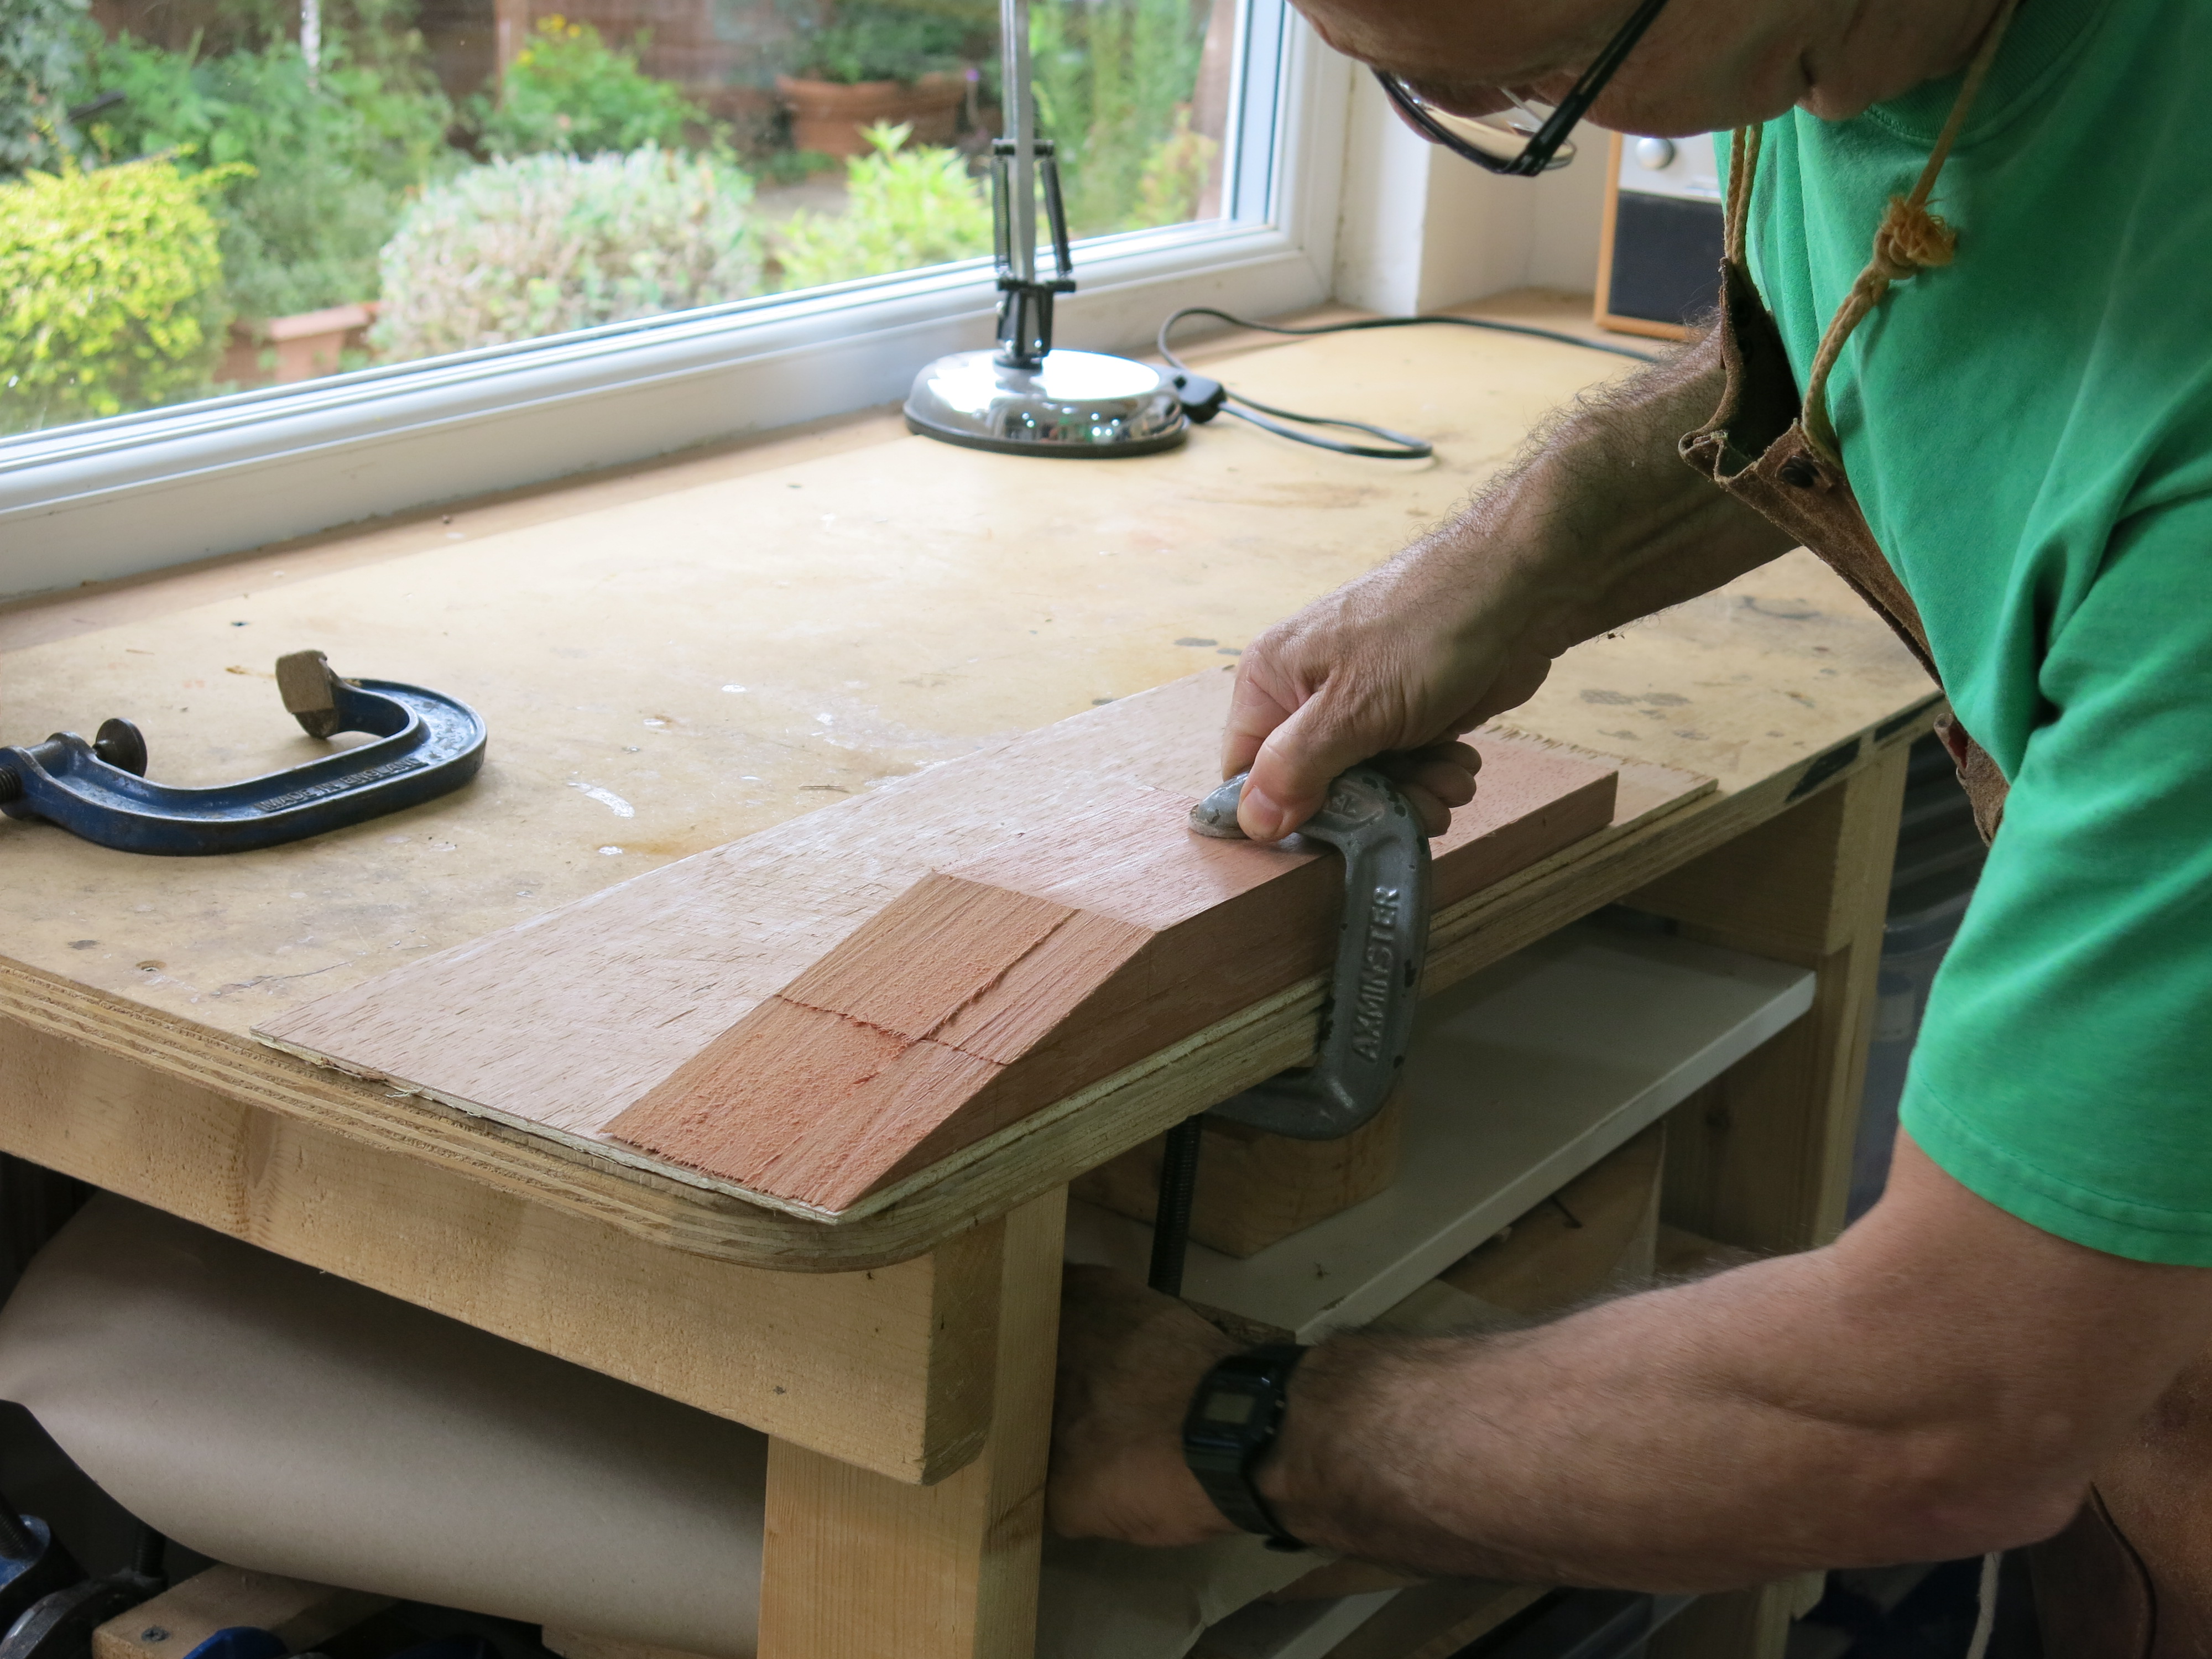
Clamping before planing the two surfaces flat.
Making sure the two pieces are perfectly aligned.
Marking the top of the planing area.
Making sure there’s no overhang before planing or otherwise the tip of the wood would be damaged.
And so the planing begins.
Followed by sanding.
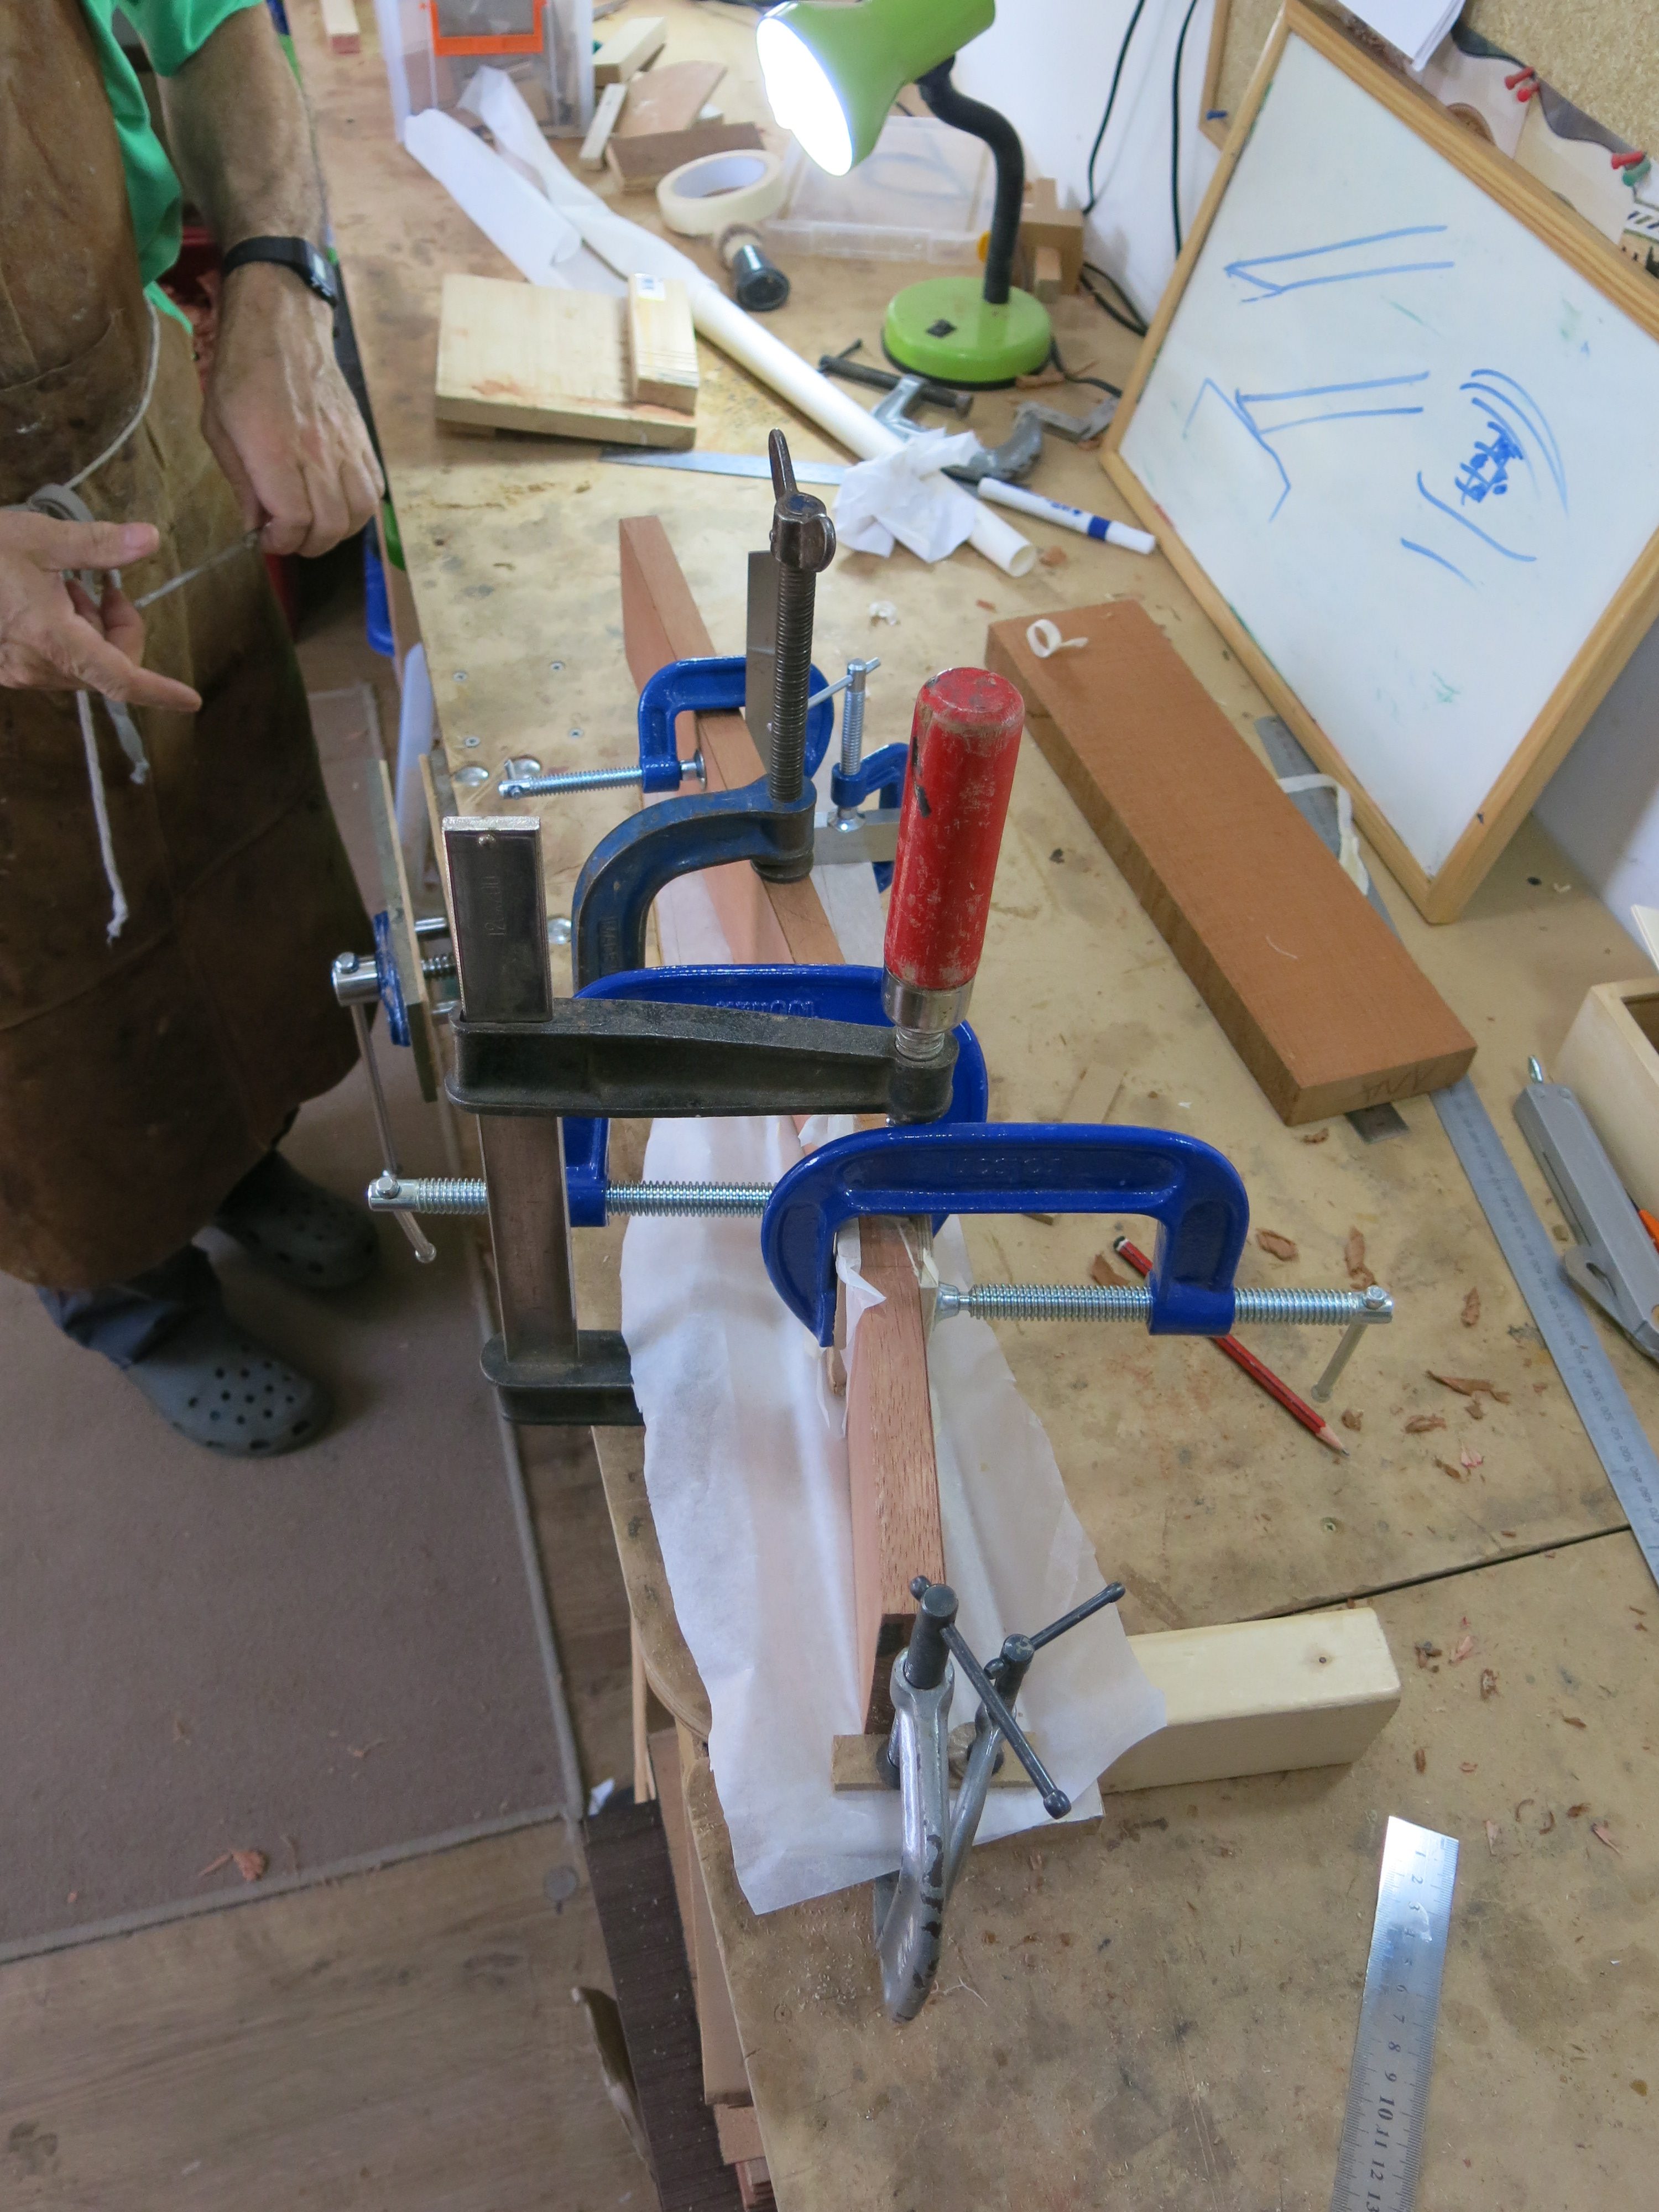
A dry run before gluing.
Fully clamped (dry run).
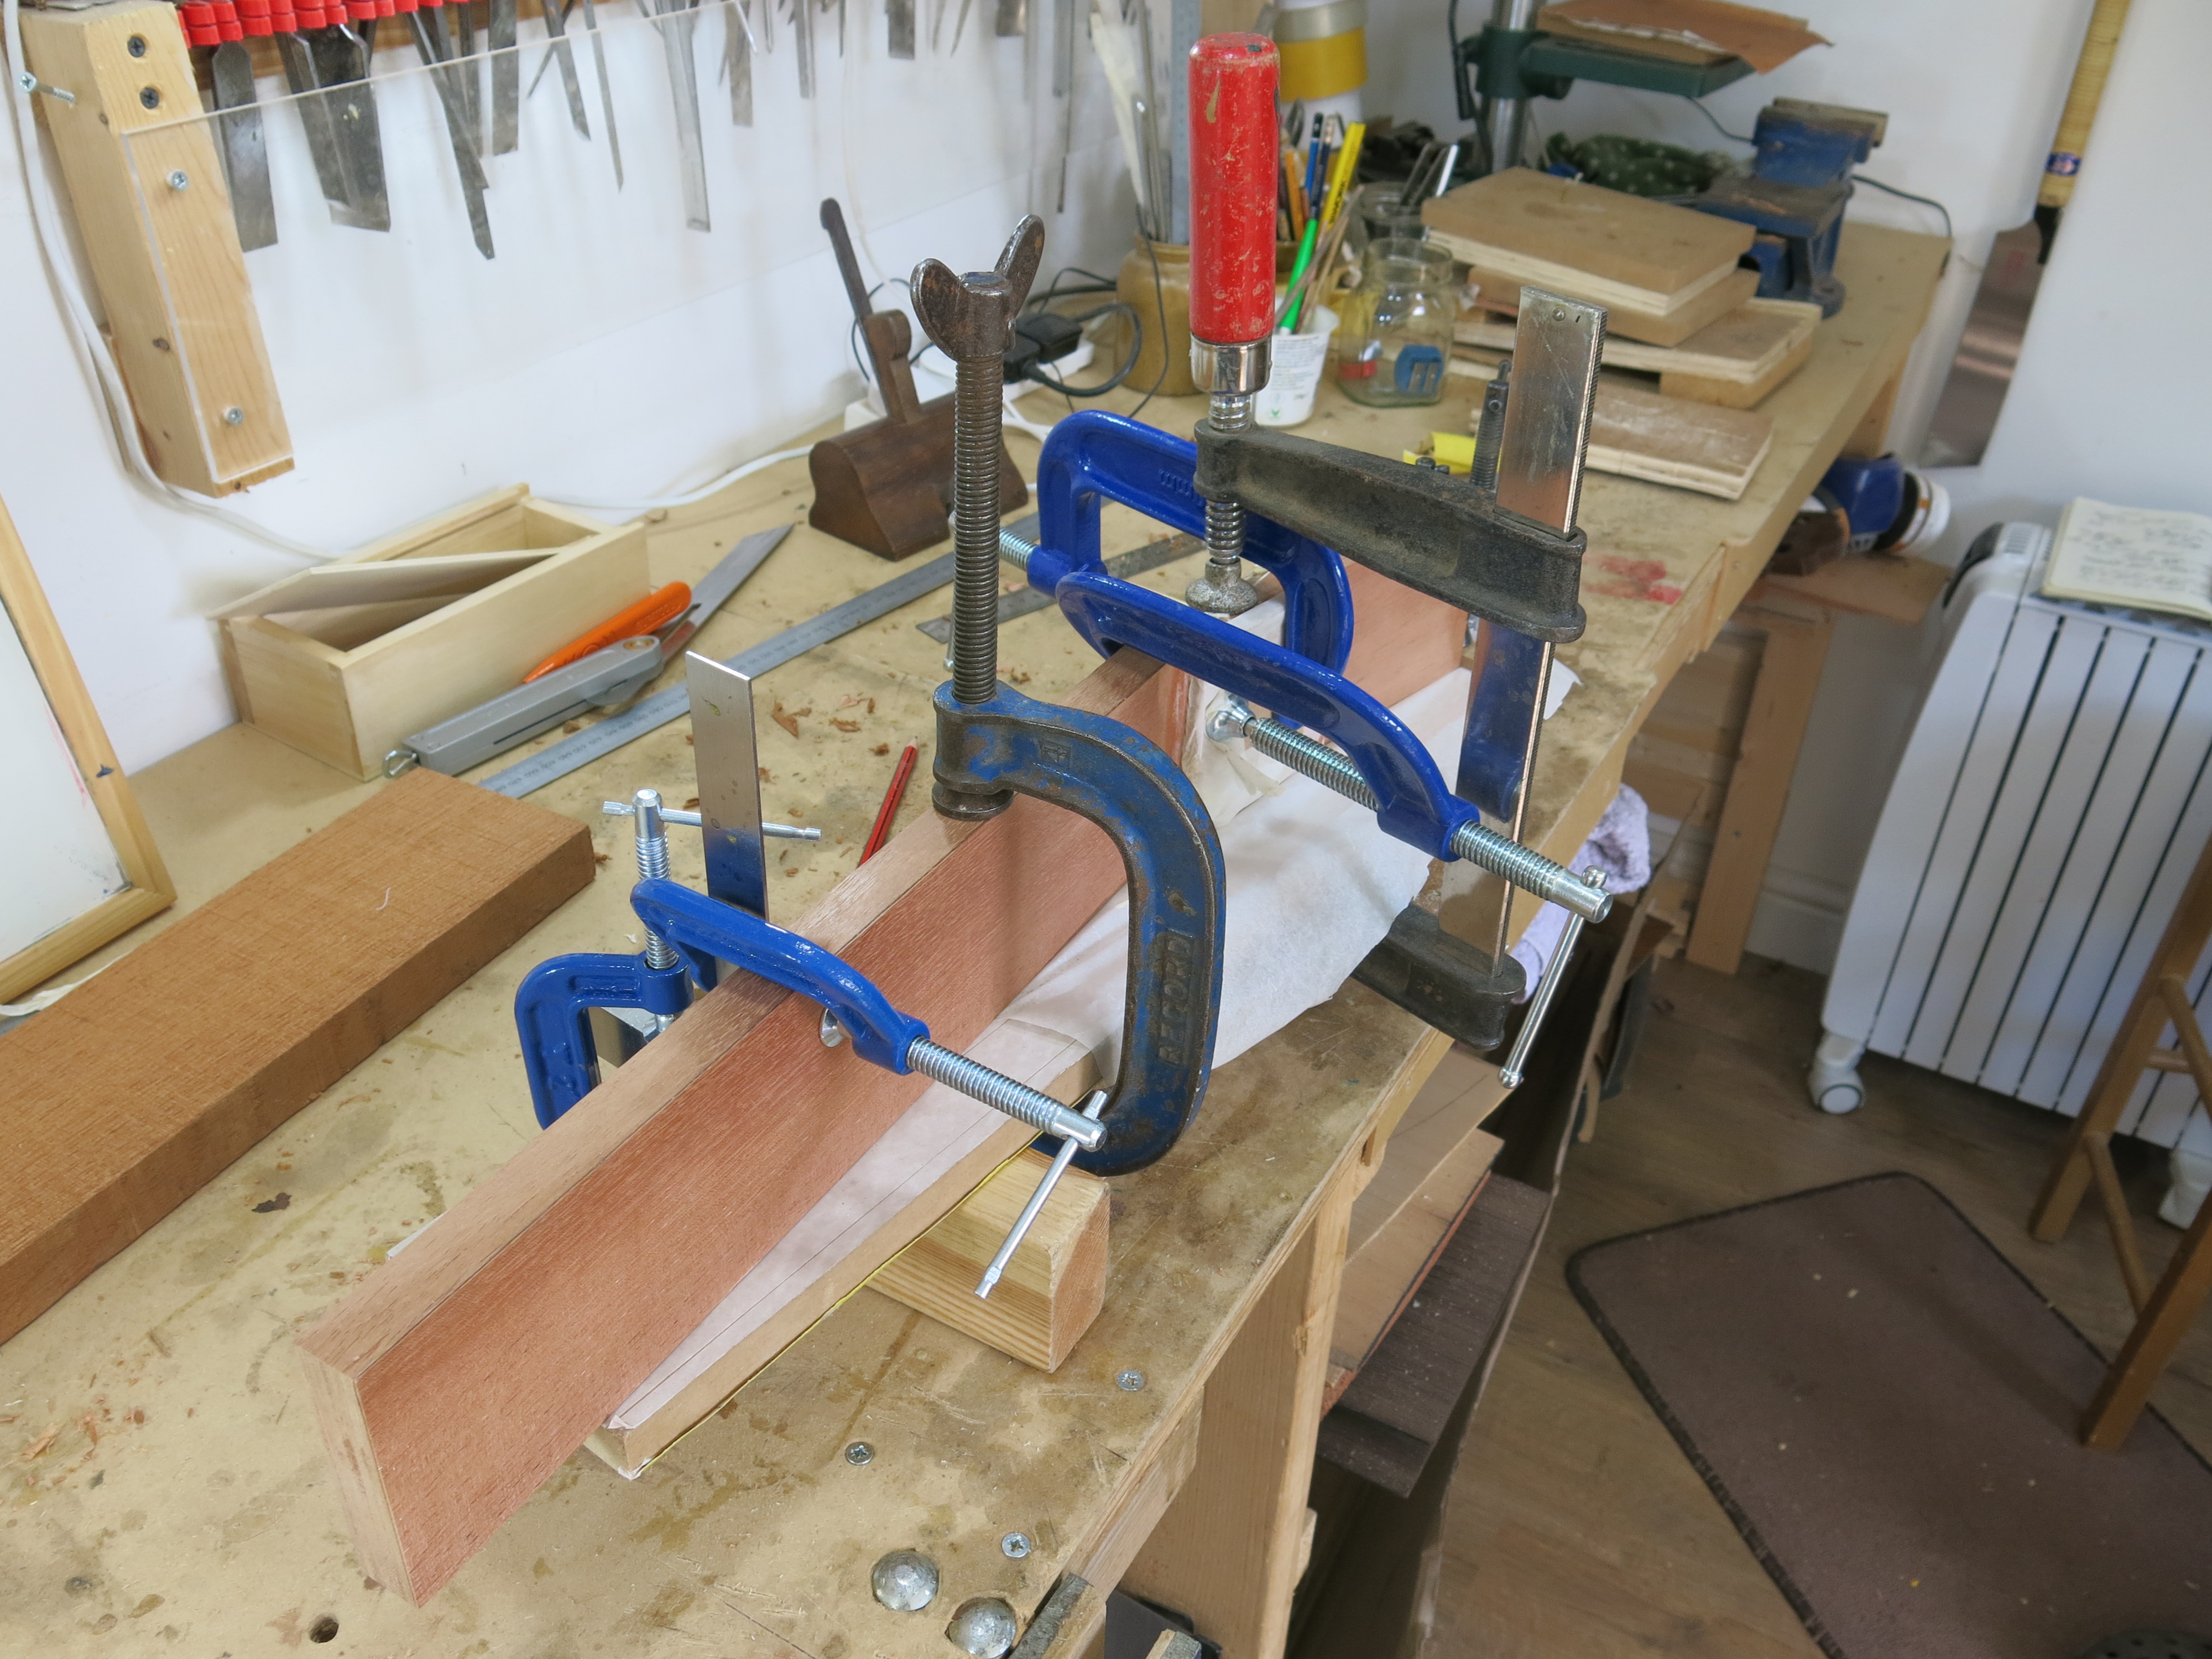
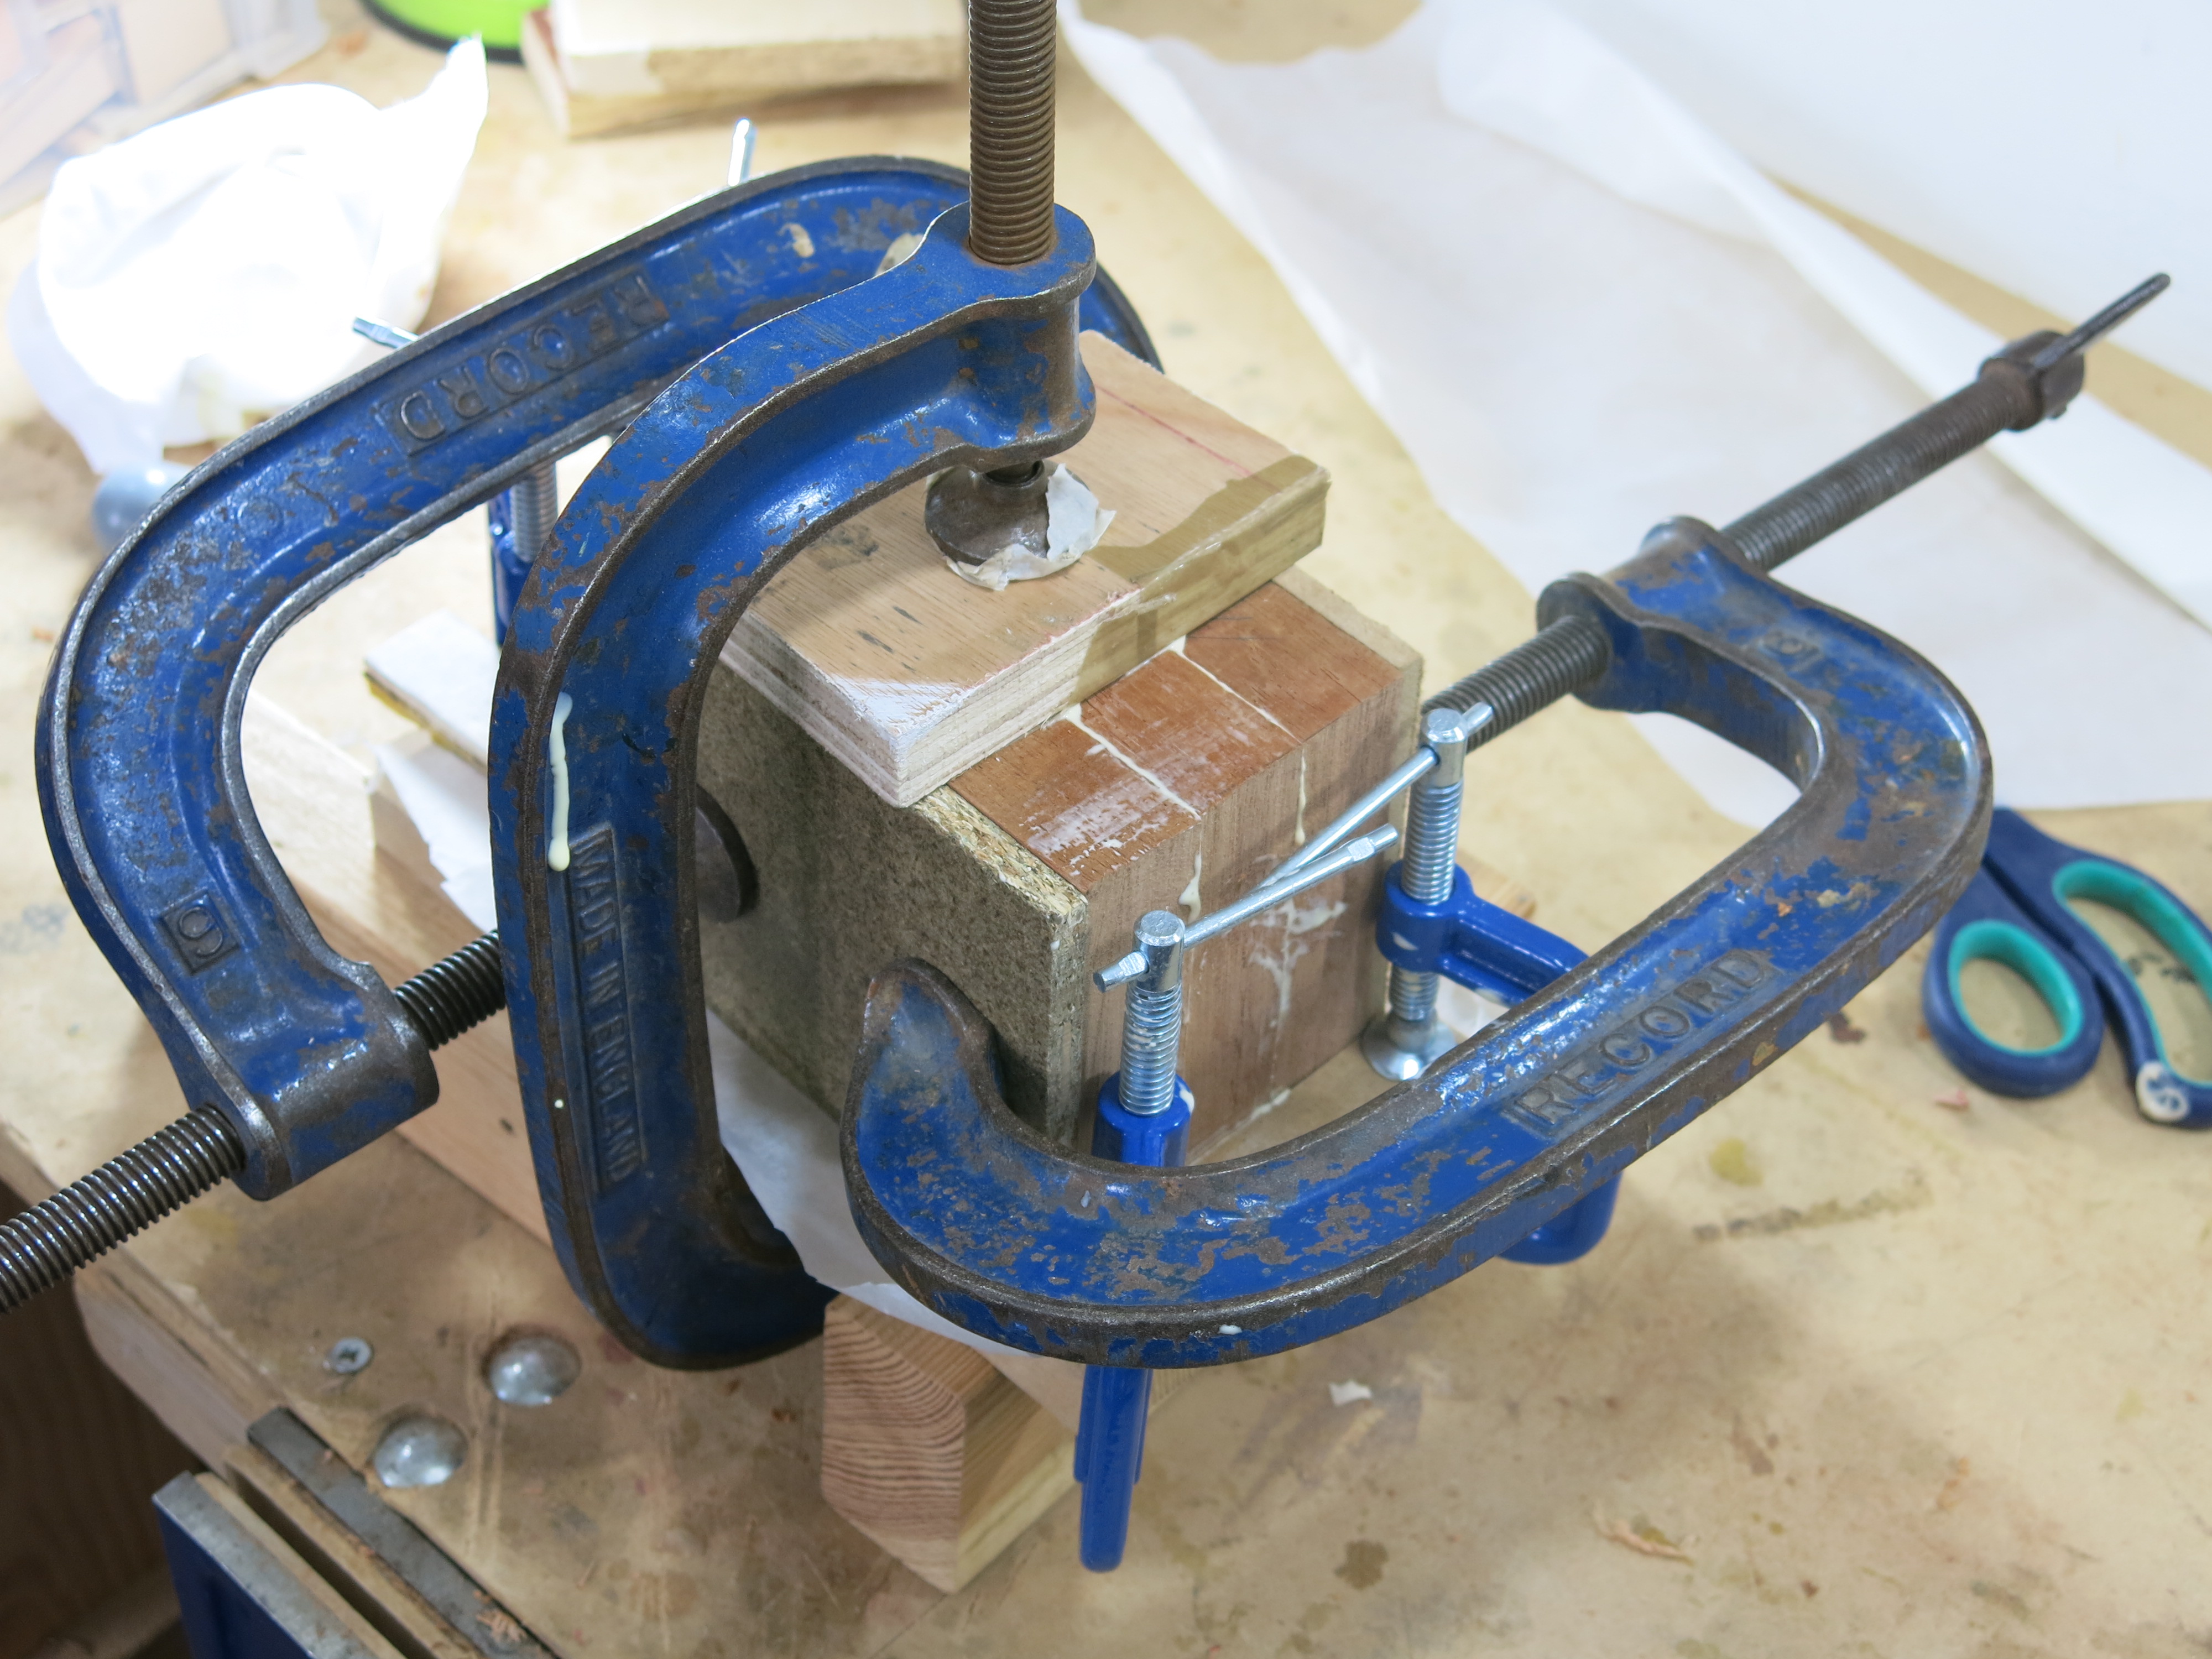
Glued and clamped.
Glued and clamped.
Glued and clamped.
Glued and clamped.
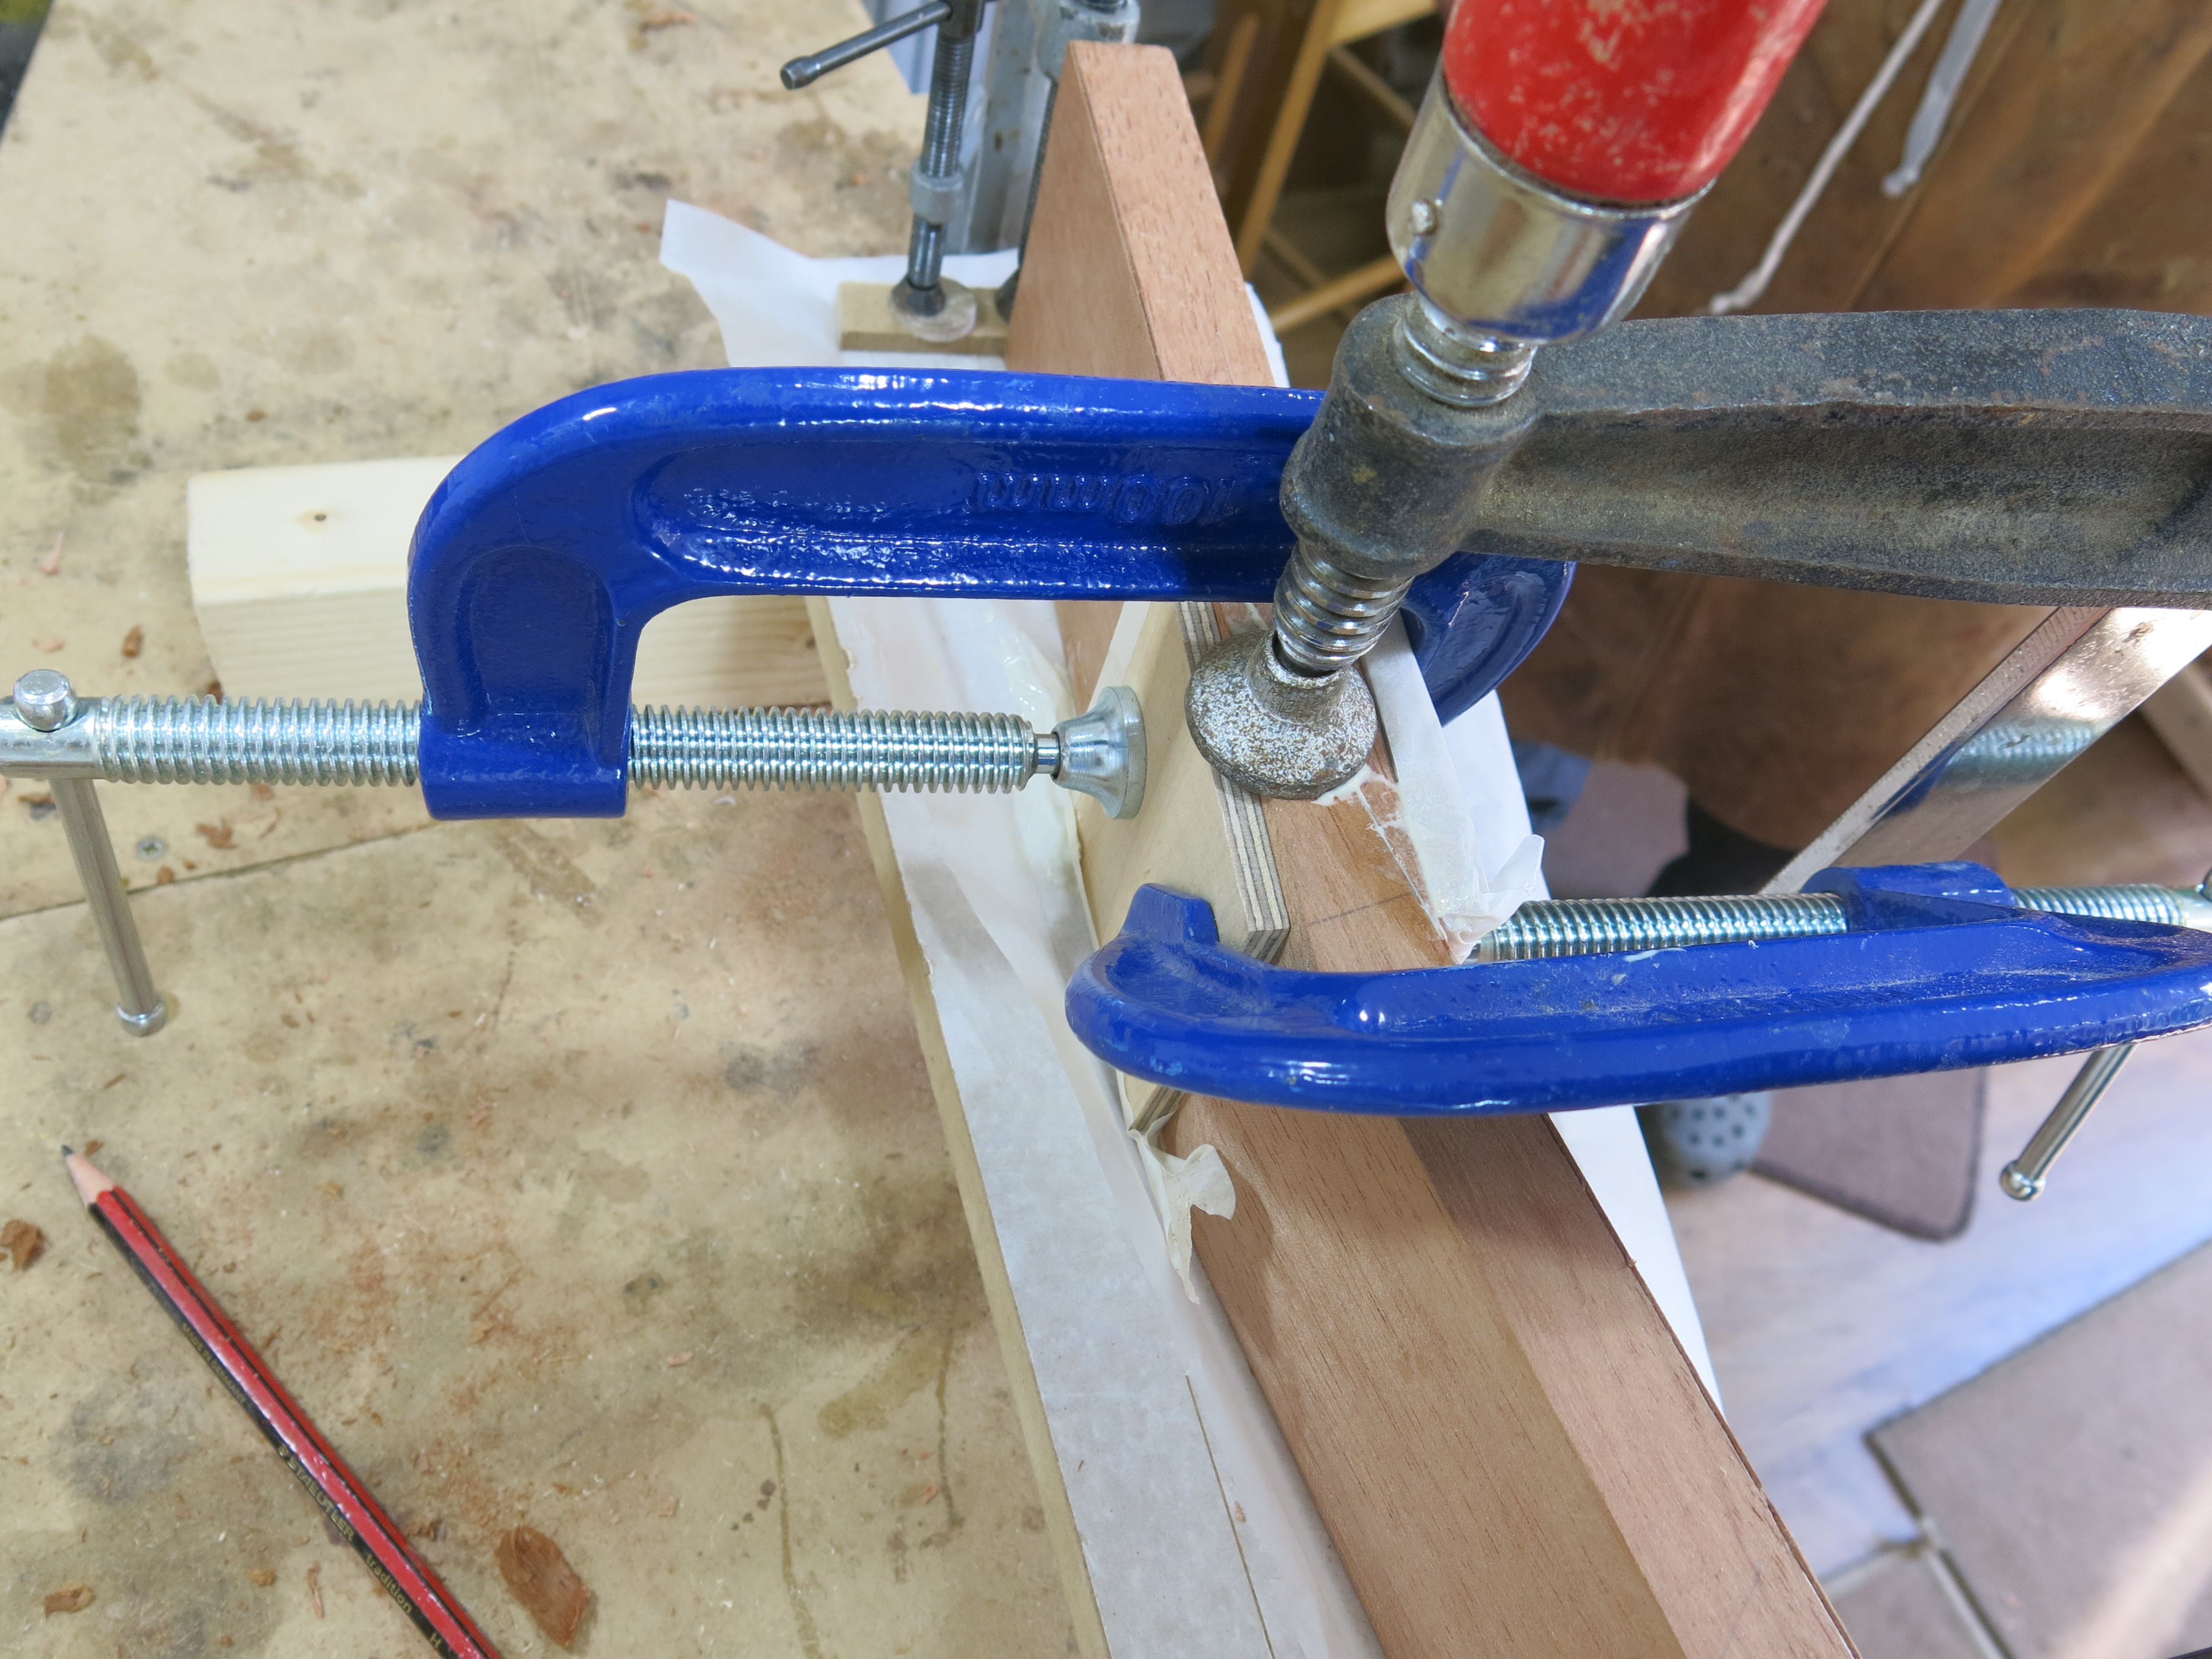
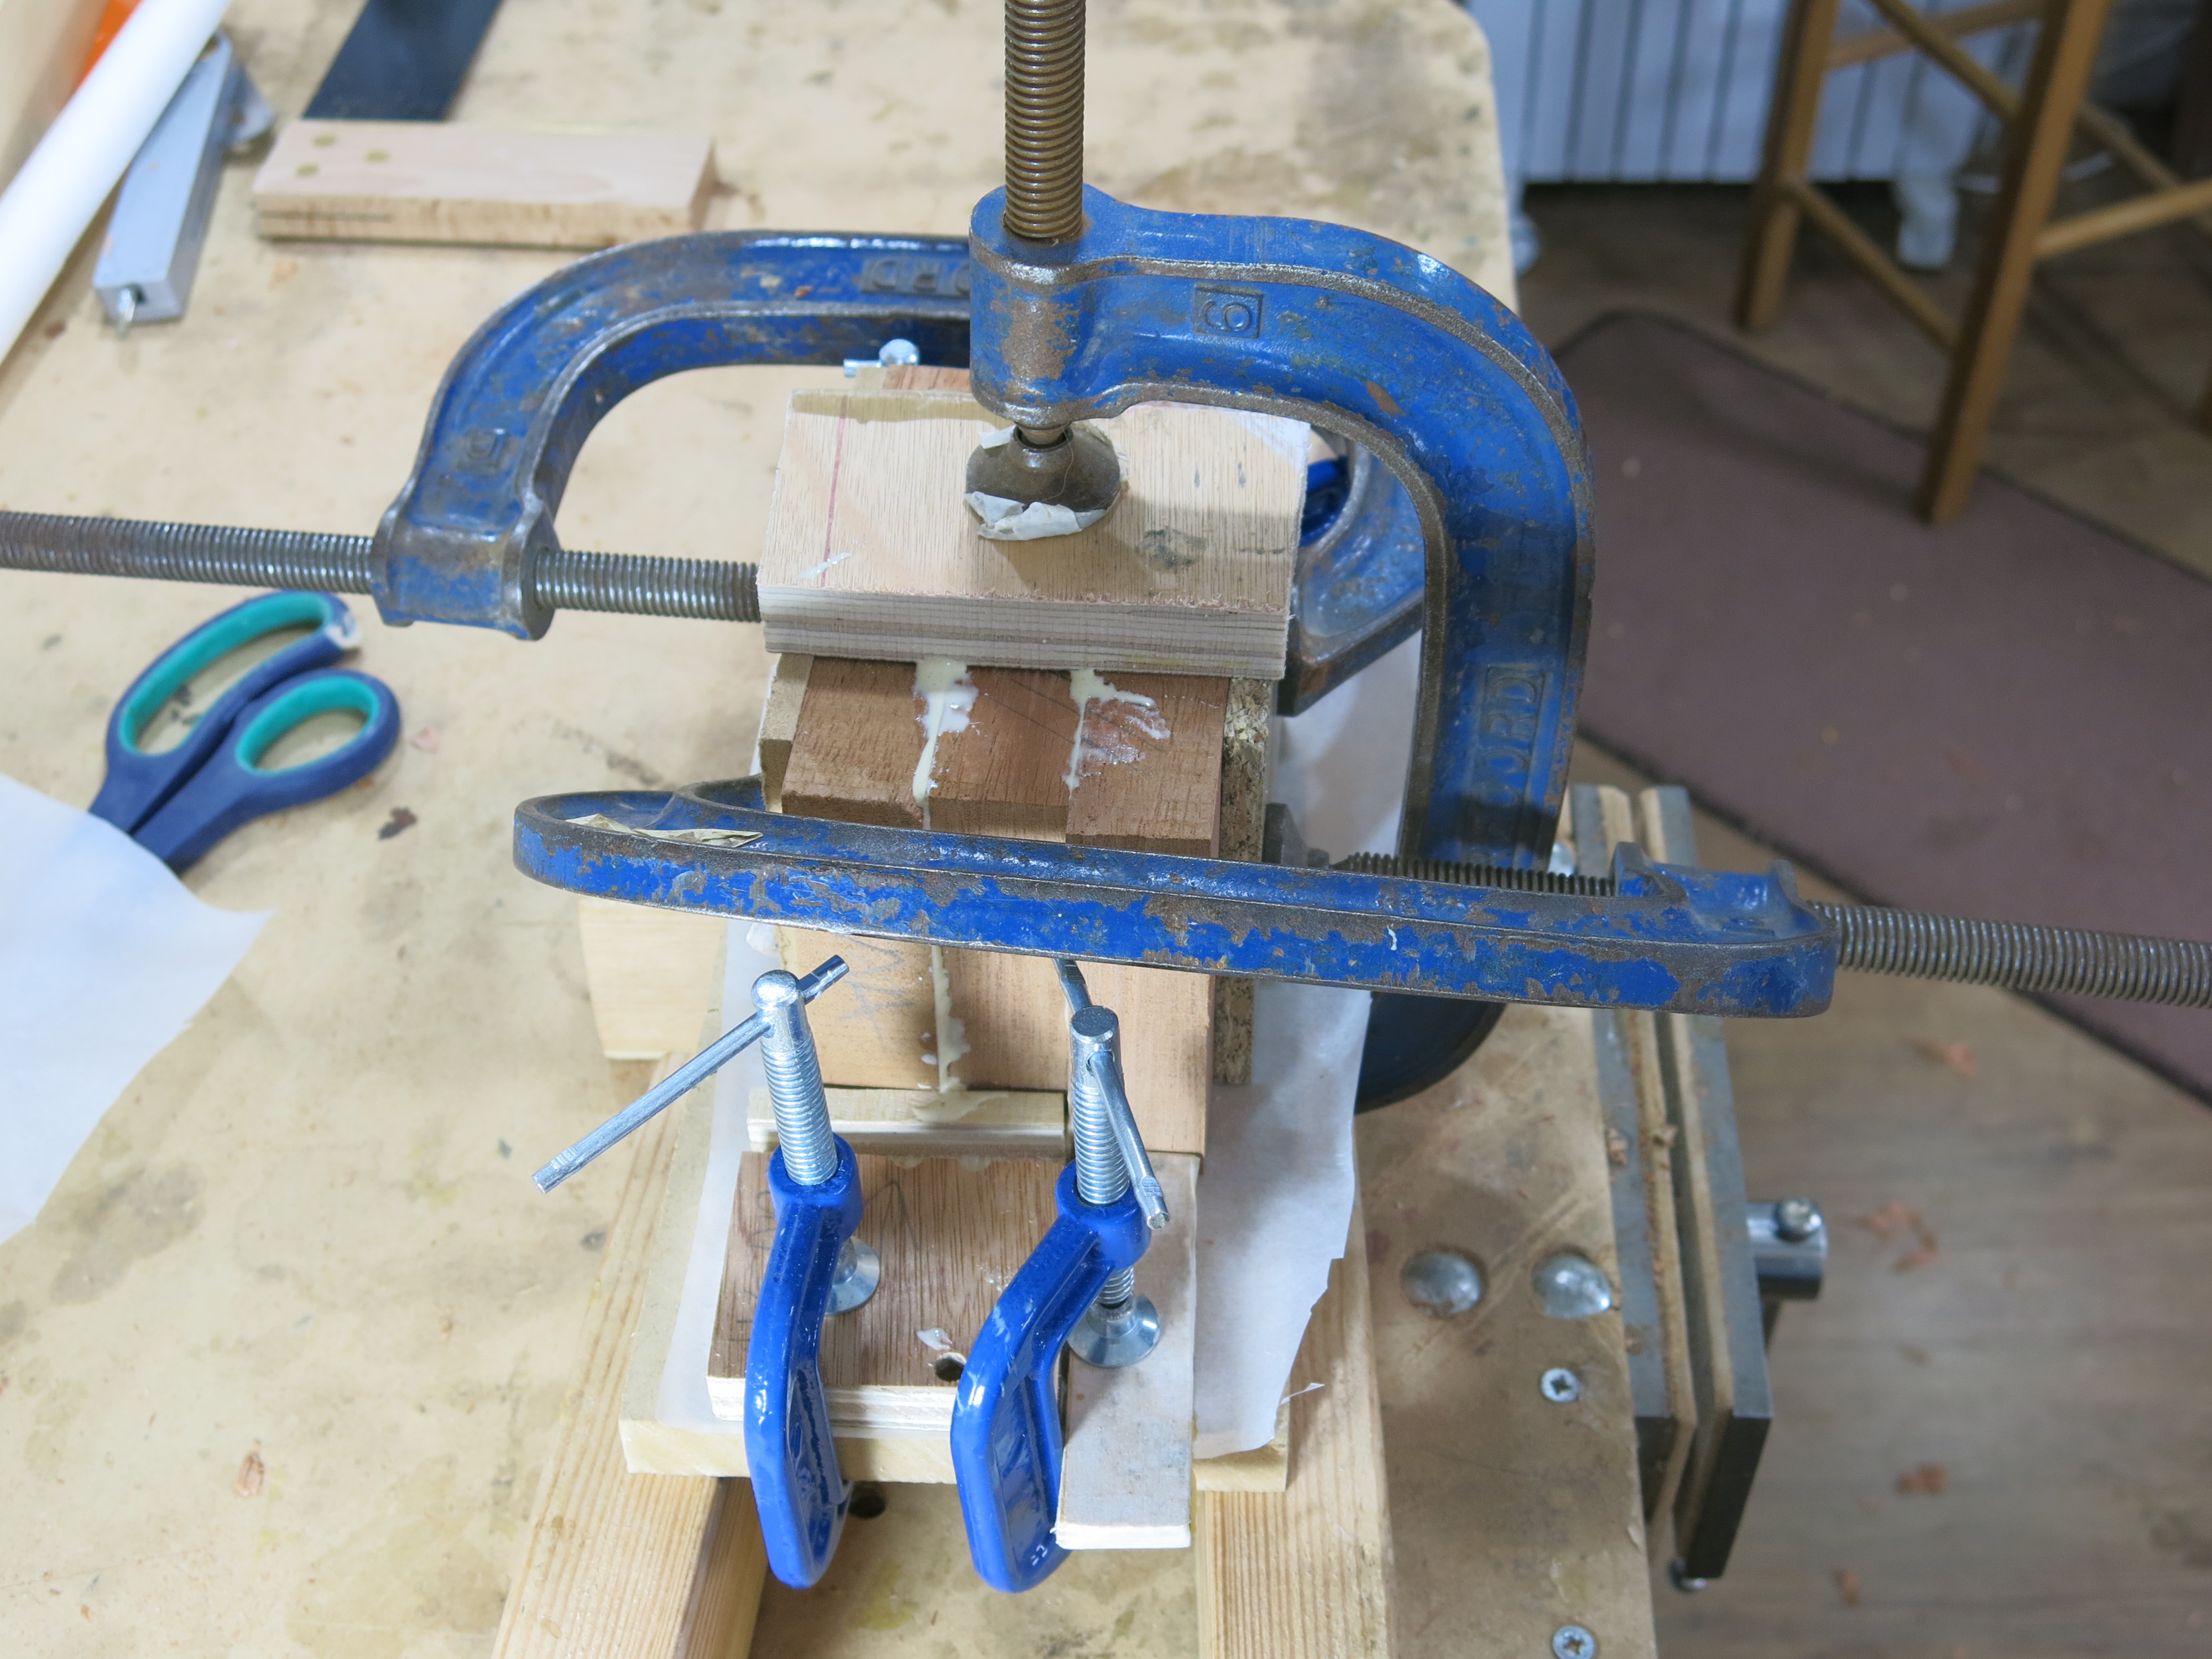
Gluing the three pieces for the heel of the neck.
Gluing the three pieces for the heel of the neck.
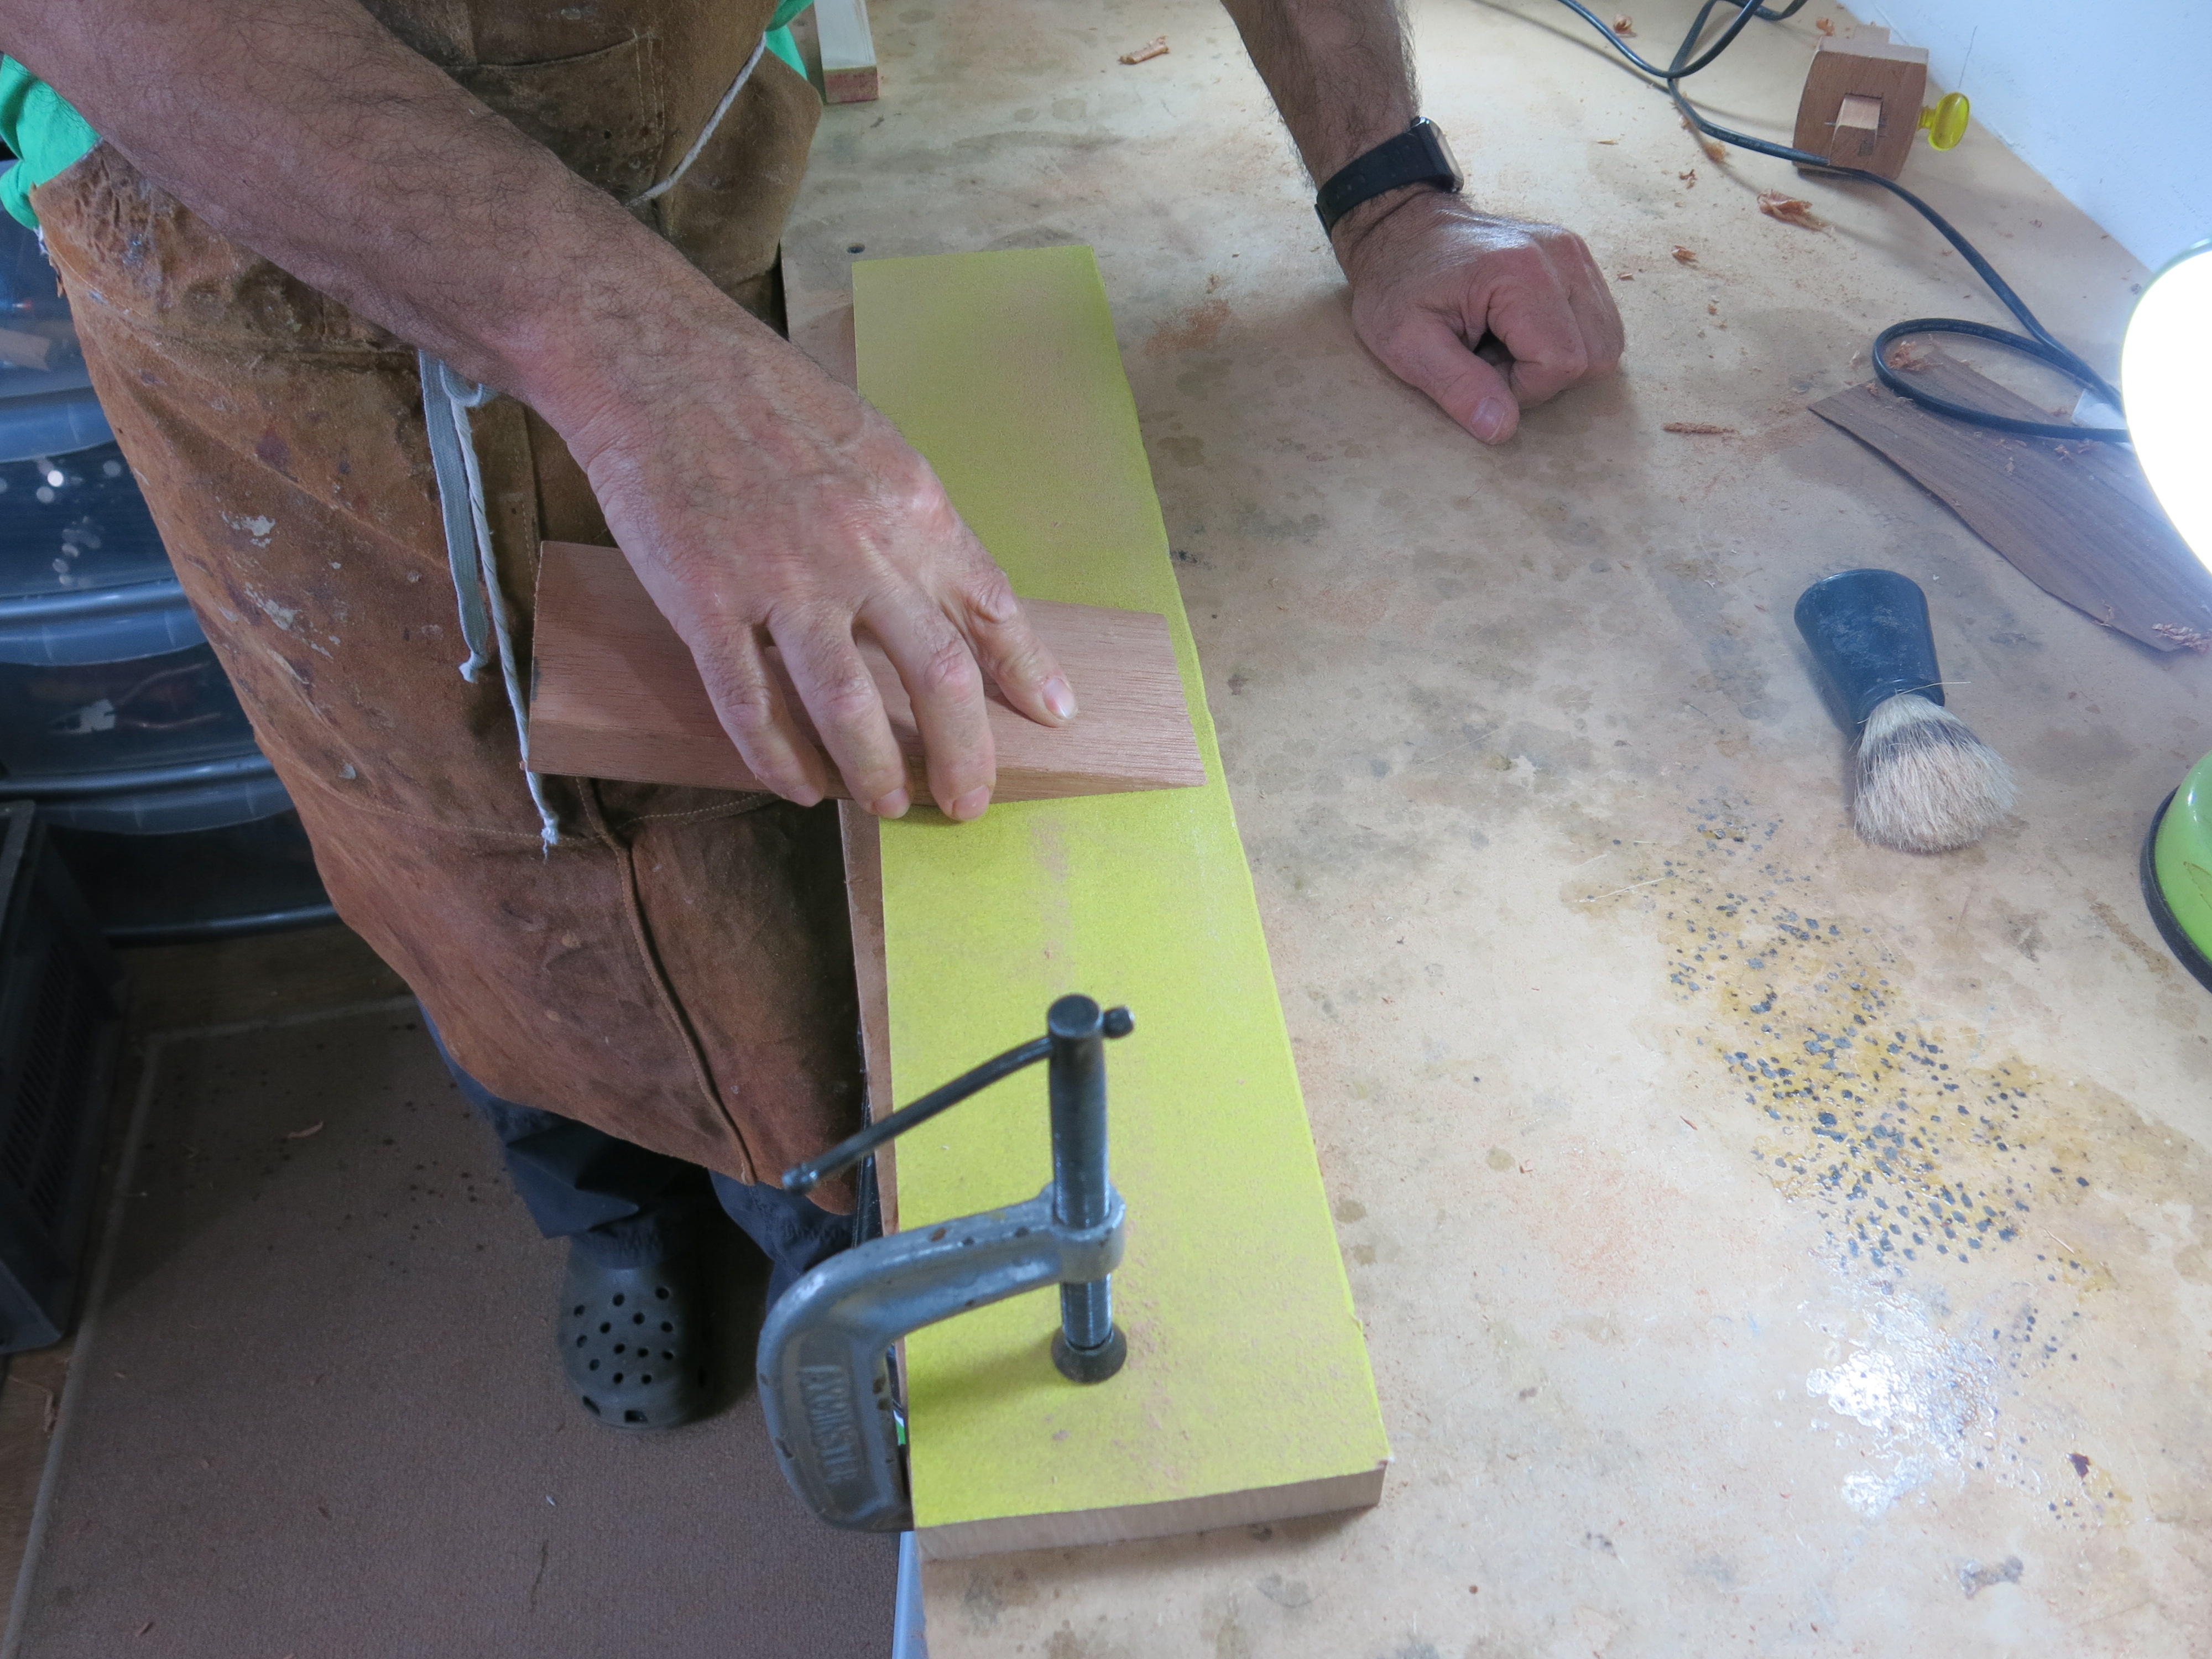
Joining two pieces of walnut to use as a veneer on the head. The principle is the same as when joining two halves of the soundboard.


You must be logged in to post a comment.